A Passive Automatic CNC Tool Changer

[Marius Hornberger] has been busy hacking his “Hammer” CNC router again, and now it sports a much desired feature — an automatic tool-changer. Having wanted one for a while, [Marius] was unhappy sacrificing a big chunk of useable bed area just to park the tool-changer magazine. An obvious solution would be to have the magazine retract away from the bed, outside of the working area. Sadly, the CNC controller had only enough spare outputs to drive the pneumatic tool changer (mounted on the spindle) leaving none spare to control the magazine assembly. So, there was only one obvious route to take, use some simple spring-loaded mechanics to move the magazine into tool-picking range with the Y axis motion instead.

Obviously, the whole thing is CNC machined on the machine itself, taking only a couple of iterations and smidge of table-saw action to get everything to fit well and operate smoothly without binding or colliding with the moving gantry. A cunning pair of levers on each end of the magazine allow it to move much further than the advancing gantry, swinging it quickly into position when the Y axis is at the extreme of its travel, and retracting away when the gantry moves back. Another nice addition to the build was a tool depth sensor (AKA: a switch) mounted off to one side, which allows the machine to find the bottom of each tool, if it is not known, so the Z axis can compensate. When combined with the automatically retracting dust shoe, this is a definitely a CNC build we’d love to see in a shop near us!

We’ve had a fair few CNC hacks over the years, including tool changers, like this one, but 3D printers can use some tool changer love too!

Continue reading “A Passive Automatic CNC Tool Changer”

Omnibot Shows Off Over A Decade Of CNC Prowess

At first glance, you might think the Omnibot v3 wasn’t anything more than a basic 3D printed robotics platform, but you’d be wrong on both counts. There’s actually no 3D printed parts on the build, and while you could describe the platform as simplistic, calling it basic certainly doesn’t do the clever design justice. In the video after the break, creator [Michal] takes us through the process of designing and building this high quality bot.

The build starts with huge amounts of time and effort in a CAD program designing the Omnibot v3 with its four wheel steering and ability to do fancy things like spin in place. With the CAD and 3D renders out of the way, the process of transforming the digital into the physical began with a CNC router.

Rather than routing the individual components out of a suitable material, [Michal] cut forms. Those forms were made only for the creation of silicone molds. Those silicon molds where then used to pour the actual parts with polyurethane resin. It is these resin parts that make up the actual Omnibot v3, which is manually demonstrated at the end of the video.

All in all, it’s a neat project with a neat process. If we were to stop here, things would be mostly complete and you’d click on to the next great Hackaday article. But there’s more to be had here. You see, [Michal] is also fellow behind the Guerrilla guide to CNC and resin casting. In his own words: “CNC machining and resin casting are an underappreciated method for producing engineering-grade parts, but the process is fast, predictable, and garage-friendly.” After seeing the results, we can’t help but to agree.

By the way, before anybody in the comments can yell “DUPE!”, we already know. You see, we featured the Guerrilla guide to CNC and resin casting once before, almost exactly 11.5 years agoIt’s been updated since then, and appears to be an absolute gold mine of information for anybody wanting to walk in [Michal]’s shoes.

Continue reading “Omnibot Shows Off Over A Decade Of CNC Prowess”

CNC Toolpath Visualisation With OpenCV

[Tony Liechty] has been having a few issues getting into CNC machining — starting with a simple router, he’s tripped over the usual beginners’ problems, you know, things like alignment of the design to the workpiece shape, axis clipping and workpiece/clamp collisions. He did the decent hacker thing, and turned to some other technologies to help out, and came up with a rather neat way of using machine vision with OpenCV to help preview the toolpath against an image of the workpiece in-situ (video, embedded below.)

ChArUco (a combined chessboard and ArUco marker pattern) boards taped to the machine rails were used to give OpenCV a reference of where points in space are with respect to the pattern field, enabling identification of pixel locations within the image of the rails. A homography transformation is then used to link the two side references to an image of the workpiece. This transformation allows the system to determine the physical location of any pixel from the workpiece image, which can then be overlaid with an image of the desired toolpath. Feedback from the user would then enable adjustment of the path, such as shifts, or rotates to be effected in order to counter any issue that can be seen. The reduction of ‘silly’ clamping, positioning and other such issues, means less time wasted and fewer materials in scrap bin, and that can only be a good thing.

[Tony] says this code and setup is just a demo of the concept, but such ‘rough’ code could well be the start of something great, we shall see. Checkout the realWorldGcodeSender GitHub if you want to play along at home!

We’ve seen a few uses of OpenCV for assisting with CNC applications, like this cool you draw it, i’ll cut it hack, and this method for using machine vision to zero-in a CNC mill onto the centre of a large hole.

Continue reading “CNC Toolpath Visualisation With OpenCV”

Put A Little Piece Of The James Webb On Your Wall

The James Webb Space Telescope (JWST) has become something of a celebrity here on Earth, and rightfully so. After decades of development, the $10 billion deep space observatory promises to peel back the mysteries of the universe in a way that simply hasn’t been possible until now. Plus, let’s be honest, the thing just looks ridiculously cool.

So is it really such a surprise that folks would want a piece of this marvel hanging up in their wall? No, it’s not the real thing, but this rendition of the JWST’s primary mirror created by [James Kiefer] and [Ryan Kramer] certainly gets the point across.

A CNC router was used to cut the outside shape from a piece of 1/2 inch MDF, as well as put 1 mm deep pockets in the face to accept the hexagonal golden acrylic mirrors. We originally thought the mirrors were also custom made, but somewhat surprisingly, gold-tinted hex mirrors are apparently popular enough in the home decor scene that they’re readily available online for cheap. A quick check with everyone’s favorite a large online bookseller turned global superpower shows them selling for as little as $0.50 a piece.

With a coat of black paint on the MDF, the finished piece really does look the part. We imagine it’s fairly heavy though, and wonder how it would have worked out if the back panel was cut from a piece of thick foam board instead.

Of course this isn’t a terribly difficult design to recreate if you had to, but we still appreciate that the duo has decided to release both the Fusion 360 project file and the exported STL to the public. It seems only right that this symbol for science and discovery should be made available to as many people as possible.

After a dramatic launch on Christmas Day and a perilous flight through deep space, the JWST has performed impeccably. Even though we’re still a several months away from finally seeing what this high-tech telescope is capable of, it’s already managed to ignite the imaginations of people all over the globe.

Tiny CNC Cuts The Metal

We’re no strangers to [Ivan]’s work and this time he’s building a relatively small CNC machine using extrusion, 3D printed parts, and a Makita router. The plans are available at a small cost, but just watching the accelerated build is fascinating.

You might think you could just attach something to an existing 3D printer frame that cuts like a Dremel tool. You can do that, but for most purposes, you need something stiffer than most desktop printers. You can see how solid this build is with multiple extrusions forming the base and very rigid axes.

Judging from the video, the machine made short work of some aluminum plate. Of course, some of that is in the choice of tool, but it appears the machine is stable enough to hold the workpiece and the tool stable to allow this sort of service. [Ivan] says the machine cost him about 600 Euro ($670 USD) and you need a printer that can create parts as large as 180 x 180 mm.

There are quite a few similar mostly 3D printed machines on Thingiverse, including some that have been through multiple versions. If you have an old 3D printer sitting around for parts, you may have nearly everything you need if you add some printed parts, presumably from your new printer.

We’ve seen plenty of CNC builds if you want to pick and choose your own design. Depending on your expectations, it doesn’t have to be an expensive project.

Continue reading “Tiny CNC Cuts The Metal”

Hackaday Links Column Banner

Hackaday Links: January 24, 2021

Code can be beautiful, and good code can be a work of art. As it so happens, artful code can also result in art, if you know what you’re doing. That’s the idea behind Programming Posters, a project that Michael Fields undertook to meld computer graphics with the code behind the images. It starts with a simple C program to generate an image. The program needs to be short enough to fit legibly into the sidebar of an A2 sheet, and as if that weren’t enough of a challenge, Michael constrained himself to the standard C libraries to generate his graphics. A second program formats the code and the image together and prints out a copy suitable for display. We found the combination of code and art beautiful, and the challenge intriguing.

It always warms our hearts when we get positive feedback from the hacker community when something we’ve written has helped advance a project or inspire a build. It’s not often, however, that we learn that Hackaday is required reading. Educators at the Magellan International School in Austin, Texas, recently reached out to Managing Editor Elliot Williams to let him know that all their middle school students are required to read Hackaday as part of their STEM training. Looks like the kids are paying attention to what they read, too, judging by KittyWumpus, their ongoing mechatronics/coding project that’s unbearably adorable. We’re honored to be included in their education, and everyone in the Hackaday community should humbled to realize that we’ve got an amazing platform for inspiring the next generation of hardware hackers.

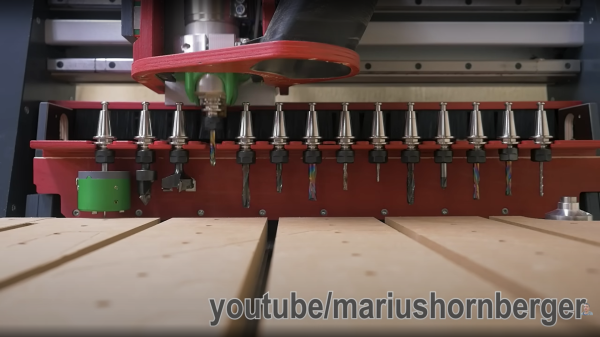
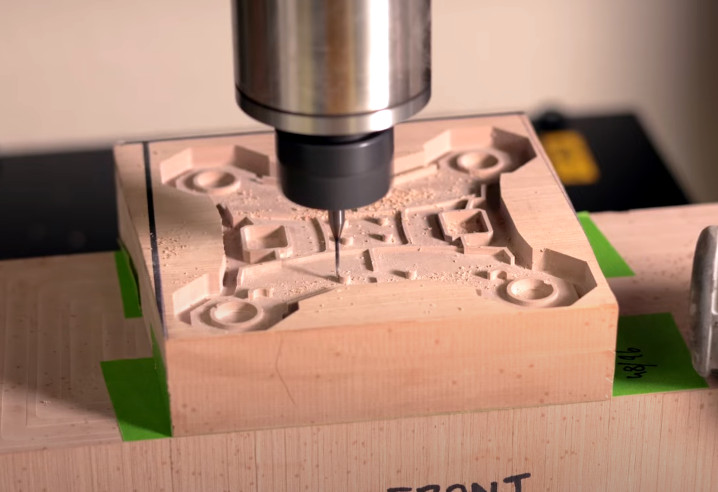
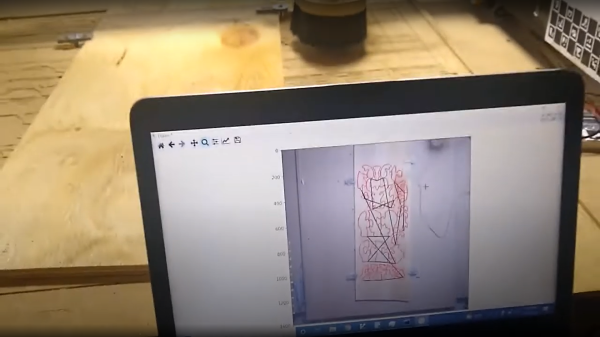
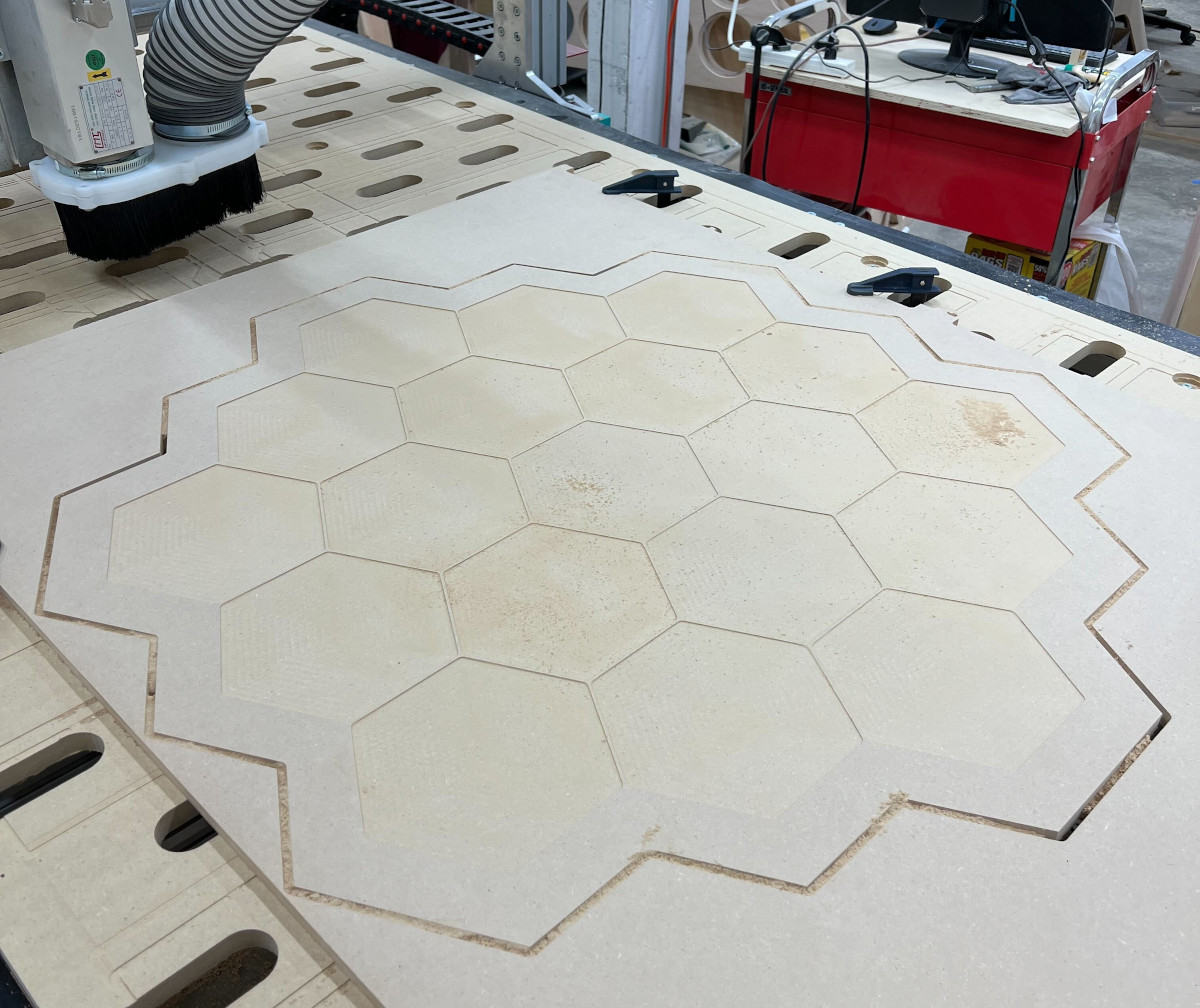
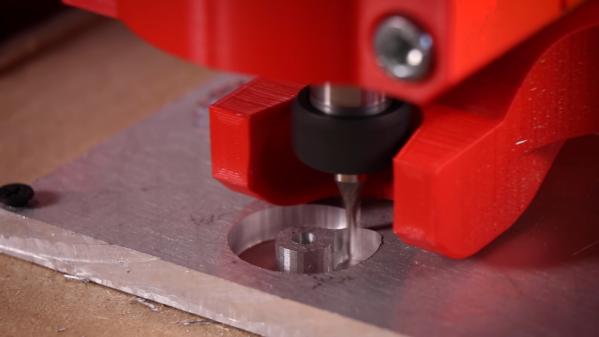
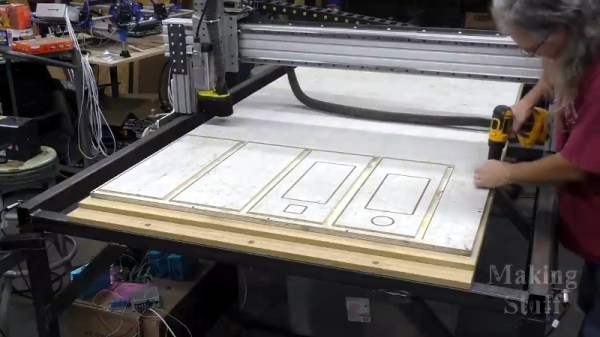
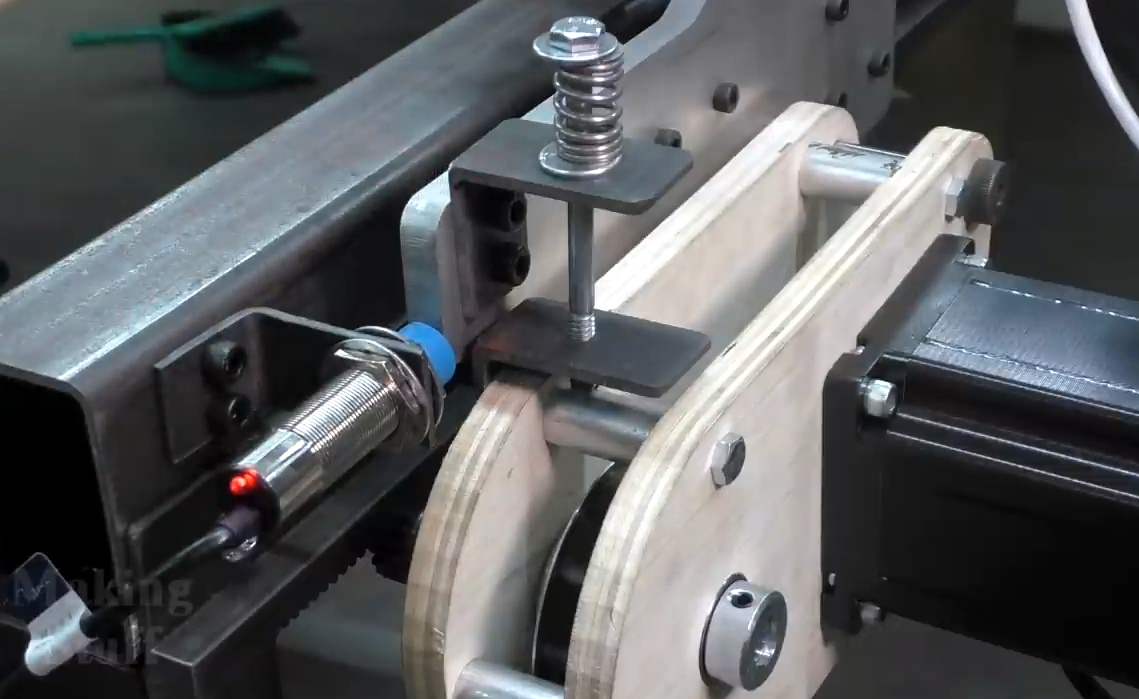
Hackers seem to fall into two broad categories: those who have built a CNC router, and those who want to build one. For those in the latter camp, the roadblock to starting a CNC build is often “analysis paralysis” — with so many choices to make, it’s hard to know where to start. To ease that pain and get you closer to starting your build, Matt Ferraro has penned a great guide to planning a CNC router build. The encyclopedic guide covers everything from frame material choice to spindle selection and software options. If Matt has a bias toward any particular options it’s hard to find; he lists the pros and cons of everything so you can make up your own mind. Read it at your own risk, though; while it lowers one hurdle to starting a CNC build, it does nothing to address the next one: financing.

Like pretty much every conference last year and probably every one this year, the Open Hardware Summit is going to be virtual. But they’re still looking for speakers for the April conference, and just issued a Call for Proposals. We love it when we see people from the Hackaday community pop up as speakers at conferences like these, so if you’ve got something to say to the open hardware world, get a talk together. Proposals are due by February 11, so get moving.

And finally, everyone will no doubt recall the Boston Dynamics robots that made a splash a few weeks back with their dance floor moves. We loved the video, mainly for the incredible display of robotic agility and control but also for the choice of music. We suppose it was inevitable, though, that someone would object to the Boomer music and replace it with something else, like in the video below, which seems to sum up the feelings of those who dread our future dancing overlords. We regret the need to proffer a Tumblr link, but the Internet is a dark and wild place sometimes, and only the brave survive.

https://commiemartyrshighschool.tumblr.com/post/640760882224414720/i-fixed-the-audio-for-that-boston-dynamics-video

Scratch Building A Supersized CNC Router

Many of us have spent the better part of a year on COVID-19 lockdown, and what do we have to show for it? Bit of progress on the Netflix queue? Maybe a (slightly) cleaned up garage or workshop? Not if you’re [Bob] of Making Stuff fame: he’s spent the last nine months working on a completely custom CNC router big enough to take a whole sheet of plywood.

The build is documented over a series of nearly a dozen YouTube videos, the first of which was put out all the way back in January of 2020. Seeing [Bob] heading to the steel mill to get his frame components with nary a mask in sight is a reminder of just how long he’s been working on this project. He’s also put together a comprehensive Bill of Materials on his website should anyone want to follow in his footsteps. Coming in at only slightly less than $4,000 USD, it’s certainly not a budget build. But then when we’re talking about a machine of this scale, nothing comes cheap.

Every component on this build is heavy-duty.

Even if you don’t build you own version of this router, it’s impossible to watch the build log and not get inspired about the possibilities of such a machine. In the last video we’re even treated to a bit of self-replicating action, as the jumbo CNC cuts out the pieces for its own electronics enclosure.

You can tell from the videos that [Bob] is (rightfully) proud of his creation, and isn’t shy about showing the viewer each and every triumph along the way. Even when things don’t go according to plan, there are lessons to be learned as he explains the problems and how they were ultimately resolved.

Of course, we know a home-built CNC router doesn’t need to cost thousands of dollars or take up as much space as a pool table. The average Hackaday reader probably has no need of a monster like this, and wouldn’t have anywhere to keep it even if they did. But that doesn’t mean we can’t look on with envy as we wait to see what kind of projects [Bob] churns out with such an incredible tool in his arsenal.

Continue reading “Scratch Building A Supersized CNC Router”