[HomoFaciens] is always making us feel silly about our purchases. Did we really need to buy a nice set of stepper motors for that automation project? Couldn’t we have just used some epoxy and a threaded rod to make an encoder? Did we need to spend hours reading through the documentation for an industrial inkjet head? Couldn’t we just have asked ourselves, “What would [HomoFaciens] do?” and then made a jailhouse tattoo gun attached to a broken printer carriage and some other household tech trash?
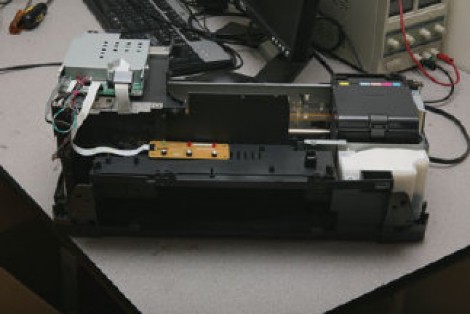
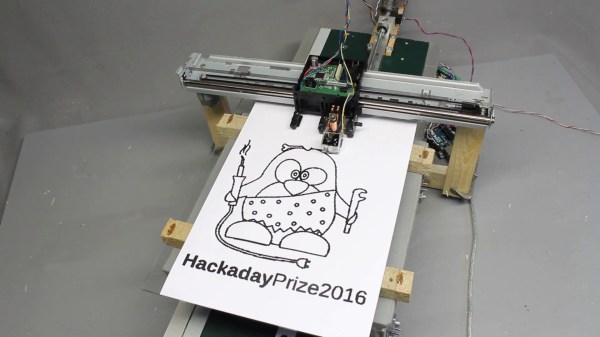
In his continuing work for his Hackaday prize entry, which we have covered before, his latest is a ink (…drop? ) printer. We think the goal is a Gingery book for CNC. He begins to combine all his previous work into a complete assembly. The video, viewable after the break, starts by explaining the function of a salvaged printer carriage. A motor attached to a belt moves the carriage back and forth; the original linear encoder from the printer is used for positional feedback.
The base of the printer is a homemade y-carriage with another salvaged printer motor and encoder driving a threaded rod. The positional feedback for this axis is provided by a optical mouse gliding on a sheet of graph paper. The printer nozzle is a cup of ink with a solenoid actuated needle in it. When the needle moves in a hole at the bottom, it dispenses ink.
As always, [HomoFaciens] makes something that is the very definition of a hack. Commenters will have to go elsewhere to leave their favorite debasement.
Continue reading “[HomoFaciens] Shows Off With DIY Paper Printer”