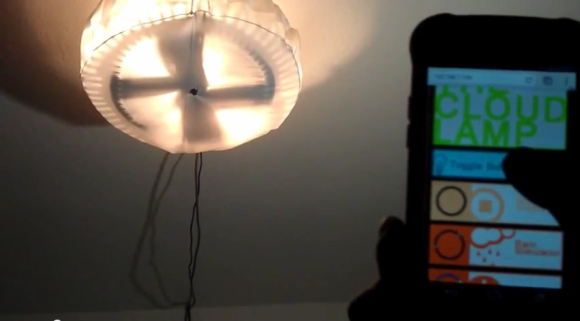
We’re beginning to see a lot of momentum building for using Raspberry Pi boards as the basis of your home automation. This latest offering from [Iain Hamilton] combines lighting and audio control through a single web interface. His frontend is run as a web page from the RPi board. It even includes separate layouts for mobile devices and computers in order to maximize use of the screen real estate.
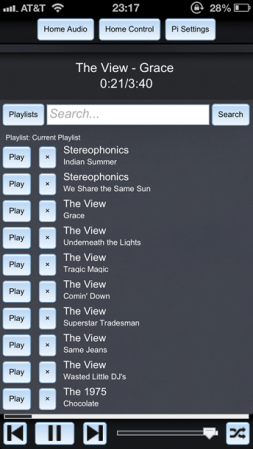
Three buttons at the top of the interface allow him to configure the settings and switch between lighting and audio controls. This audio control screen issues commands to the Spotify client running on the Pi. The Mopidy package takes care of almost everything (as we’ve seen with other single-board computer Spotify servers). Future iterations will offer other streaming services like SoundCloud. [Iain’s] home lighting system uses X10 modules for control. He’s using a USB dongle to facilitate control of that system.
Continue reading “Home Audio And Lighting Taken Over By The Raspberry Pi”

 At first glance you might not even notice that