Enjoy An ASCII Version Of Star Wars In The Palm Of Your Hand For May The 4th

Everyone by now has probably seen the original — and best; fight us — installment of the Star Wars franchise, and likely the ASCII-art animation version of it that improves greatly on the film by eliminating all those distracting special effects, human actors, and the soundtrack. But what we haven’t had until now is a portable player for ASCIIWars, to enjoy the film in all its character-based glory while you’re on the go.

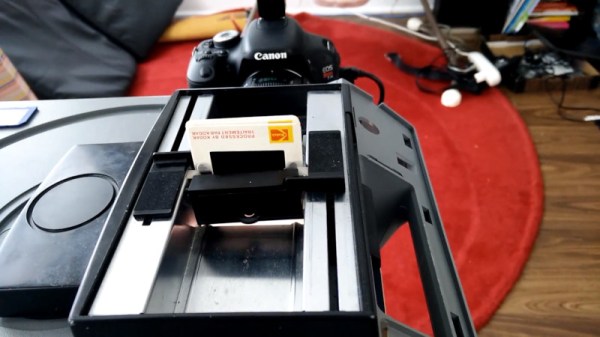
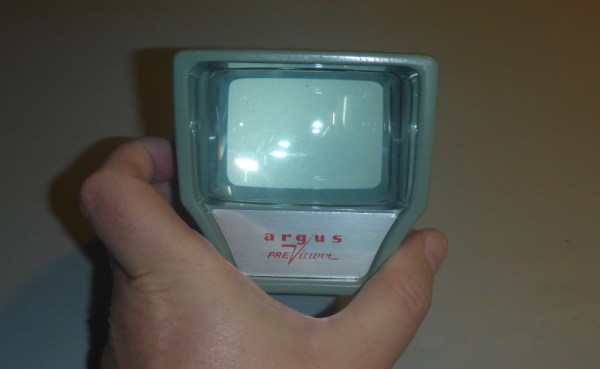
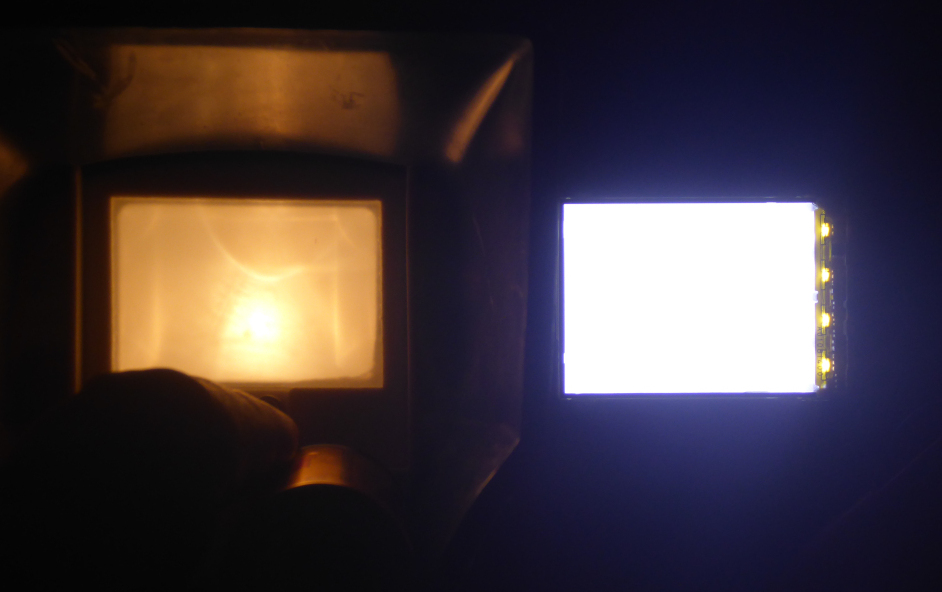
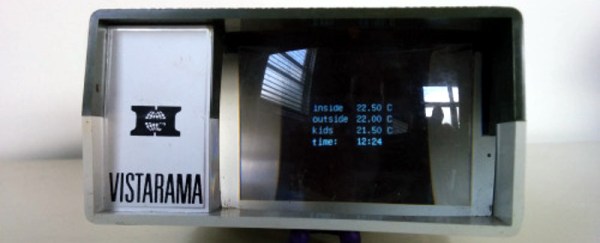
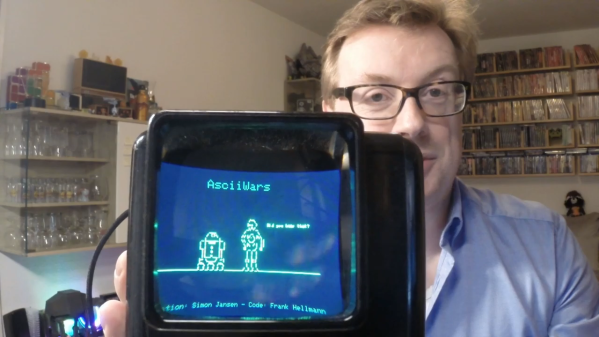
While this tribute to [Simon Jansen]’s amazing ASCII-art achievement might seem like a simple repackaging of the original, [Frank] actually had to go to some lengths to make this work. After getting [Simon]’s blessing, the build started with a WEMOS D1 Mini, a good platform for the project less for its wireless capabilities and more for its 4 MB of flash memory. A 240×360 TFT LCD display was selected to show the film; the scale of the display made most fonts hard to read, so [Frank] used Picopixel, a font designed for legibility on small screens. The animation file is stored on the SPIFFS file system on the D1’s flash memory, and a few lines of code parse it and send it to the display. The final touch is mounting the whole thing is an old slide viewer, which magnifies the display to make it a little easier to see.

As much as we applaud [Frank]’s tribute to [Simon]’s effort, there’s no reason to confine this to the Star Wars universe. If you read up on the history of ASCII art, which goes surprisingly far back, you might be inspired to render another classic film in ASCIImation and put it on a viewer like this. ASCII-Metropolis, anyone?

Continue reading “Enjoy An ASCII Version Of Star Wars In The Palm Of Your Hand For May The 4th”

A High-Speed Slide Scanner Build

Photographic slides were popular in the middle part of the 20th century, but are long forgotten now. If you’ve found a handful in a dusty attic, you might consider sending them away to be digitized professionally, or using a flatbed scanner at home. [Bryan Howard] found himself with over 200,000 slides, however, so that just wouldn’t do. Instead, he endeavored to build an automated scanner of his own. 

Like many similar projects, [Bryan] started with an existing slide projector as a base. This means that all the difficult work of slide transport is already taken care of. The projector has then been upgraded with an LED light source and other tweaks befitting its new role. An Arduino Pro Micro runs the show, firing off the camera to image each slide before loading the next one into place. The DSLR responsible for imaging is then hooked up to a PC so the incoming images can be checked while the machine is in operation.

Preliminary tests are promising, with the scanner successfully capturing several slides in a row. [Bryan] estimates that, with a capture time of between 1 and 2 seconds per slide, it should take somewhere between 2-5 days to image the entire collection.

We wish [Bryan] the best of luck with the project, and look forward to seeing the final results. We’ve seen similar work before, too. Video after the break.

Continue reading “A High-Speed Slide Scanner Build”

Slide Viewer Upgrade Is A Bright Idea

[cunningfellow] has been putting LEDs in everything lately. That’s understandable. Most recently, he used them to drastically upgrade his father’s super-cool mid-century slide viewer.slide-viewer-comparison

The slide viewer used to use a flashlight bulb, but it didn’t light evenly at all. Not only that, it produced a dim, orange-ish light. [cunningfellow] happened to have an old Nokia N93 lying around and decided to cannibalize that strange, beautiful, swiveling flip phone for its backlight circuitry. Unfortunately, the 4 LEDs aren’t going to run on a pair of C cells like the flashlight bulb did. [cunningfellow] needed some kind of boost converter.

He found one in the form of a Nokia E73 LCD driver board created by [Andy Brown]. The LEDs are way brighter than that old incandescent bulb, and they draw about 10mA less to boot. We think [cunningfellow]’s father will be happy with the result.

If you have an old slide viewer and no slides, try using it as a project case. If this post makes you miss your View-Master (also understandable), you can always turn your phone into a stereopticon.

A Slide Viewer Makes An Excellent Case For An OLED Project

Sometimes when browsing the websites of our global hackspace community you notice a project that’s attractive not necessarily because of what it does or its technology but because of its presentation. So it is with the subject of this article, [Kris] needed a house temperature monitor and found a 1960s slide viewer made an excellent choice for its housing.

The monitor itself is a fairly straightforward Arduino build using a couple of DS18B20 1-wire temperature sensors and a real-time-clock module and displaying their readings on a small OLED screen. Its code can be found on this mailing list thread if you are interested. The display presented a problem as it needed to be reasonably large, yet fairly dim so it could be read at night without being bright enough to interrupt sleep.

A variety of projection techniques were tried, involving lenses from a projection clock, a magnifying glass, and a Google Cardboard clone. Sadly none of these lenses had the required focal length. Eventually the slide viewer was chosen because it was pointed out that the OLED screen was about the same size as a photographic slide.

Slide viewers are part of the familiar ephemera of the analog era that most people over 60 may still have taking up drawer space somewhere but may well be completely alien to anyone under about 30. They were a magnification system packaged up into a console usually styled to look something like a small portable TV of the day, and different models had built-in battery lights, or collected ambient light with a mirror. The screen was usually a large rectangular lens about 100mm(4″) diagonal.

[Kris]’s Vistarama slide viewer came via eBay. It’s not the smallest of viewers, other models folded their light paths with mirrors, however the extra space meant that the Arduino fit easily. The OLED was placed where the slide would go, and its display appeared at just the right magnification and brightness. Job done, and looking rather stylish!

We’ve not featured a slide viewer before here at Hackaday, though we did recently feature a similar hack on an Ikea toy projector. We have however featured more than one digital conversion on a classic slide projector using LCD screens in place of the slide.

Via Robots and Dinosaurs makerspace, Sydney.