Understanding Interrupts In PIC Microcontrollers

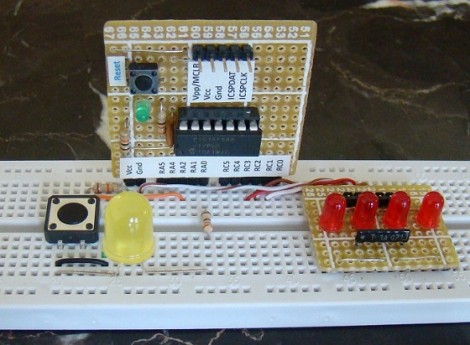
Interrupts are the name of the game for more functional microcontroller firmware. [Rajendra] just posted a tutorial covering all of the interrupt types for the PIC 16F688 microcontroller. He gives an overview of all of the major points: what an interrupt is, what causes interrupts, how to read the datasheet (often overlooked) to set up interrupts, and finally he applies it to a test platform and a bit of code.

We’ve been playing around with an Arduino again over the weekend and are a bit frustrated with the restricted access to interrupts. That issue deals with AVR interrupts, a topic with which we’re already well acquainted. But we work with PIC hardware much less often and it’s fun to explore how the other half does things, both in hardware and in code.

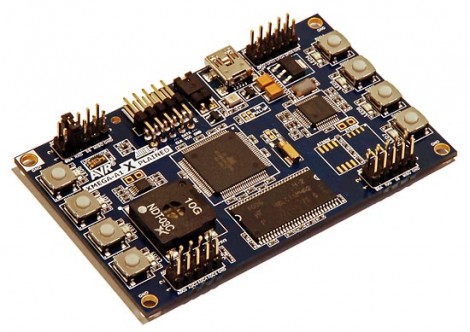
Regarding Atmel’s Xmega Chips

A few years back Atmel announced a new line of chips, the XMega series. We see the name bouncing around here and there, but when [Michael Kleinigger] mentioned that he’s seen very few project using these chips we realized that not only is he right, but we know next to nothing about them. Just give his XMega review post a whirl and you’ll be up to speed in no time.

He compares an XMega128A1 side-by-side with an ATmega1280. For those that abhor reading paragraphs full of words, there’s a table that can give you the quick facts like how the XMega costs less and runs faster. But we know from past discussions (like the one on PWM) that [Mike] knows his stuff so the whole thing’s worth a read. He’ll lead you through the programming tool chain (which hasn’t changed), a bit about the new event system, and then finish with a demo program on the Xplained development board.

Ignored Disabled Man Builds His Own Damn Elevator

diy_wheelchair_lift

There’s an old saying that goes something like, “When the going gets tough, the tough builds their own 5-story wheelchair lift.”

Actually we’re pretty sure that’s not even close to how the saying goes, but when his local council turned their backs on [Dmitry Bibikow’s] request for wheelchair access to his apartment, that’s exactly what he did.

[Dmitry], an avid mountaineer, was injured in a climbing accident that left him without the use of his legs. Unfortunately for him, he and his family reside on the 5th floor of an apartment building that was not handicap accessible. Rather than move out, he asked the local council to install an elevator, which they agreed to.

Time passed, and as the project sank deeper and deeper into a mire of bureaucracy, [Dmitry] began to lose hope of ever seeing an elevator installed. After six years of relying on friends to help him get in and out of his apartment, he took matters into his own hands and installed a chair lift just off the side of his balcony.

According to [Dmitry] it works great, and he can get from the front door to his apartment well before his more able neighbors make it up the stairs. So far, the city council has not said anything about the lift, and he hopes it stays that way.

DIY Segway Recycles Broken Electric Scooters

[Petter] built himself a DIY Segway out of a couple of cheap electric scooters. We’ve seen a couple of very nice Segway builds in the past like the all analog Segway, or the creepy walking version, [Petter]’s Segway build seems like it would be a useful human transport device.

The motors, chains, gears, and wheels are scavenged from a pair of electric scooters. Steering left and right is accomplished by tilting the handlebars left and right. The handlebars themselves are attached to the joint at a base that allows them to be taken on and off. We’re thinking this would be great for throwing a [Petter]’s Segway in the trunk of a car – a design feature the original Segway doesn’t have.

Continue reading “DIY Segway Recycles Broken Electric Scooters”

Is That A Rom In Your Locket?

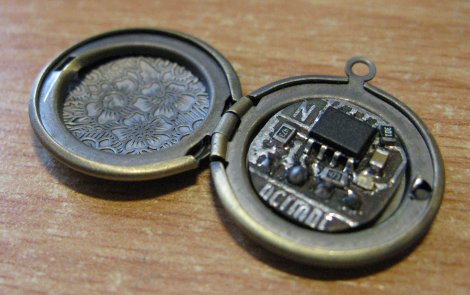
[Andrew] recently ordered some lockets to bejewel them with some LEDs but got a bonus small locket for free with the order. Not really having a plan for the small locket it kind of sat around until finally some inspiration hit. Meet the ee-locket which contains a tiny circular pcb with a 64k eeprom, a few passive support components and a male pin header on the back so you can quickly plug it into the micro of your choice.

While the uses of such a thing may not be obvious at first, just sitting down writing this I thought of a few applications, such as some form of key and lock system, mission impossible dreams, or just going full out geek at your next job interview. Its a pretty spiffy idea no matter what its used for, and we just love it when people shove electronics where no one expect them.

Digital Cootie Detector

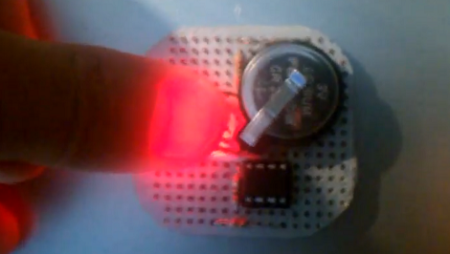
Kids love games of exclusion. This usually manifests itself in games of ‘keep away,’ having someone ‘catch cooties,’ or the ever-popular ‘No Brian club.’ [Rob] wrote in to tell us about the digital cootie detector he built. The cootie detector operates on galvanic skin response. It’s actually very similar to an E-Meter, although instead of Thetans this device measures something that actually exists.

Galvanic skin response is a measure of the skin’s conductivity. Skin conductivity changes because sweat glands will be activated when someone is nervous. This is a measure of psychological arousal, making it a great detector for games of exclusion – a kid who doesn’t want cooties will ‘psych themself out’ and give themselves cooties.

Continue reading “Digital Cootie Detector”

Adding USB Connectivity To Old Benchtop Tools

frequency_counter_hacked_for_usb_connectivity

[Scott] was recently given a frequency counter, and once he brought it home, he started contemplating how he could possibly make it better. While the counter worked well as-is, he wanted to find a way to record data readings over a reasonably long period of time. He figured that interfacing it with his computer would be the best way to do this, but he had to find a way to connect the devices first.

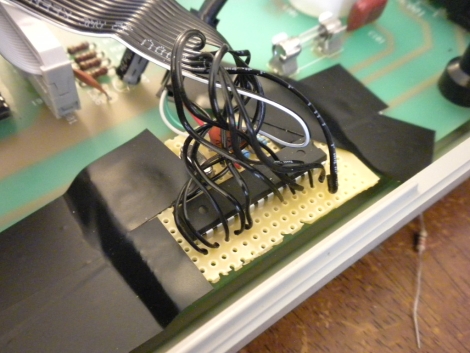
He started poking around inside the frequency counter and stumbled upon a possible data source when taking a closer look at the display board. He found that he could read the frequency data as it was being written to the display, and send that data to his computer. He used an ATMega48 to intercept the data and code from the V-USB project to bit-bang the data to his PC over USB.

Now, anything he sees on the frequency counter can be easily collected and graphed on his computer with little fuss.

Stick around to see a quick video demonstration of his hack in action.

Continue reading “Adding USB Connectivity To Old Benchtop Tools”