Helmet Of Many LEDs Built For Burning Man

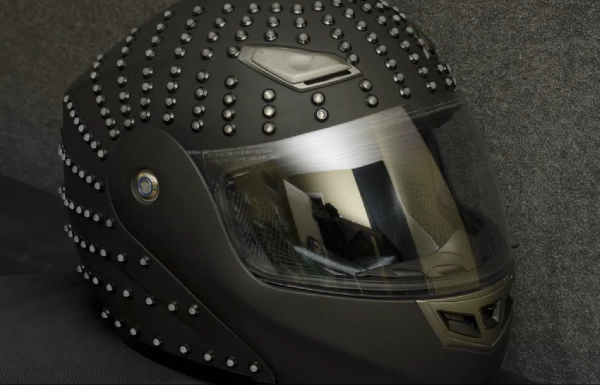
This motorcycle helmet was heavily altered to accept all of the hardware that goes into driving that huge array of LEDs. [Brian Cardellini] built it to wear at burning man. He claims to have been in over his head with the project, but we certainly don’t get that feeling when we see the thing in action. It’s light on build details, but there are plenty of demo shots in the video after the break. The animation and fading action really gets started about a minute and a half into it.

One of the early frames of the video is a shot of the parts order webpage. Since it’s an HD clip we were able to glean a few bits and pieces from that. It includes a MAX7219 LED Display Driver and fifteen 25-packs of Blue LEDs. Now that chip is a great choice, and one of the later shots shows two of them on breakout board driven by an Arduino. The look is very clean since he carved out most of the helmet’s padding to make room for the electronics.

Continue reading “Helmet Of Many LEDs Built For Burning Man”

16×8 Pixel Laser Projector

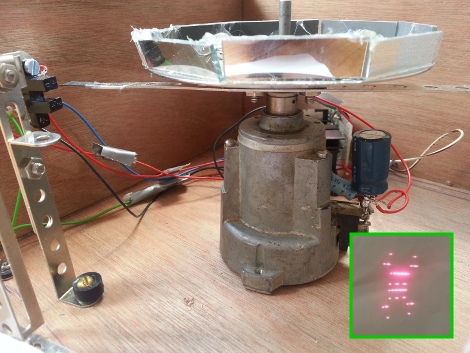
[Michiel] gave us a little shout-out by drawing the Hackaday logo with his recently completed 16×8 pixel laser projector. It uses a spinning set of mirrors mounted at slightly different angles to redirect the path of the red laser diode.

The projector is driven by an Arduino. To give it more than just a hard-coded existence [Michiel] included an Xbee module. This lets him connect to it with a computer in order to stream messages. One of the demo videos linked in his project log shows the web interface he coded which will push a message typed in the submission form out to the projector where it is scrolled like a marquee.

This type of spinning display is one of a few common methods for making laser projectors. In the image above you can see the optical sensor which is used to sync the diode with the spinning mirrors, each of which is responsible for a different row of pixels. He lists off several things that he learned when working on the project. We think the most important is the timing issues which go into something like this.

Dinosaur Hoodie To Remind You Halloween Approaches!!

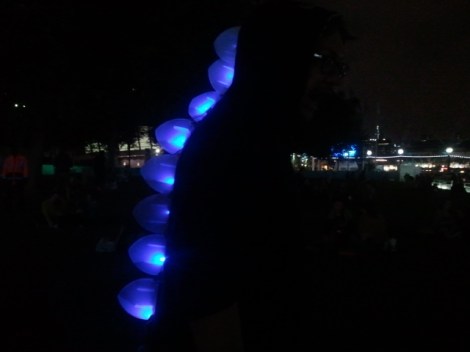
[Tom’s] dinosaur hoodie would make a bang up Halloween costume. It’s a glowing version of the bony plates you’d find on a Stegosaurus. Not only does it look great at night, you should be able to put one together or yourself in an afternoon.

He used a laser cutter to make the translucent fins, but it would not be hard to cut them all out by hand. Each piece is two sides of the plate connected by a narrow rectangle which leaves room inside for an RGB module. These are chained together and controlled by an Arduino (most likely using SPI or I2C, we’re not sure which), then sewn on the back of a hoodie.

Update: [Matt] made a derivative of this design. The plates are pointy like a stegosaurus.

Send in those Halloween projects

Which reminds us… Halloween quickly approaches and we haven’t seen the usual onslaught of awesome. We love this time of year because of the ingenuity that comes out to play in the costumes, yard decor, and scare tactics being prepared for the big night. Please send a link to your project and we’ll start pumping out the holiday features.

To get you thinking, here’s a set of folding wings used in a costume, and a possessed powerwheels to chase down the little ones. Don’t sit on your hands, we want to hear about every project!

Sculpting With LCD Pixels

Each one of the small squares in this sculpture is actually an LCD cell, and this is just the tip of the iceberg. What you see here is just a small portion of the sculpture that spans multiple floors of the atrium at the North Carolina Museum of Natural Sciences. It’s made up of multiple panels hosting a total of 3600 LCD cells. We first saw it way back in April, but now there is a ‘making of’ video which you can see embedded after the break.

The project took about 18 months to complete, starting with a 256 pixel prototype. That served as proof that the non-lit hardware would achieve the look they were going for. From there they designed the code which would generate patterns on the sculpture and used it to drive a digital model (we’d bet that was to get the go-ahead and funding). The fast-motion footage of the three-man assembly line formed when soldering up the circuits is fun to watch, the real nail-biting stuff comes when they start mounting the fragile panels in the space.

Continue reading “Sculpting With LCD Pixels”

AVR Programmer Made Without A Programmer

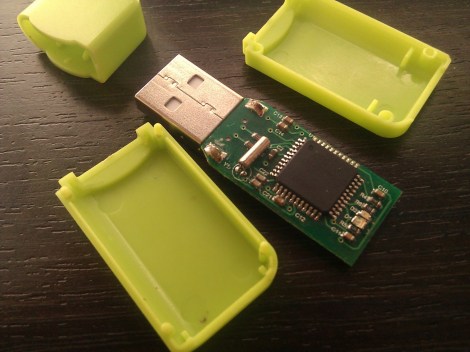
[blueHash] uses this cheap development board as an AVR programmer. What’s interesting to us is that it solves the chicken-or-egg problem that is usually encountered when bootstrapping a programmer. We’ve written about this issue before. Most programmers use microcontrollers, which first need to be flashed using a programmer. But it turns out the chip on this dev board has a DFU mode which gets around that conundrum.

He grabbed a uSD dev board for about $6. It’s got a crystal, an ATmega32u4 chip, and on the other side there’s a MicroSD card slot. We looked around and found an Atmel Datasheet (PDF) which describes the Device Firmware Upgrade mechanism. The AVR devices which support DFU are factory configured to use it. This dev board is designed to use DFU so all [blueHash] needed to do is find and configure a ISP firmware package that worked with this chip.

A Truly Professional Raspi Analog Input

Much to the chagrin of hardware tinkerers, the Raspberry Pi doesn’t have analog inputs on its GPIO pins. Sure, you can blink a LED with just a few console commands, but reading sensors with a bone-stock Raspi requires a little additional hardware. [Brian Dorey] just released a board that allows for 8 analog inputs on the Raspberry Pi with a 16-bit resolution that is much higher than any Arduino-based build.

[Brian]’s build is based on an earlier, similar iteration of a Raspi analog board we saw last July. Like the previous version, the new professionally made PCBs use a pair of Microchip MCP3428 analog to digital converter. These ADCs are able to sample four channels at a resolution of 16 bits; a vast improvement over the 8-bit ADCs included on every Arduino.

The boards communicate with the Raspberry Pi over an I2C serial bus using a neat stackable header. In theory, it should be possible to use several of these boards and measure dozens of analog channels, but we’ll leave a demonstration of that up to [Brian].

Dumping A C64 Kernel

[Blark] picked up a couple of Commodore 64 machines on Craig’s List so that he could play around with the SID chips inside. But there’s some other fun stuff in there and his attention was drawn to the PROM which stores the kernel. He thought it would be a fun adventure to build a ROM dumper capable of storing binary images.

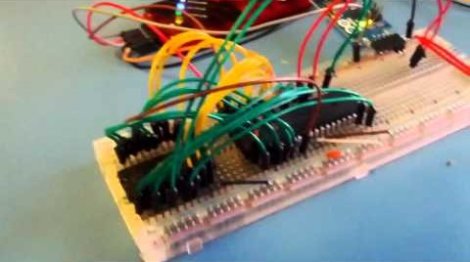
In the video after the break you can see that when powered up the dumper immediately starts streaming hex values to the terminal. The system is set up to feed a Python script which packs the data stream into an image file. The reading is done by a PIC 18F4520, streaming the data in at 9600 baud with a generous delay between each address read to get the cleanest read possible. He had a bit of help from the AVR Freaks to get to this point.

We’d guess he’s going to pull the image off the chip several times and compare results to filter out any possible data corruption. From there we’re not sure what he’ll do with the files but there’s always the possibility of making is own emulator using this kernel image.

Continue reading “Dumping A C64 Kernel”