Today the 2018 Hackaday Prize begins with a roar. This is our global engineering initiative with huge prizes for those hackers, designers, and engineers who want to use their skill and energy to build something that matters. This year, we challenge you to Build Hope. Show the world the amazing ways technology enriches humanity, and that its benefits can be shared by all.
There is over $200,000 in cash prizes headed to the most interesting hardware builds of the year. With plenty of room for great ideas, the top 100 entries will each receive a $1,000 cash prize and continue the build to final judging. The top five entries will be awarded a $50,000 Grand Prize, and $20,000, $15,000, $10,000, and $5,000 for 2nd through 5th places. We even have some additional seed funding set aside to help early entries to get started.
What is Building Hope?
 It feels like there is a steady drumbeat of doom and gloom surrounding technology these days. We hear this foretold in many ways, things like robots rising up to enslave humanity, artificial intelligence and big data being used to manipulate people, and quantum computing on the horizon that will invalidate cryptographic security. Our challenge? Get in there and show the incredible good that technology can do in the world.
Design something that shows the benefits of using knowledge and creativity to solve a problem. Be the shining light that proves our future is full of hope because smart people care about what happens in the world and to the people who live here. It is our responsibility as those who understand powerful technologies to show the best ways they can be used to build up humanity. This is your chance.
Build Hope. Design the Future.
Five Challenges to Choose From
We have five challenge categories to choose from in the 2018 Hackaday Prize. The top twenty entries from each category will receive $1,000 and continue work in order to compete for the top prizes.
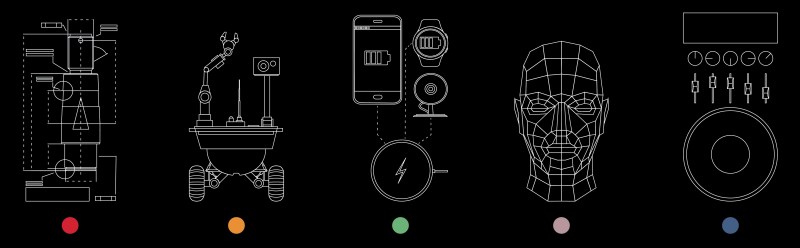
Open Hardware Design Challenge:
This is the challenge you should enter right now. Choose a challenge facing the world today and design the best plan possible for the boldest solution you can envision.
Over the years we’ve seen thousands of Hackaday Prize entries that take on farming, transportation, pollution, safety, scientific research, education, and assistive technologies like custom prosthetics, innovative wheelchairs, and braille interfaces for smartphones. There’s plenty in the world that needs solving and you have the talent to do it!
Robotics Module Challenge:
Build a module that makes it easier to put together advanced robots. Show your designs for the parts that others can build on.
Power Harvesting Challenge:
Build a module that harvests ambient power. Show how we can reduce or remove batteries from more devices.
Human Computer Interface Challenge:
Build an innovative interface for humans to talk to machines or machines to talk to humans. Break down more barriers to make devices more intuitive and natural to use.
Musical Instrument Challenge:
Be creative with this round and build a module, interface, or full instrument that evolves or goes far beyond modern music instrumentation.
Seed Funding For Early Entries
Itching to build something? Get a boost on your material budget by securing a bit of seed funding. Enter your design in the first challenge and pack it with as much information as possible. Each “like” that you get from the Hackaday.io community translates to $1 in seed funding. We have $4000 set aside with a max of $200 per entry. You can follow progress by checking the leaderboard on the Hackaday Prize page.
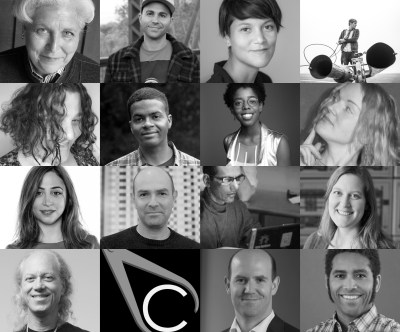
Incredible Judges
The Hackaday Prize has something really special in the judges that volunteer their time and talent to review the 100 finalists. They are accomplished engineers working, researching, and forging ahead to new frontiers in technology. Learn more about the judges on the Hackaday Prize page.
Get Started at World Create Day
This coming Saturday is Hackaday World Create Day, and the perfect time to get started with your Hackaday Prize entry. Stop by a meetup in your area (or host your own) and put your heads together and pick the design challenge you want to work on. We love seeing collaborative entries and this is a great chance to build your engineering dream team.
Five Years of Amazing Engineering
Thousands of entries have been submitted to the Hackaday Prize over the years. Founded in 2014 by Supplyframe CEO Steve Flagg, the Hackaday Prize is now in its fifth year. The challenges change each year, but the goal remains the same: to Build Something That Matters. We are consistently amazed both by the quality of the solutions, and the uncovering of new and interesting problems targeted by the entries.
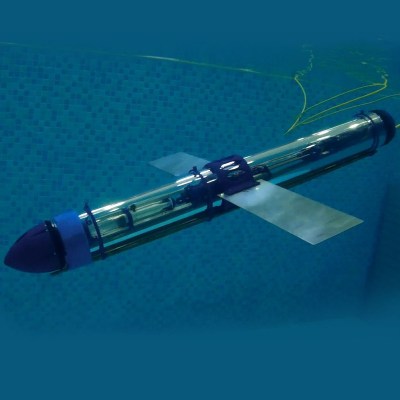 Studying earth’s oceans is increasingly important be it due to climate change or pollution. Alex Williams was awarded the 2017 Hackaday Prize for his Open Source Underwater Glider, a suite of sensors built into a cleverly low-power underwater autonomous vehicle. In 2016, Alberto Molina took the top spot for DTTO, a modular robotics system made up of multiple single-hinge segments that can reorient themselves. A team working toward an eye-controlled electric wheelchair placed first in 2015 for Eyedriveomatic — a solution that improved life for two of the team members with Motor Neuron Disease, (also called ALS). And the recipients of the first Hackaday Prize were recognized for their team’s development of a network of satellite ground stations (SatNOGS) which anyone can build, add to the network, and share time on to communicate with satellites as they make their orbit. This is an important tool to make low-cost research for things like Cubesats possible, and the network has been growing ever since.
If you feel the need for more inspiration, take a few minutes to look over the Hackaday Prize hall of fame of all of the top finishers through the years.
These are impressive ideas that began with the basic question of how can we do better? A simple idea can change the world but only if you share that idea and work to make it grow. Enter yours in the Hackaday Prize now!