BGA Hand Soldering Uses Tombstone Resistor Technique, Demands Surgical Precision

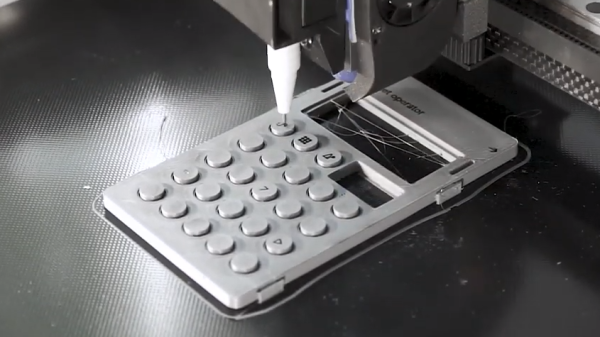
Most Hackaday readers will be a pretty dab hand with a soldering iron. We can assemble surface-mount boards, SOICs and TSSOPs are a doddle, 0402s we take in our stride, and we laugh in the face of 0201s. But a Twitter thread from [Greg Davill] will probably leave all but the most hardcore proponents of the art floundering, as he hand-wires a tiny FPGA in a BGA package to the back of a miniature dot-matrix LED display module.

Resistors soldered on-end, awaiting wires to connect to the BGA microcontroller

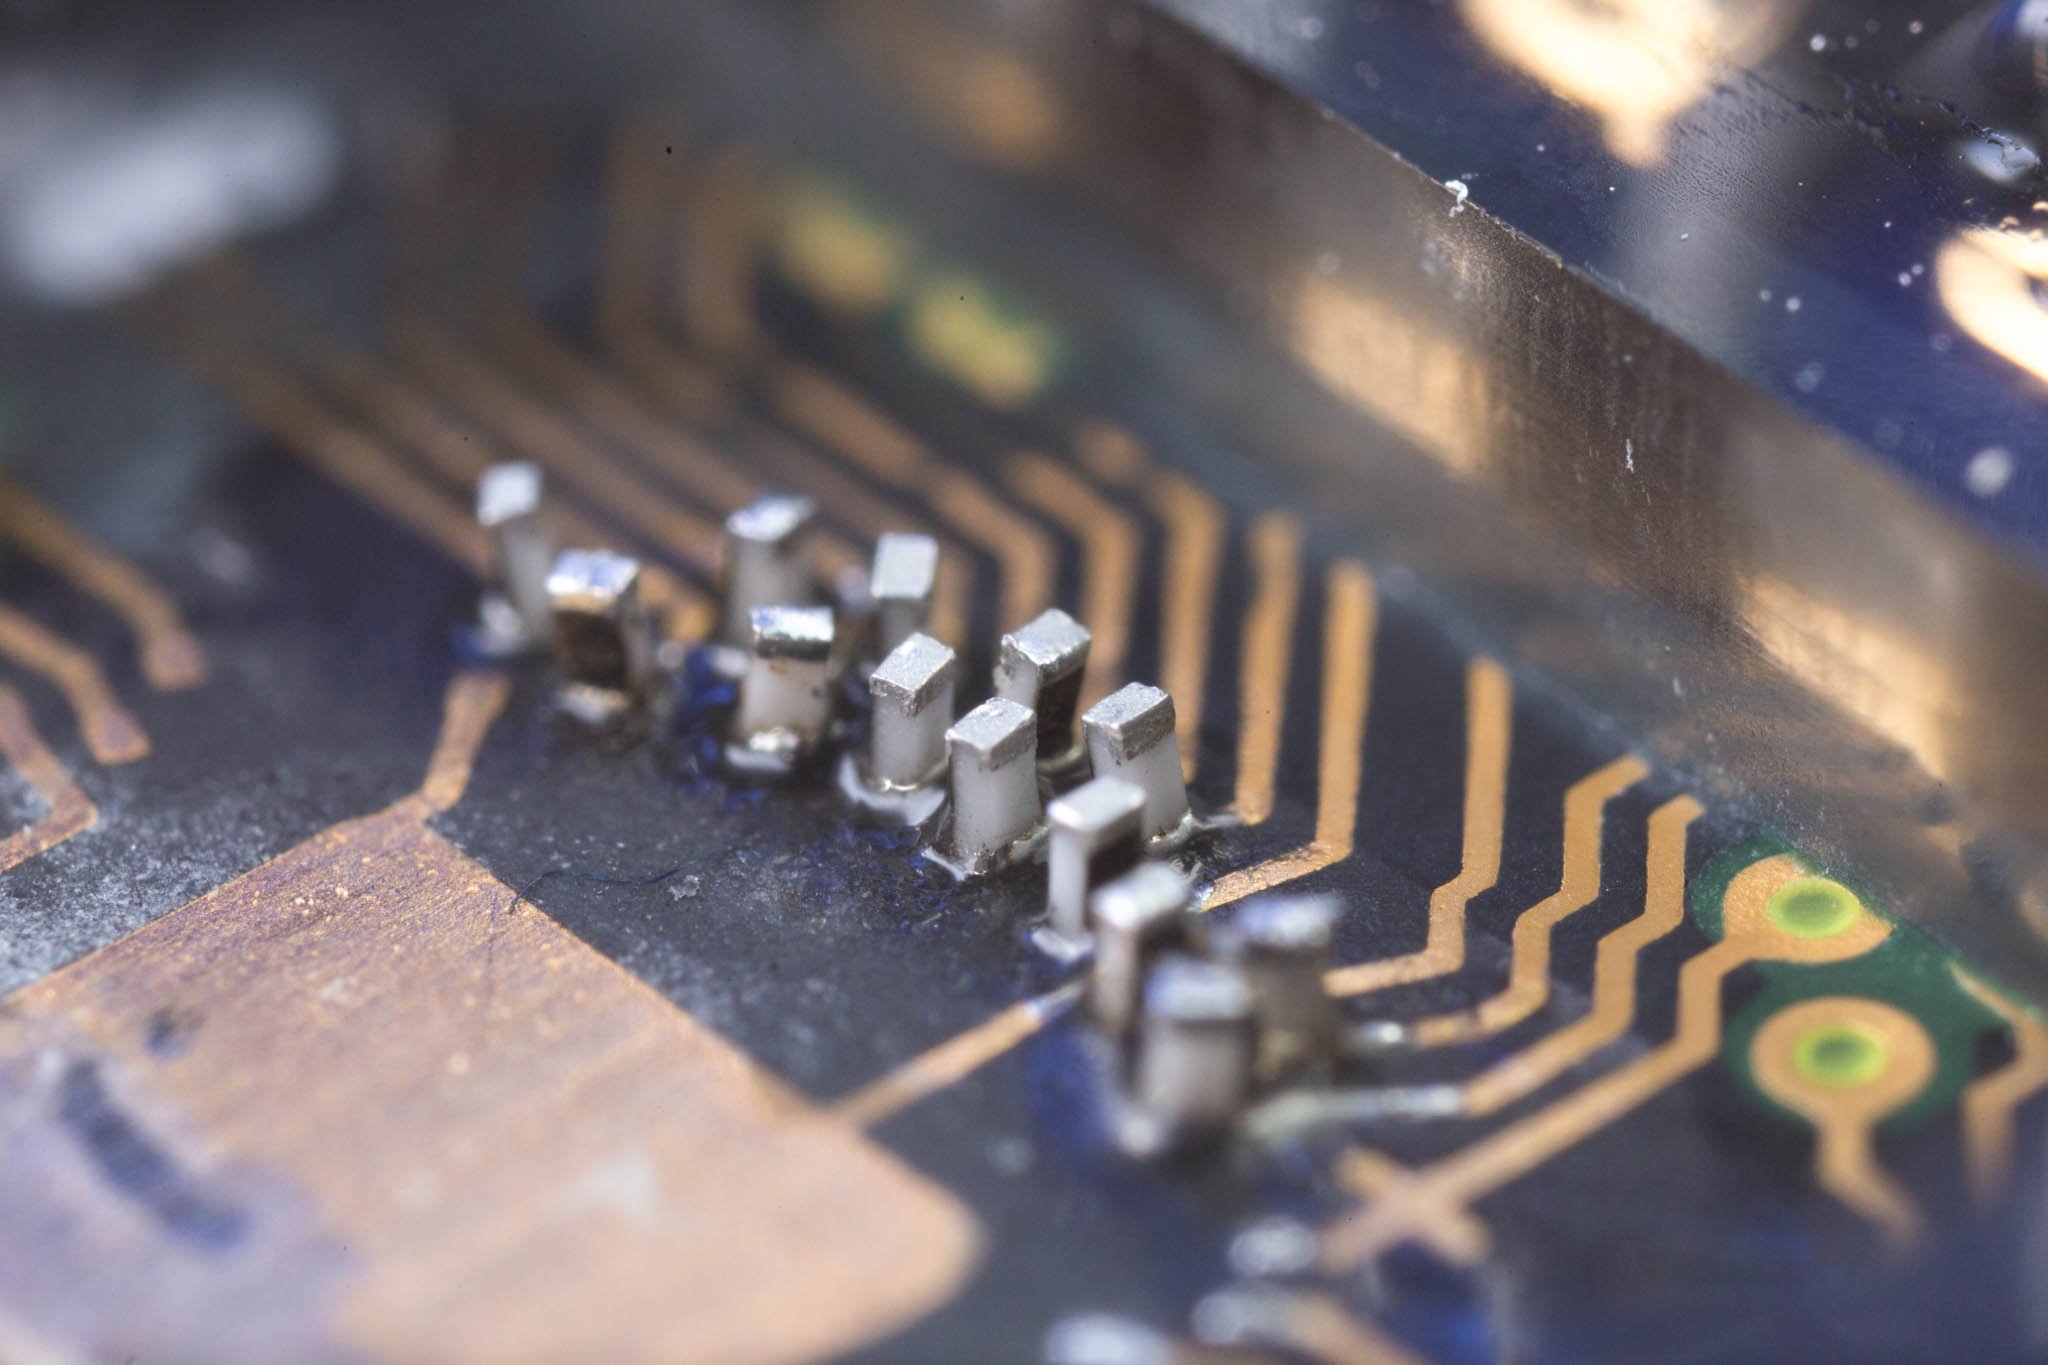
As far as we can see the module must once have had its own microcontroller which has been removed. We’d guess it was under an epoxy blob but can’t be sure, meanwhile its pads are left exposed. The Lattice LP1k49 fits neatly into the space, but a web of tiny wires are required to connect it to those pads. First, [Greg] populates the pads with a set of “tombstoned” tiny (we’re guessing 0R) resistors, then wires them to the pads with 30μm wire. He describes a moment of confusion as he attempts to tin a stray hair, which burns rather than accepting the solder.

The result is a working display with a new brain, which surprises even him. We’ve seen more than one BGA wiring over the years, but rarely anything at this scale.

It’s worth mentioning that [Greg] was behind the FLIR frame grabber that was a runner-up in last year’s Hackaday Prize. We admire the photos he’s able to get of all of his projects and aspire to reach this level with our own. Take this as inspiration and then check out the Hackaday contest for Beautiful Hardware images happening right now.

Thanks [Sophi] for the tip.

Five Years Of The Raspberry Pi Model B+ Form Factor, What Has It Taught Us?

With all the hoopla surrounding the recent launch of the new Raspberry Pi 4, it’s easy to overlook another event in the Pi calendar. July will see the fifth anniversary of the launch of the Raspberry Pi Model B+ that ushered in a revised form factor. It’s familiar to us now, but at the time it was a huge change to a 40-pin expansion connector, four mounting holes, no composite video socket, and more carefully arranged interface connectors.

As the Pi 4 with its dual mini-HDMI connectors and reversed Ethernet and USB positions marks the first significant deviation from the standard set by the B+ and its successors, it’s worth taking a look at the success of the form factor and its wider impact. Is it still something that the Raspberry Pi designers can take in a new direction, or like so many standards before it has it passed from its originator to the collective ownership of the community of manufacturers that support it?

Continue reading “Five Years Of The Raspberry Pi Model B+ Form Factor, What Has It Taught Us?”

Enclosure Needs Labels? Make The 3D Printer Do It

Tool changing on 3D printers is hot right now, and it’s going to be really interesting to see the ideas that reliable tool changing lets people try out. One such idea is having the 3D printer use a marker to label the enclosure and buttons it just 3D printed.

The 3D print shown is an enclosure for a Pocket Operator by Teenage Engineering. [Marc Schömann] made the enclosure on Blackbox, a tool-changing 3D printer that he designed. The video below shows a pen holder drawing the labels directly onto the printed object. Pocket Operators may look like calculators, but they are clever electronic musical devices capable of producing real music. (The best way to learn about what they are and what they can do is to watch a tutorial video or two.)

Continue reading “Enclosure Needs Labels? Make The 3D Printer Do It”

No Filament Needed In This Direct Extrusion 3D-Printer

Ground plastic bits go in one end, finished 3D-prints come out the other. That’s the idea behind [HomoFaciens]’ latest build: a direct-extrusion 3D-printer. And like all of his builds, it’s made from scraps and bits most of us would throw out.

Pellet agitator is part of the extruder. All of this travels along with the print head.

Take the extrusion screw. Like the homemade rotary encoders [HomoFaciens] is known for, it appears at first glance that there’s no way it could work. An early version was just copper wire wrapped around a threaded rod inside a Teflon tube; turned by a stepper motor, the screw did a decent job of forcing finely ground PLA from a hopper into the hot end, itself just a simple aluminum block with holes drilled into it. That worked, albeit only with basically powdered PLA. Later versions of the extruder used a plain galvanized woodscrew soldered to the end of a threaded rod, which worked with chunkier plastic bits. Paddles stir up the granules in the hopper for an even flow into the extruder, and the video below shows impressive results. We also picked up a few tips, like using engine gasket paper and exhaust sealant to insulate a hot end. And the slip coupling, intended to retract the extruder screw slightly to reduce stringing, seems brilliant but needs more work to make it practical.

It’s far from perfect, but given the inputs it’s pretty amazing, and there’s something attractive about reusing all those failed prints. It reminds us a bit of the trash printer we featured recently, which is another way to stick it to the filament man. Continue reading “No Filament Needed In This Direct Extrusion 3D-Printer”