Hosting Your Own PixMob Party Made Easy

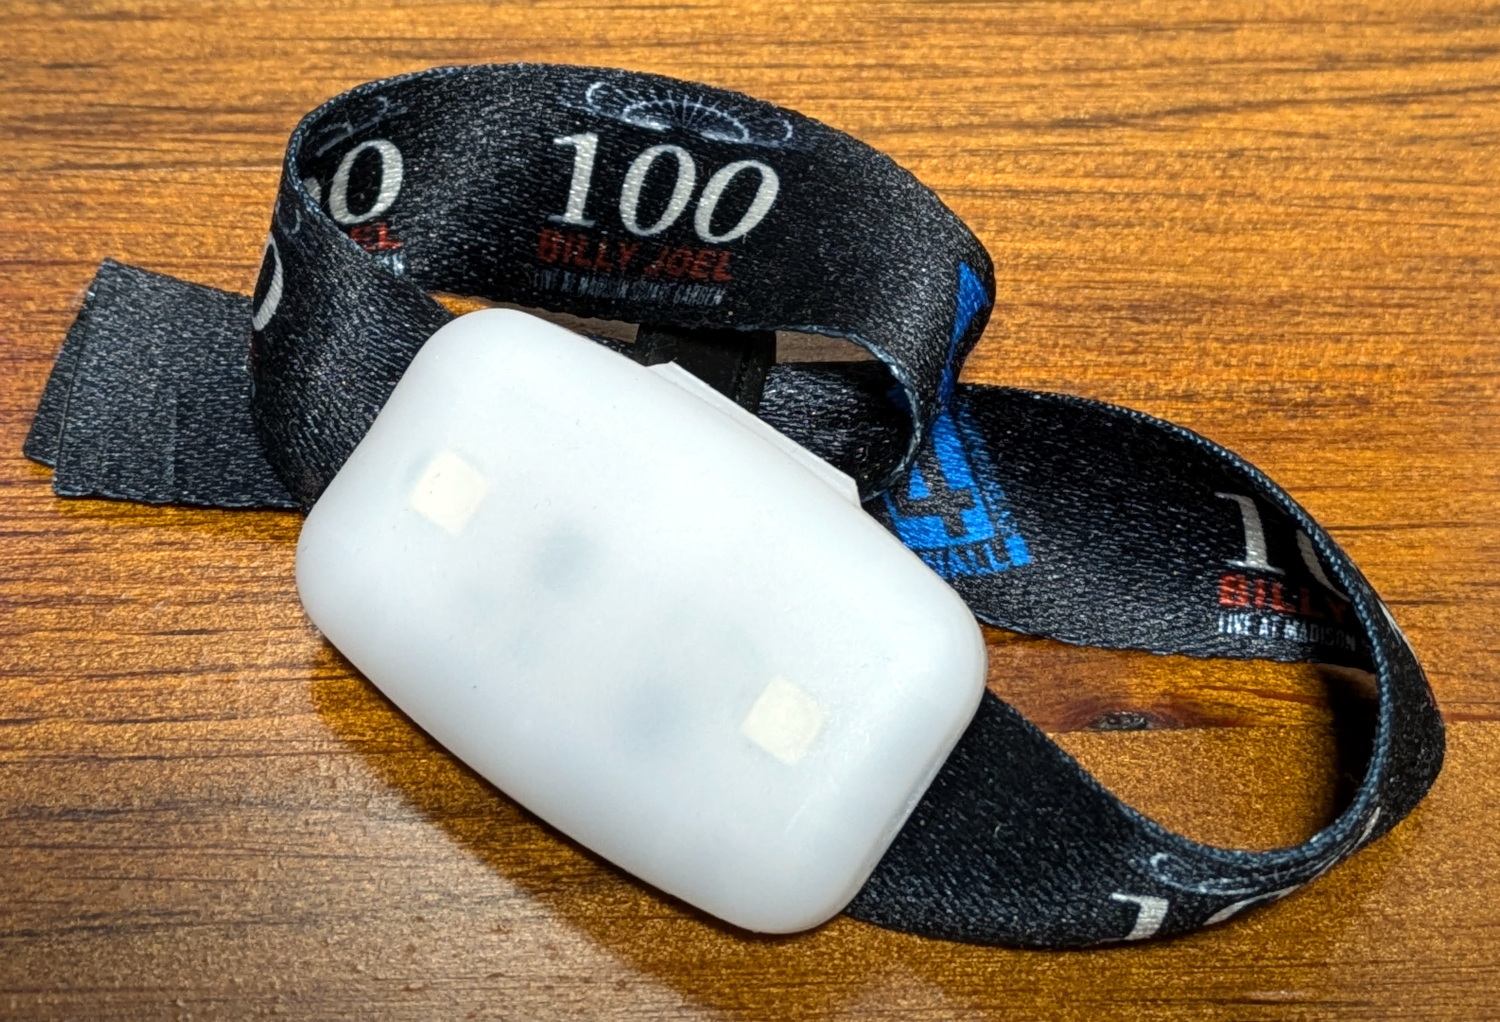
Over the last few years, it’s been increasingly common for concertgoers to be handed a light-up bracelet from PixMob that synchronizes with the others in the crowd to turn the entire audience into a music visualizer. They’re a clever way of enhancing the concert experience, but unfortunately, they don’t do anything once you leave the show. Or at least, that used to be the case.

We’ve seen efforts to reverse engineer the IR (and occasionally radio) signals that drive these PixMob devices, but since we checked in last it seems like things have gotten a lot easier for the home gamer. [David Pride] has recently posted a brief write-up that shows how quickly and easily it is to get these devices fired up using nothing more exotic than an Arduino, an IR LED, and an audio sensor module.

With the audio sensor module connected to the Arduino’s digital input and the IR LED wired to digital out, all you need to do is flash firmware to the board and start playing some beats. The source code [David] has provided is a a remixed version of what’s previously been published by [Carlos Ganoza], which, in this case, has been tweaked to make the lighting patterns less random.

Presumably, this is to make the devices behave more like they do during an actual concert, but since nobody at Hackaday is cool enough to have seen a live musical performance in the last decade, we’re not really sure. All we can say is that the effect looks pretty sweet in the demo video.

Back in 2019, we saw a teardown of an early PixMob device, and by 2022, the efforts to reverse engineer their IR control protocol were well underway. We’re glad to see things have progressed to the point that you can piece together a transmitter from what’s in the parts bin, as it means at least some of these devices will have a lifespan longer than a single concert.

8MM Digitization For Anyone

There’s a pleasing retro analogue experience to shooting Super 8 film, giving as it does the feel of a 1970s home movie to your work. But once you’ve had the film developed, there’s a need for a projector to enjoy the result. Far better to digitize it for a more modern viewing and editing experience. [Elbert] has made a digitizer for 8mm film which takes the best approach, snapping each frame individually to be joined together in a video file as a whole.

The frame of the device is 3D printed, but some parts of a film transport must be higher quality than a printed part can deliver. These, in particular the sprockets, are salvaged from a film viewer, and the movement is powered by a set of stepper motors. The steppers are controlled by an ESP32, and the optics are provided by a USB microscope. All this is hooked up to a PC which grabs each image, and finally stitches them all together using ffmpeg.

As anyone who has dabbled in 8mm film will tell you, there is a lot in the quality of a film digitizer, and it’s often worth paying for a professional job from someone aimed at the film-making world rather than you local photographic print booth. It would be interesting to take a look at this device, and see whether its quality is worth pursuing. After all, some of us have been known to dabble in 8mm film.

3D Printing With Sublime Sublimation

[Teaching Tech] got an interesting e-mail from [Johan] showing pictures of 3D prints with a dye-sublimated color image on the surface. Normally, we think of dye sublimation, we think of pressing color pictures onto fabric, especially T-shirts. But [Johan] uses a modified Epson inkjet printer and has amazing results, as you can see in the video below.

The printers use separate tanks for ink, which seems to be the key. If you already have an Espon “tank” printer, you are halfway there, but if you don’t have one, a cheap one will set you back less than $200 and maybe even less if you pick one up used.

Continue reading “3D Printing With Sublime Sublimation”

A business-card-sized fidget spinner with the Hackaday logo.

2024 Business Card Challenge: POV Fidget Keeps Your Info In Their Hands

So what if we’re halfway through 2024? People who needed to fidget all along still need something to do with their hands. So why not hand them a solution with your information on it?

Not only will this spin nicely, the spinning action will use magnets to energize PCB coils and light up LEDs for some persistence of vision action. Designing the PCB was easier than you might imagine thanks to KiMotor, a KiCad plugin to automate the design of parametric PCB motors.

Mechanical testing went pretty well with the bearings and magnets that [mulcmu] had on hand, along with a scrap PCB as the sacrifice. Although a bit difficult to hold, it spins okay with just the bearing and the shaft. Once the boards arrived, it was time to test the electrical side. So far, things are not looking good — [mulcmu] is only getting a few tens of mV out of the rectifier — but they aren’t giving up hope yet. We can’t wait to see this one in action!

Hurry! This is the last weekend to enter the 2024 Business Card Challenge! Technically you have until Tuesday, July 2nd, but you know what we mean. Show us what you’ve got!

Reviving A Free 1990s Millport CNC Vertical Mill

When faced with the offer of free machining equipment, there is no realistic way to say ‘no’. This is how [Anthony Kouttron]’s brother [Thomas] got to pick up a large 1990s-era CNC machine as a new companion for his growing collection of such equipment. The trickiest part of the move to the new location was getting the machine to fit through the barn doors, requiring some impromptu disassembly of the Z-axis assembly, which required the use of an engine crane and some fine adjustments with the reinstallation. With that [Thomas] and [Anthony] got to gawk at their new prize in its new home.

This Millport vertical mill is effectively a Taiwanese clone of the Bridgeport vertical mill design, though using an imported servo control system from Anilam. The most exciting part about a CNC machine like this is usually the electronics, especially for a well-used machine. Fortunately the AT-style PC and expansion cards looked to be in decent condition, and the mill’s CRT-based controller popped up the AMI BIOS screen before booting into the Anilam S1100 CNC software on top of MS-DOS, all running off a 1 MB Flash card.

Which is not to say that there weren’t some issues to be fixed. The Dallas DS12887 real-time clock/NVRAM module on the mainboard was of course dead. After replacing it, the BIOS finally remembered the right boot and input settings, so that the CNC machine’s own controls could be used instead of an external keyboard. This just left figuring out the Anilam controls, or so they thought, as a range of new errors popped up about X-lag and the Distribution Board. This had [Anthony] do a deep-dive into the electronics cabinets to clean metal chips and repair broken parts and floating pins. After this and a replacement Anilam Encoder this Millport vertical mill was finally ready to be put back into service.

Continue reading “Reviving A Free 1990s Millport CNC Vertical Mill”

Hackaday Podcast Episode 277: Edible Robots, A Personal Eclipse, And DIY PCBs To Die For

This week on the Podcast, it’s Kristina’s turn to ramble on alongside Editor-in-Chief Elliot Williams. First up in the news: Paul Allen’s Living Computers Museum + Labs is being liquidated at auction after just 12 years of being open to the public. In Hackaday news, the 2024 Business Card Challenge ends next Tuesday, July 2nd, so this is your weekend to shine! Also, you’ve got about two weeks to get your talk proposals in for this year’s Supercon. (Can you believe it’s only four months away?)

Then it’s on to What’s That Sound, at which Kristina made a couple of close-but-no-cigar guesses. Can you get it? Can you figure it out? Can you guess what’s making that sound? If you can, and your number comes up, you get a special Hackaday Podcast t-shirt.

Then it’s on to the hacks, beginning with a $3 smartwatch that can run Python, and a completely DIY analog tape recording solution. We’ll talk about making your wireless keyboard truly low power, all the steps you can take to produce perfect PCBs at home, and AI in a font. Finally, we talk about the dangers of a curious childhood, and talk about a dotcom hardware solution that could have gone far, given the right business model.

Check out the links below if you want to follow along, and as always, tell us what you think about this episode in the comments!

Download and savor at your leisure.

Continue reading “Hackaday Podcast Episode 277: Edible Robots, A Personal Eclipse, And DIY PCBs To Die For”

Cleaning Up World War 2’s Legacy On The Seafloor With Robots

Until the 1970s, a very common method to dispose of unneeded munitions was to simply tip them off the side of a ship. This means that everything from grenades to chemical weapons have been languishing in large quantities around Europe’s shorelines, right alongside other types of unexploded ordnance (UXO).

Although clearing and mapping such dump sites are a standard part of e.g. marine infrastructure such as undersea cabling and off-shore wind turbines, no large-scale effort has so far been undertaken to remove them, even as they continue to pose an increasing hazard to people and the environment. Most recently, efforts are underway to truly begin clearing these UXO, as the BBC reports.

Continue reading “Cleaning Up World War 2’s Legacy On The Seafloor With Robots”