Star Wars is an inspirational force to be reckoned with. Few movie franchises have quite so many fans creating everything from elaborate cosplay outfits to fully functional robots. At the 2015 Hackaday SuperCon, former R2D2 driver Grant Imahara mentioned that LucasArts used to maintain a fleet of robots to be deployed at events. Once the execs realized hacker, maker, and hobbyist robots are now more advanced than the machines they built for the actual films, they mothballed the fleet. If you see R2 at a Star Wars event this season, it’s probably an enthusiast behind the controls. This week’s Hacklet is dedicated to the best Star Wars projects on Hackaday.io!
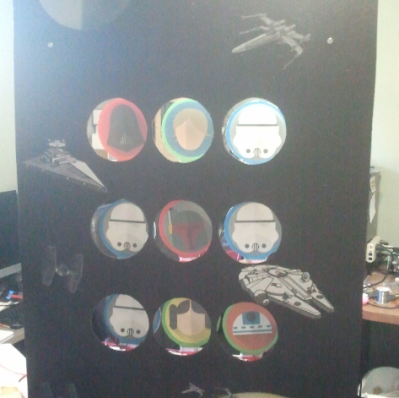 We start with [Nathan Gray] and Star Wars Nerf Targets. [Nathan] needed a Star Wars themed game for an event for the kids, and he needed it fast. [Nathan] built a Nerf shooting gallery game with a Star Wars twist. The idea is to shoot the bad guys with Nerf darts. Targets have two sides, so you never can be sure if you’ll see a storm trooper or a friendly Wookie. Hits are detected by piezoelectric disks on each target. A control panel starts the game, keeps score, and plays some great sound effects. An Arduino compatible Teensy 2.0 keeps everything running smoothly. [Nathan] reports that the game was a hit with the kids, and everyone else at the party. Even Grandma had to give the Star Wars Nerf Targets game a try!
 Next up is Hackaday’s own [Brian Benchoff] with The Hackaday Prize Moisture Vaporator. The 2015 Hackaday Prize promo video called for something space related. Since Southern California has plenty of desert around, a moisture vaporator straight out of Tatooine was just what the doctor ordered. [Brian], [Matt], [Rich] and [Alek] handled most of the construction at the Hackaday Hackerspace in Pasadena. Final assembly was a team effort out in the field. The basic frame of the vaporator consisted of 1 x 3 lumber joined with pocket screws. An iron pipe served as the spine. [Brian] added plenty of greebles to give the vaporator just the right look. The result makes us long for a trip to Toshi Station to pick up some power converters.
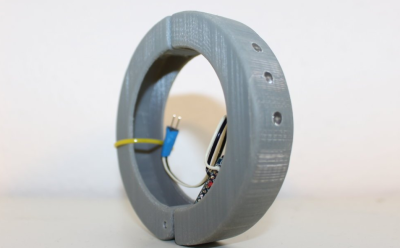 [Davedarko] is up next with Towani Lifesign Wristdevice – Star Wars Ewoks. This was one of [Dave’s] earliest projects on Hackday.io, way down at project #616. He originally built it for the Sci-Fi contest we held in 2014. The Towani family was in the Ewoks movies, which were lesser known spinoffs of the original Star Wars films. The wristbands showing the family’s vitals were featured a few times in the movies. [Dave’s] version is more than a movie prop, it actually works. He’s using an open hardware pulse sensor along with an Arduino Mini to display status on a trio of LEDs.
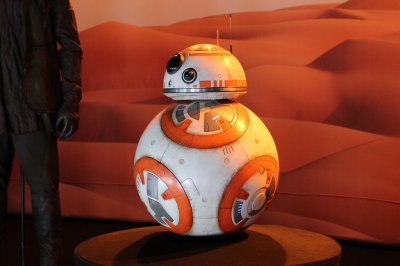 Finally, we have [Enrico] with Our own BB-8 droid. BB-8 made a splash when he rolled out on stage during Star Wars Celebration. Everyone wondered how the original was done. We’ve since found out that the BB-8 uses Sphero’s technology to get around. However, many of the movie scenes were done with good old-fashioned puppeteer work. [Enrico] is building his own version of BB-8 using holonomic wheels inside the sphere, with a magnetically attached head. He’s planning to 3D print the major parts of his droid. So far, [Enrico] has started testing with magnets. A few printed plastic parts from his R2D2 build have been standing in for the BB-8 shell.
If you want to see more Star Wars projects, check out our new Star Wars project list! If I missed your project due to a great disturbance in the force, don’t be a nerf herder! Just drop me a message on Hackaday.io. That’s it for this week’s Hacklet. As always, see you next week. Same hack time, same hack channel, bringing you the best of Hackaday.io! May the force be with you.


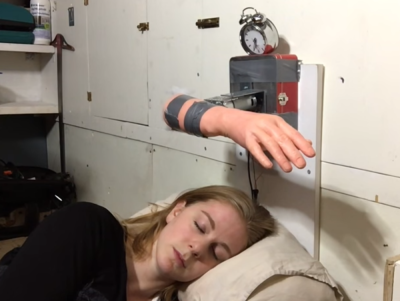 The system is triggered by an alarm clock. The clock’s alarm output is connected to an Arduino Uno. The Uno then activates a relay, which spins up the motor. [Simone] realizes that she could have skipped the Arduino here, but it was the path of least resistance in for this project. If the slapping hand isn’t enough to get you going, the Wake-up machine does have a secret weapon: It may just
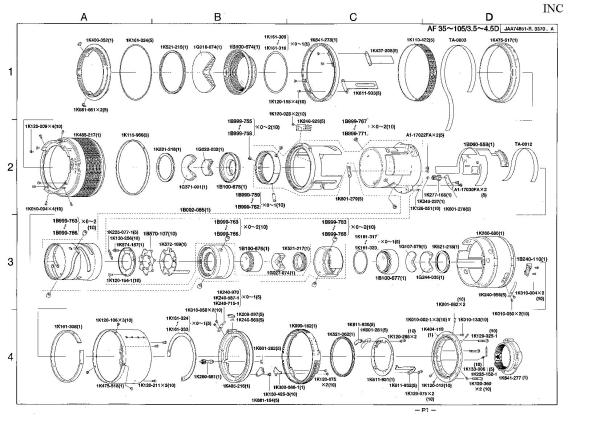
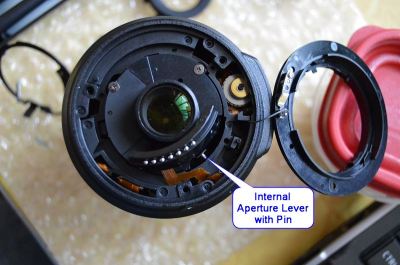 Keeping screws and various parts in order is key when taking apart a lens. [Kratz] used a tip he learned right here on Hackaday: He drew a diagram of the screw positions on a thick piece of paper. He then stuck each screw right into the paper in its proper position.