Retrocomputing often involves careful restorations, rare components, and white gloves. This story involves none of those. This is the story of two people who sought to answer one of the greatest questions in the universe: What does it take to kill a Mac SE?
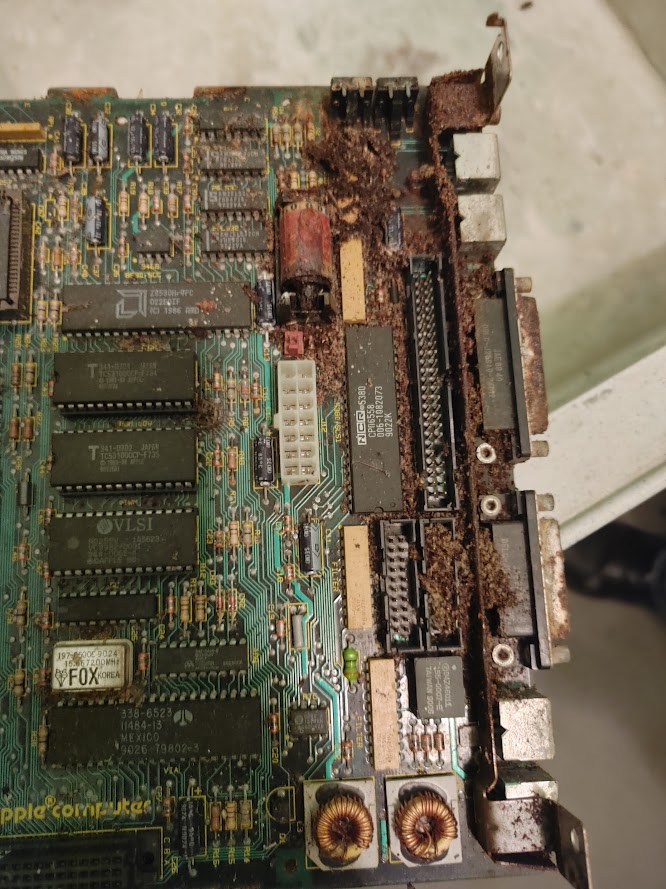
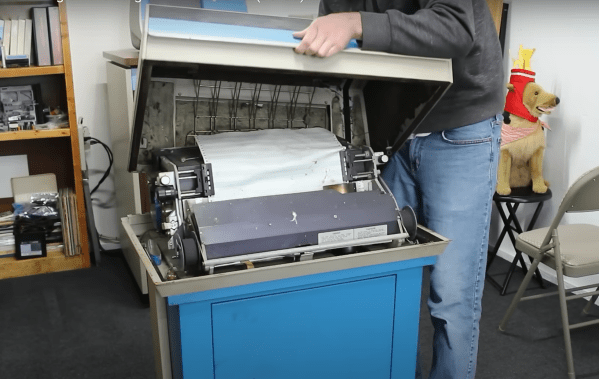
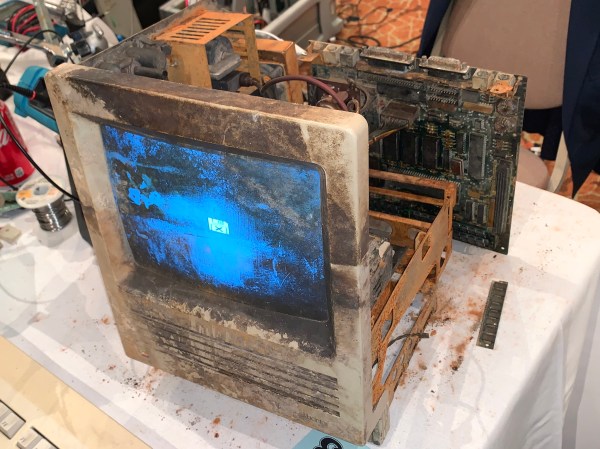
The star of the show here is Crusty, a Mac SE that was found on the loading dock of a scrap company. It sat out in the weather for at least 6 months, complete with the original leaking lithium battery.
Enter [RadRacer203], who is friends with the owner of this particular scrap company. [RadRacer203] and picked up Crusty, along with a few other classic Macs. He brought these machines to VCF East 2021, where our other hero comes in. [CJ] is something of a magician with CRTs and analog electronics. Trained under [Sark] himself, [CJ] has mastered the 5-finger exploding capacitor technique.
The battery had eaten through the mainboard and even into the chassis. But after a thorough cleaning, the damn thing booted up. Crusty was born.
This Mac was a survivor. Much like Top Gear and their plucky Toyota Hilux, [RadRacer203] and [CJ] devised a plan to put Crusty to the test.
Click through the break for more!
Continue reading “Crusty: The Story Of The Mac SE That Could”