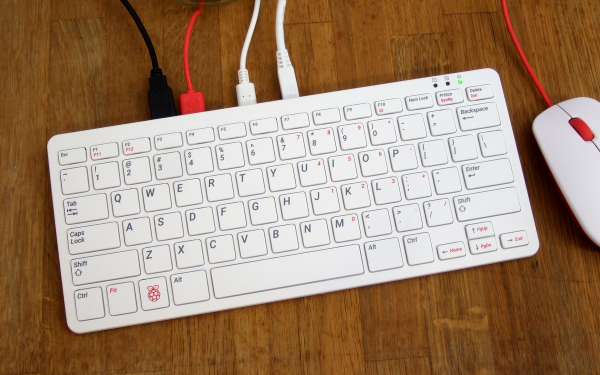
The newest Raspberry Pi 400 almost-all-in-one computer is very, very slick. Fitting in the size of a small portable keyboard, it’s got a Pi 4 processor of the 20% speedier 1.8 GHz variety, 4 GB of RAM, wireless, Ethernet, dual HDMI outputs, and even a 40-pin Raspberry Standard IDE-cable style header on the back. For $70 retail, it’s basically a steal, if it’s the kind of thing you’re looking for because it has $55 dollars worth of Raspberry Pi 4 inside.
In some sense, it’s getting dangerously close to fulfilling the Raspberry Pi Dream. (And it’s got one more trick up it’s sleeve in the form of a huge chunk of aluminum heat-sinked to the CPU that makes us think “overclocking”.)
We remember the founding dream of the Raspberry Pi as if it were just about a decade ago: to build a computer cheap enough that it would be within everyone’s reach, so that every school kid could have one, bringing us into a world of global computer literacy. That’s a damn big goal, and while they succeeded on the first count early on, putting together a $35 single-board computer, the gigantic second part of that master plan is still a work in progress. As ubiquitous as the Raspberry Pi is in our circles, it’s still got a ways to go with the general population.
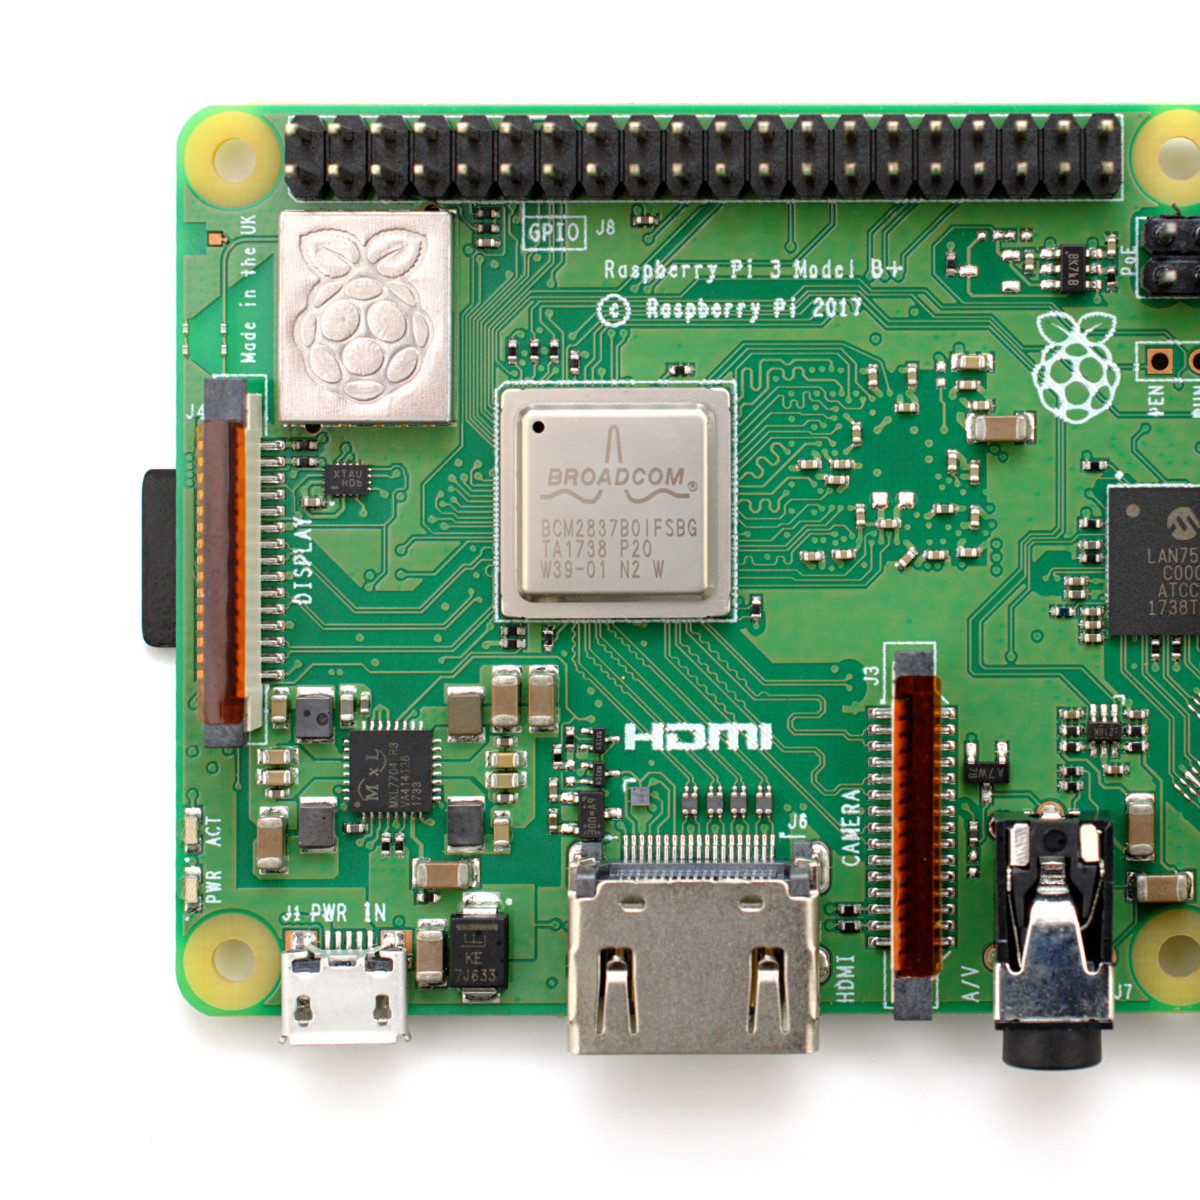
The Raspberry Pi Model B wasn’t, and isn’t, exactly something that you’d show to my father-in-law without him asking incredulously “That’s a computer?!”. It was a green PCB, and you had to rig up your own beefy 5 V power supply, figure out some kind of enclosure, scrounge up a keyboard and mouse, add in a monitor, and only then did you have a computer. We’ve asked the question a couple of times, can the newest Raspberry Pi 4B be used as a daily-driver desktop, and answered that in the affirmative, certainly in terms of it having adequate performance.
But powerful doesn’t necessarily mean accessible. If you want to build your own cyberdeck, put together an arcade box, screw a computer into the underside of your workbench, or stack together Pi Hats and mount the whole thing on your autonomous vehicle testbed, the Raspberry Pi is just the ticket. But that’s the computer for the Hackaday crowd, not the computer for everybody. It’s just a little bit too involved.
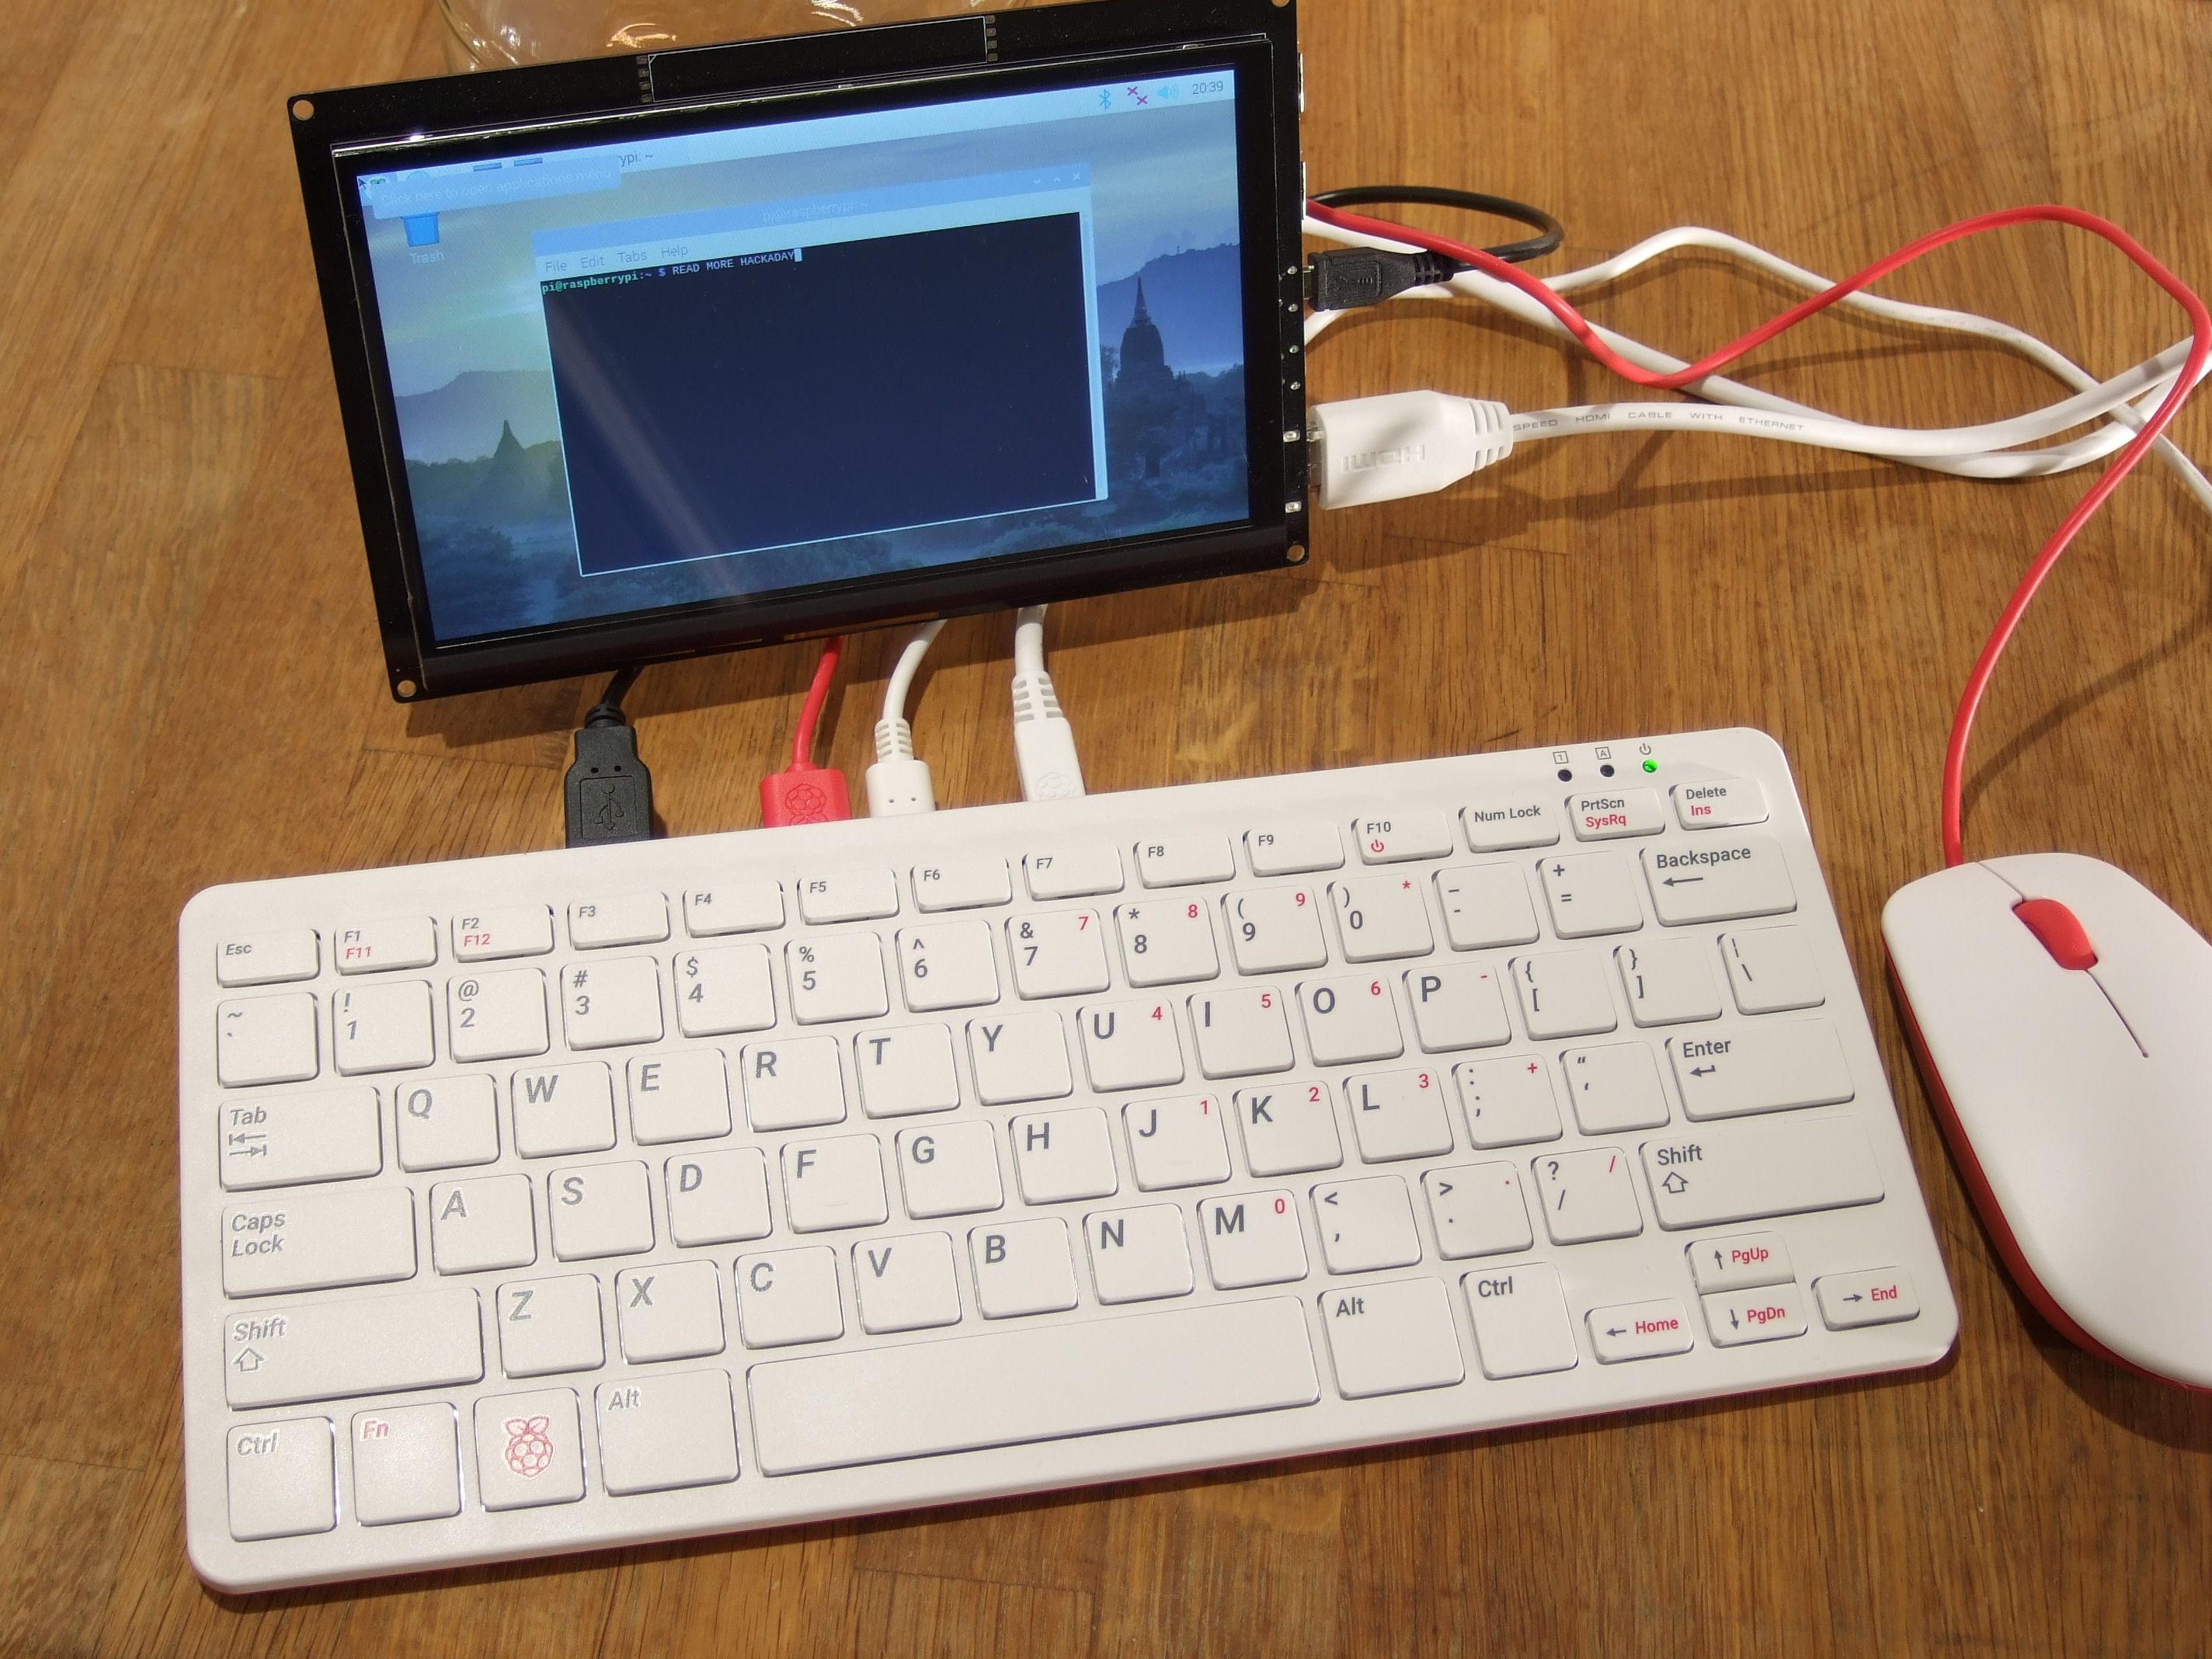 The Raspberry Pi 400, in contrast, is a sleek piece of design. Sure, you still need a power supply, monitor, and mouse, but it’s a lot more of a stand-alone computer than the Pi Model B. It’s made of high-quality plastic, with a decent keyboard. It’s small, it’s light, and frankly, it’s sexy. It’s the kind of thing that would pass the father-in-law test, and we’d suggest that might go a long way toward actually realizing the dream of cheaply available universal (open source) computing. In some sense, it’s the least Hackaday Raspberry Pi. But that’s not saying that you might not want one to slip into your toolbag.
Continue reading “New Raspberry Pi 400 Is A Computer In A Keyboard For $70”