If you are an American, you’ll probably now find yourself in one of three camps. People who are going to see the upcoming solar eclipse that will traverse your continent, people who aren’t going to see the eclipse, and people who wish everyone would just stop going on incessantly about the damn eclipse.
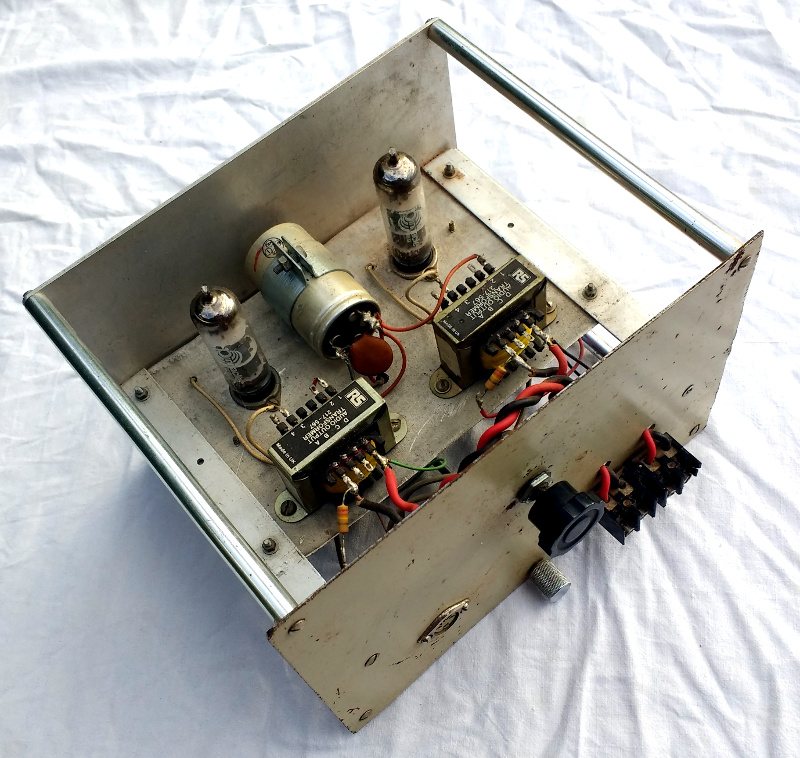
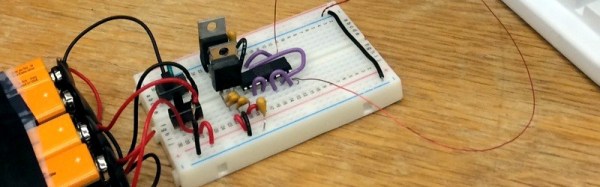
Whichever of those groups you are in though, there is an interesting project that you can be a part of, an effort from the University of Massachusetts Boston to crowdsource scientific observation of the effect a solar eclipse will have on the upper atmosphere, and in particular upon the propagation of low-frequency radio waves. To do this they have been encouraging participants to build their own simple receiver and antenna, and make a series of recordings of the WWVB time signal station before, during, and after the eclipse traverse.
This is an interesting and unusual take upon participation in the eclipse, and has the potential to advance the understanding of atmospheric science. It would be fascinating to also look at the effect of the eclipse on WSPR contacts, though obviously those occur in amateur bands at higher frequencies.
If you are an EclipseMob participant, we’d love to hear from you in the comments. Does your receiver perform well?
Thanks [Douglas] for the tip.