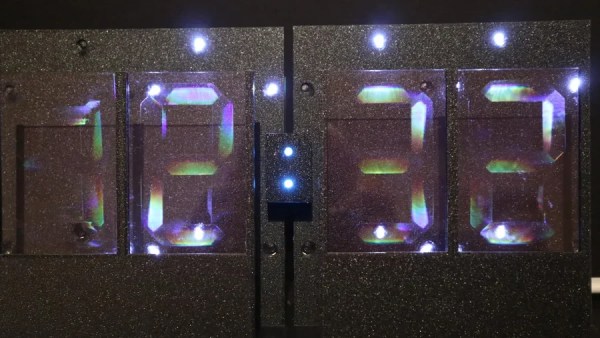
Seven-segment displays are one of the most ho-hum ways to display the time. They were cool for a little bit in the 70s, but by now, they’re a little bit old hat. That is, unless you get weird with it. This holographic seven-segment clock from [mosivers] qualifies neatly in that category.
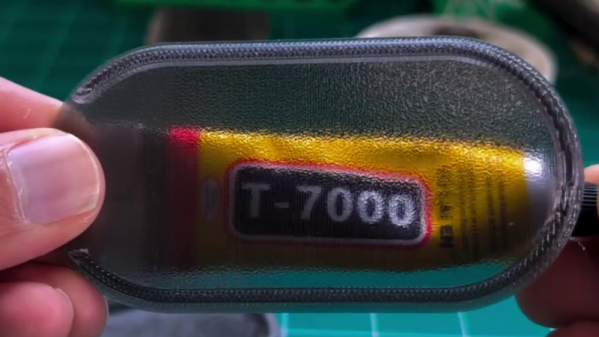
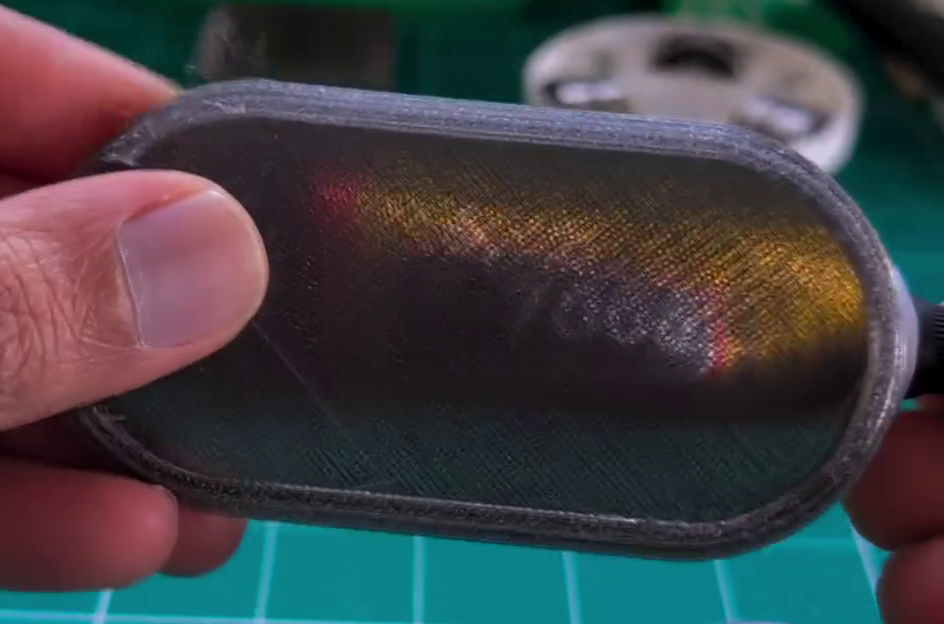
The first step was to make the holographic segment displays, because they’re not really something you can just buy off the shelf. [mosivers] achieved this by using a kit from LitiHolo, which enables you to create holograms by shooting a laser at special holographic film. Only, a few upgrades were made to use the kit with a nicer red diode laser that [mosivers] had on hand for better performance. The seven-segment layouts were carefully recorded on to the film to form the basic numerals of the clock, such that illuminating the films from different angles would light different segments of the numeral. It’s quite involved, but it’s explained well in the build video.
As for the timekeeping side of things, an ESP32 was used, setup to query a network time server to stay accurate. The microcontroller then commands a series of LEDs to light up as needed to illuminate the relevant segments of the holographic film to show the time.
Ultimately, [mosivers] built a cool clock with a look you won’t find anywhere else. It’s a lot more work than just wiring up some classic seven-segment LEDs, but we think the result is worth it. If you fancy other weird seven-segment builds, though, we’ve got plenty of others in the till.