When it comes to robots, few are as iconic as Robby. [Ogrinz Labs] has wanted to build one and even examined a real one up for auction to get high-res photos of it. He also combined his designs with some other open-source designs, and it looks good. He’s released his design as a Creative Commons-licensed set of STL files that you, in theory, could print. There are more details and instructions in the video below.
If you are looking for something quick to print for the weekend, this isn’t it. As you might expect, this is a lot to print. The creator admits, too, that it isn’t totally accurate. It has bigger feet, for example, so his feet can fit inside. There are a few other modifications made for different reasons, but only a hard-core Robby enthusiast would notice any of them.
The build consists of a 3D-printed hammer prop, inside of which is a Raspberry Pi Pico microcontroller running the show. It’s hooked up to a MPR121 touch sensor that detects when someone grips the handle of the hammer. At this point, the Pico makes a pseudorandom “worthiness check” as to whether the holder is righteous enough to wield the hammer. If they are pure of heart, it unlocks a magnet which frees the hammer from whatever metallic surface it might be stuck to. [alemanjir] also included a little additional functionality, with the hammer playing various sounds when swung thanks to a speaker and a ADXL345 accelerometer secreted inside.
One wonders whether the electromagnet inside is strong enough to hold out against an unworthy person lifting it from the ground. While it’s perhaps not as powerful or as decisive as the mythical object, it’s nonetheless a fun learning project that likely taught [alemanja] some useful basics of embedded development.
An ongoing refrain with modern movies is “Why is all of this CG?”– sometimes, it seems like practical effects are simultaneously a dying art, while at the same time modern technology lets them rise to new hights. [Davis Dewitt] proves that second statement with his RC movie star “robot” for an upcoming feature film.
The video takes us through the design process, including what it’s like to work with studio concept artists. As for the robot, it’s controlled by an Arduino Nano, lots of servos, and a COTS airplane R/C controller, all powered by li-po batteries. This is inside an artfully weathered and painted 3D printed body. Apparently weathering is important to make the character look like a well-loved ‘good guy’. (Shiny is evil, who knew?) Hats off to [Davis] for replicating that weathering for an identical ‘stunt double’.
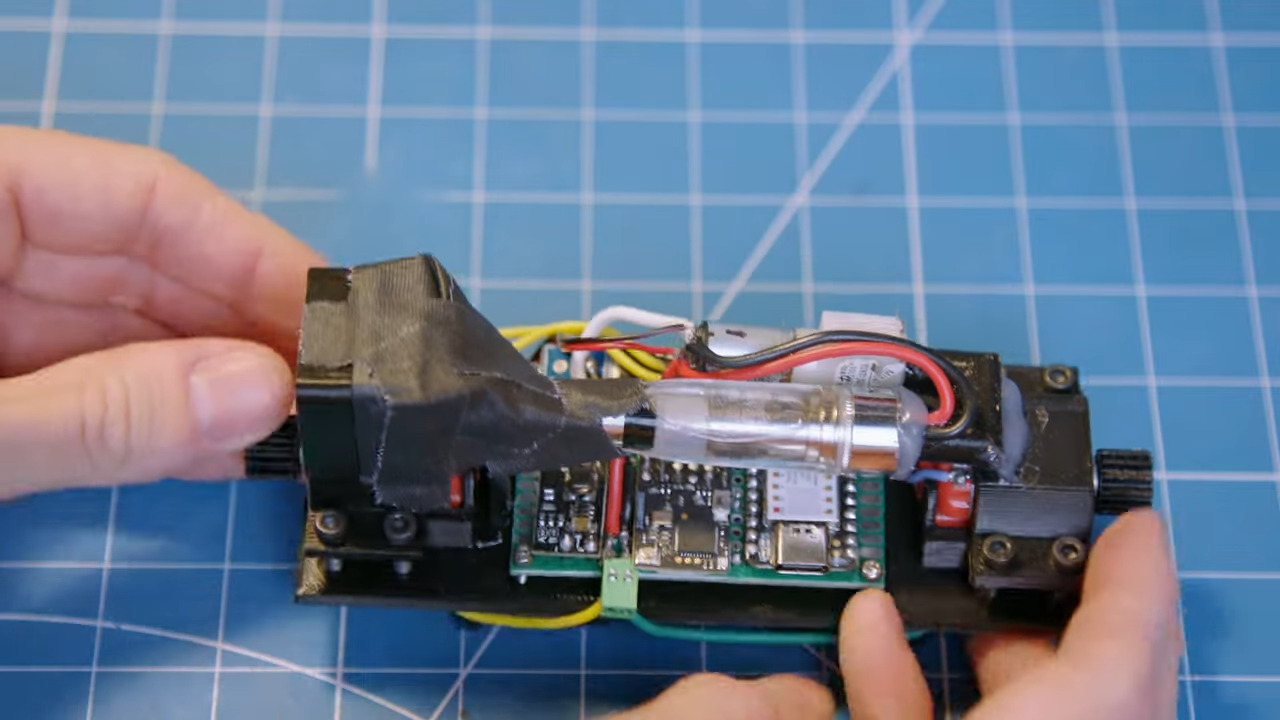
[Davis DeWitt] gets to do something that many of us only dream of — build cool working props for movies. This time, the director asked for a realistic smoke grenade that can roll up to a mark and stop on it every take, pouring out smoke the entire time.
[Davis] decided on a hamster ball-esque design that uses a pair of motors that he can control remotely, plus the innards from a vape pen and a tiny fan to distribute the smoke. The motors spin 3D printed wheels using printed gears attached to the shafts, which drive the whole assembly forward or backward.
In order to get everything to fit inside the printed canister, [Davis] had to use the smallest components he could find, like the Seeed Xiao SAMD21 and the DRV8833 motor driver. The whole thing is powered by a pair of 18650s, which, as you might imagine, really factored into the weight distribution scheme. In this case, the batteries act as a pendulum and keep the inner assembly level and not spinning wildly inside the canister.
Finally, it was time for the smoke grenade aesthetics. After what seemed like endless sanding, priming, and masking, [Davis] had a really good-looking smoke grenade that just needed some vinyl lettering and fake wear-and-tear to be complete. Be sure to check it out in action after the break.
[Jason Winfield] shared with us a video describing a project with a lot of personality: a mounted, lit, and quivering Alien facehugger triggered by motion. The end result is a delightful jump scare, and the Raspberry Pi that controls everything also captures people’s reactions.
It starts with a little twitch when motion is sensed, then launches into a perfectly unsettling quiver combined with light and sound. We particularly like the wave-like effect from the LED lighting, which calls to mind illumination from rotating hazard beacons.
The unit looks like a mounted and tastefully-lit static model, but is actually primed to sense motion.
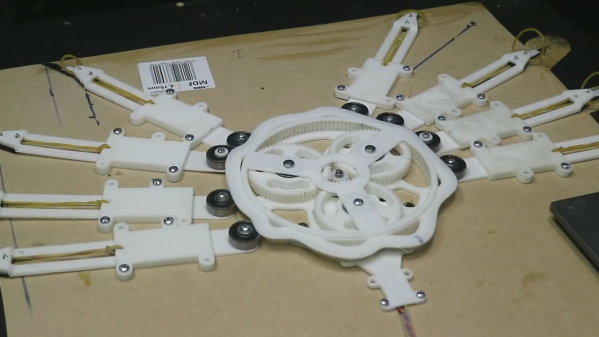
One challenge was how to efficiently move the legs. Rather than use a motor for each limb, [Jason] settled on a single motor driving a rotating cam arrangement. You can see the results for yourself in the video below, but getting there was not simple.
The surplus motor [Jason] chose is thin and high-torque, but runs extremely fast. Since he wanted the legs to quiver creepily rather than vibrate, something needed to be done to mitigate this.
The solution is a planetary gear assembly that drives a rotating ring and cam arrangement coupled to the facehugger’s legs. There’s only one motor, but the effect is that each leg’s motion is independent of the others. The whole assembly is quite slim, and everything is contained within the frame.
Facehuggers and gear assemblies are not exactly an everyday combination, but believe it or not this isn’t the first time the two have joined forces. Check out the Aliens-themed cuckoo clock, complete with crew member torso and emerging chestburster!
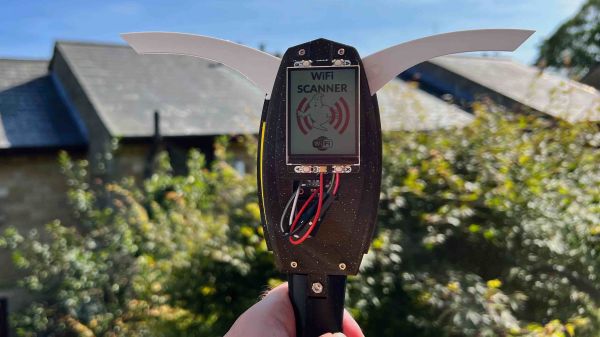
The original Ghostbusters movie is a classic that’s still delivering nearly 40 years after its release — just let that sink in for a minute. Almost every aspect of the film, from hand props to quotes, is instantly recognizable, even to people who haven’t based their lives on the teachings of [Venkman], [Stantz], and [Spengler]. To wit, we present this PKE meter-style WiFi scanner.
Of course, [Kevin McAleer]’s project is strictly in the “Just for Fun” category. But that doesn’t mean it’s not at least somewhat useful. The design is pretty close to the original PKE meter, with a little bit of creative license taken to make it easier to build. Guts include a Raspberry Pi Pico W and a generous 320×240 LCD display. The body of the meter is entirely 3D printed; design files are of course available. The meter’s arms are geared together to move with a single hobby servo.
On the software side, [Kevin]’s GUI lets users see a list of WiFi hotspots in the area and select one from the list. From there, the position of the arms is determined by the RSSI for the hotspot, similar to how the prop was supposed to indicate the proximity to a spook, specter, or ghost. There’s perhaps a bit of a missed opportunity by not adding LEDs to the arms, but we’ll let that slide.
The video below has full design and build details, but fair warning that it’s a bit on the long side. That’s probably just a reflection of how much work [Kevin] put into this, though. Of course, you may rather build a PKE meter that “actually” detects ghosts, in which case we’ve got you covered.
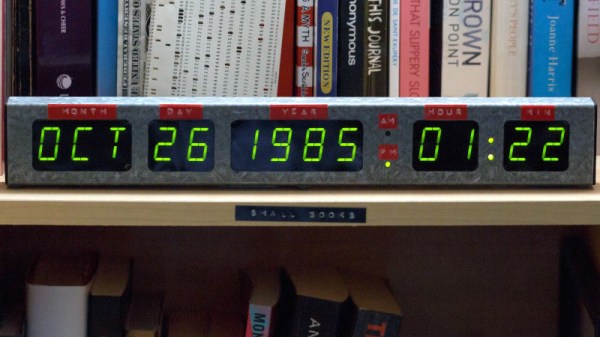
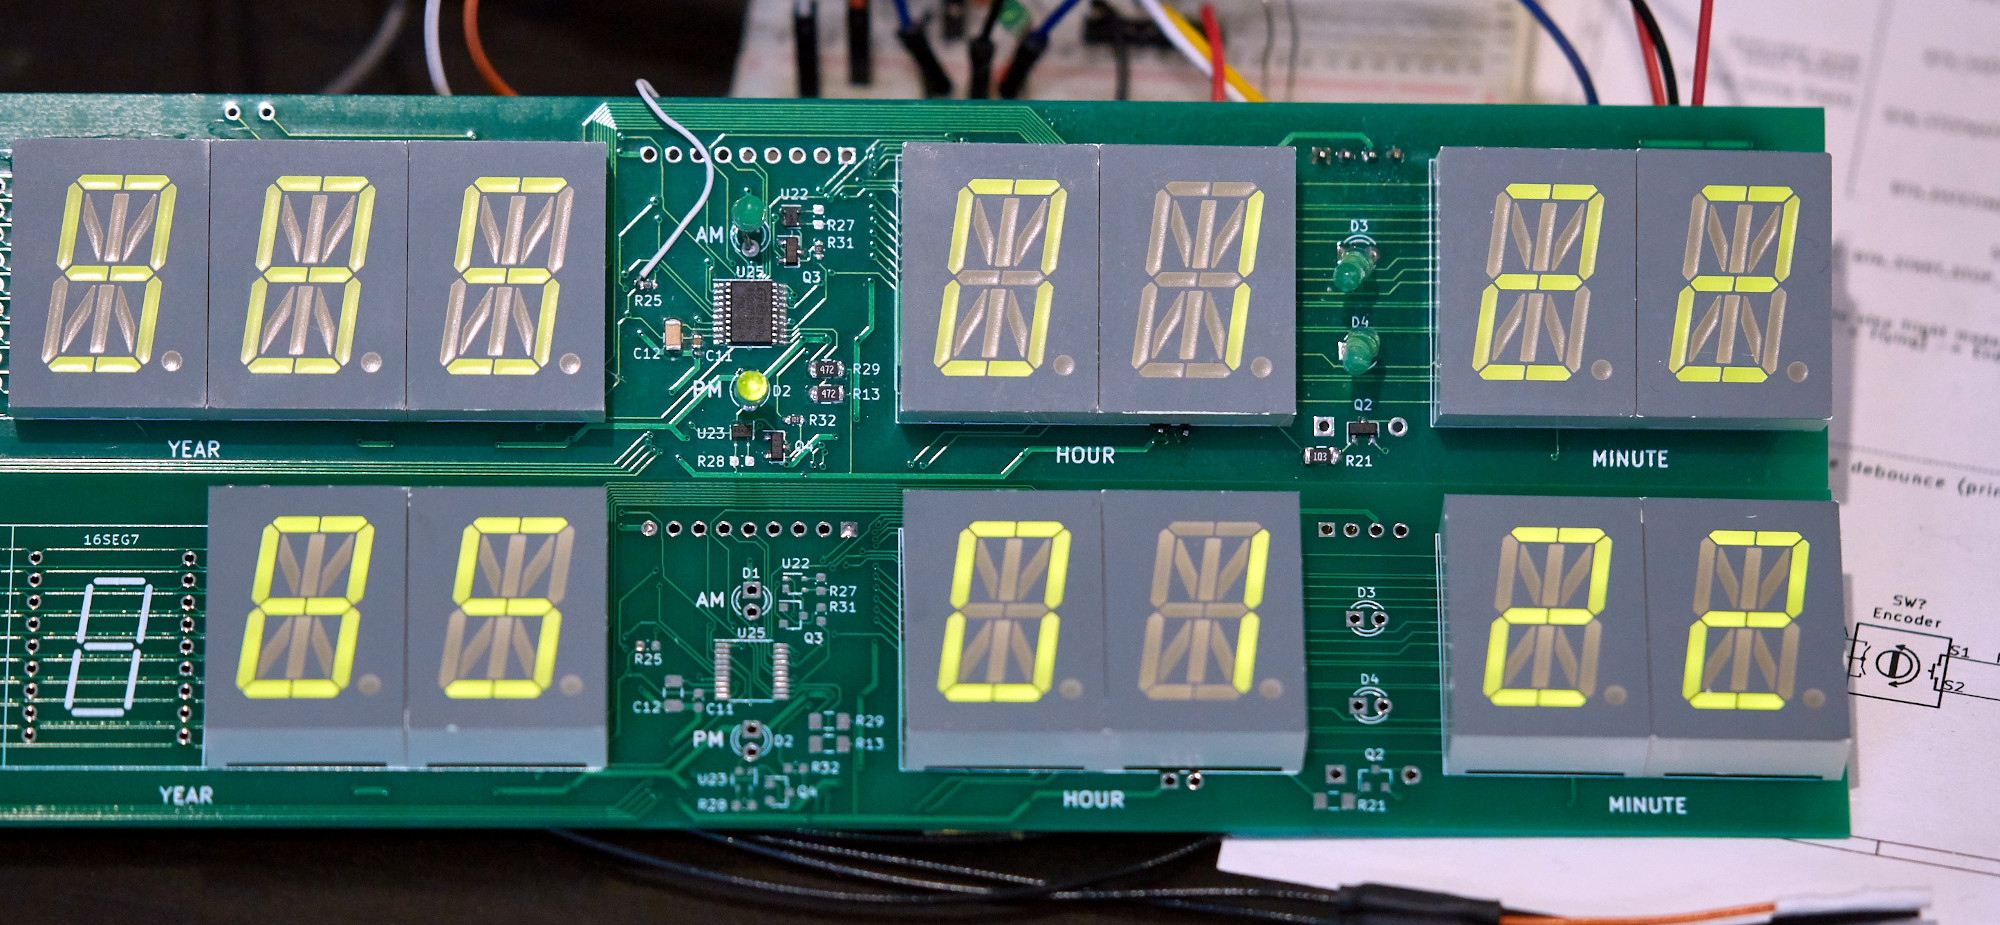
We say it’s a tribute rather than an exact replica, as it only implements the “present time” section of the time circuits. However, for those of us without time machines, that’s more than enough. In any case, the build is a very faithful recreation. It uses a lovely sheet metal enclosure complete with era-appropriate sticky labels.
Naturally, the numerals are all shown on green segment displays, though [Stephen] used 16-segment devices instead of the more typical 7-segment parts. What really helps add to the look is the shaded acrylic windows, which adds a very nice effect.