Supercon 2022: All Aboard The SS MAPR With Sherry Chen

How do you figure out what is in a moving body of water over a mile wide? For those in charge of assessing the water quality of the Delaware river, this is a real problem. Collecting the data required to evaluate the water quality was expensive and time-consuming, taking over six years. Even then, the data was relatively sparse, with just a few water quality stations and only one surface sample for every six miles of river.

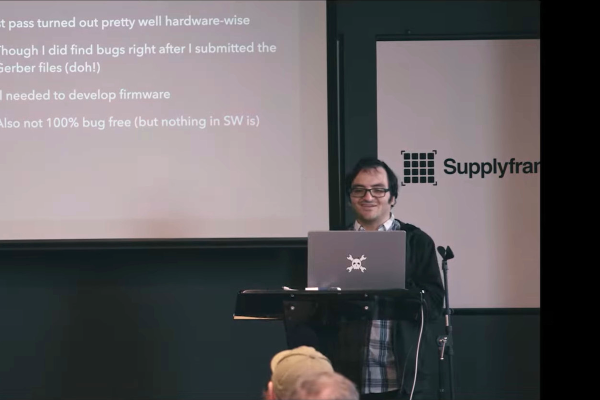
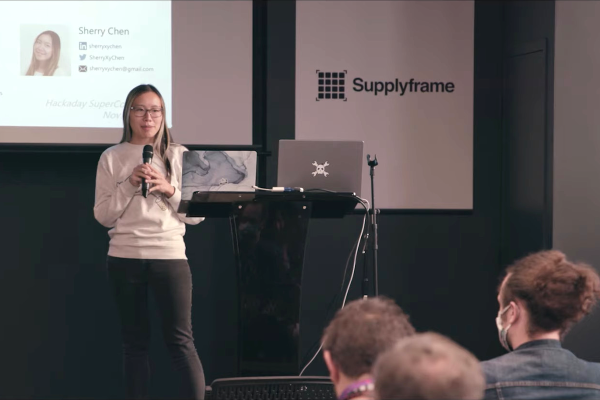
Sherry Chen, Quinn Wu, Vanessa Howell, Eunice Lee, Mia Mansour, and Frank Fan teamed up to create a solution, and the SS MAPR was the result. At Hackaday Supercon 2022, Sherry outlined the mission, why it was necessary, and their journey toward an autonomous robot boat. What follows is a fantastic guide and story of a massive project coming together. There are plans, evaluations, and tests for each component.

Sherry and the team first started by defining what was needed. It needed to be cheap, easy to use, and able to sample from various depths in a well-confined bounding box. It needed to run for four hours, be operated by a single person, and take ten samples across a 1-mile (2 km) section of the river. Some of the commercial solutions were evaluated, but they found none of them met the requirements, even ignoring their high costs. They selected a multi-hull style boat with off-the-shelf pontoons for stability and cost reasons.
Continue reading “Supercon 2022: All Aboard The SS MAPR With Sherry Chen”

A Number Maze For Younger Hackers

[David Johnson-Davies] has a lofty goal of building a small device to give to younger hackers on a semi-yearly basis. So this last year, he designed and created The Number Maze Game, a small handheld logic puzzle maze.

It’s based on several 4-digit seven-segment displays controlled by an AVR128DA32. Navigation is just a few push buttons and a buzzer to let you know when you’ve won. The game is simple: you jump the amount listed on the space you’re currently on, trying to get to the space labeled “H.” [David] lays out how he built it in great detail, discussing the process of designing and assembly. He also expounds on many decisions, such as using a TQFP microcontroller instead of the through-hole ATmega328P due to the I/O pin count.

The instructions and design process are so detailed we’re confident most people could easily reproduce it, especially with the code and board files. But the value of this project is not in blindly copying it. Instead, we love how something so simple can be wonderfully entertaining and valuable to younger hackers. Programming headers are included so they can add new mazes. We suspect there are many out there who would love to get something so tactile, simple, and modifiable.

Of course, we’ve seen other minimal maze games, so there’s no lack of inspiration for making some different.

A Simple Serial Display

Often with more “modern” complex protocols involving handshaking, token exchanges, and all the other hoops and whistles accompanying them, we forget how useful and powerful serial can be. In what might be a wonderful tribute to that, [Davide Gironi] created a simple AVR-powered 16-digit serial display.

It can display two numbers, and that’s it. A MAX7219 drives the display, and the brains are an ATmega8. It’s straightforward to send new values: a start byte, a CRC, the data to display, and an end byte. A CP2102 provides a UART to USB interface to connect to a host. An EEPROM helps it remember the last numbers shown. It supports positive, negative, and floating-point numbers.

This is a beautiful example of doing one thing and doing it well. The design is simple and allows it to be used for anything. You can show the current stock market price, the time for the next two trains for your commute, or whatever else you can think of. [Davide] included a schematic, code, and a 3d printed enclosure.

Perhaps the idea could be combined with a clever design for a single-motor seven-segment display.

Continue reading “A Simple Serial Display”

Spaceballs Get Serialized

As much as we’d love a TV show version of the cult classic movie, we’re talking about a different kind of Spaceball. While there have been many iterations, [Evan] had a Spaceball built by a company known as Spacetec in 1991 and rebranded by HP. Being an older peripheral, he used the Orbotron 9001, a converter from RS232 serial to USB, to interface his Spaceball with modern devices.

The spaceball was one of the first 6 degrees of freedom controllers, useful for CAD and some games that supported it. It’s famous for being involved in the NASA Mars Pathfinder mission as it was used to control the Sojourner rover. In addition to the perfect orb, it also features eight handy buttons.

The Orbotron is a USB-capable microcontroller (Atmel SAMD21) designed to support the Spaceball 360, 4000, and 5000 series. Ultimately, after tinkering with the code to support the 2003 and 3003 Spaceballs, he had some reasonably usable with some rough edges. For example, acceleration curves still need tweaking, and going too fast can get you stuck. The downside was the rubber coating on the ball that had degraded over the years, making it horrendously sticky.

All the code changes are on GitHub. We’d love to see more spacemice integrated into things, like this ergonomic keyboard. Or even an open-source version of a spacemouse. After the break, we have a video of [Adafruit] showing a Spaceball 2003 working with a serial adapter.

Continue reading “Spaceballs Get Serialized”

Recreating A Numpad For The ADM-3A

[Evan] already had a working ADM-3A (a dumb terminal from 1976) but was starting to eye the accessories hungrily. He had only seen the numpad on Wikipedia and in the manual. So when he found some authentic stackpole numpads on a surplus sale, he grabbed them and converted them to be ADM-3A compatible.

Looking at the schematic for the ADM-3A, [Evan] figured out that the numpad was parallel to the keyboard matrix, not adjacent. This meant that pressing a five on the keyboard was electrically equivalent to pressing a five on the keyboard. So holding shift while punching on the numpad leads to some unexpected characters for those of us used to more modern keyboards. Since [Evan] only needed to make one or two of these, he soldered wires directly to switch contacts in the matrix that the ADM-3A expects. A 3d printed housing, some rubber feet, and a ribbon cable later, it was done. While it looks slightly different from the original, the vibe is right, and given that it is a stackpole switch, it has the same feel. With the spare numpads, he created a replacement PCB that runs QMK and connects to a more modern computer via USB-C. The files for the 3d printed housing are also up on GitHub, along with the PCBs and QMK configuration files.

If you’re interested in what more you can do with an ADM-3A, why not hook it up to a Raspberry Pi?

Supercon 2022: Mooneer Salem Goes Ham With An ESP32

After being licensed as a ham radio operator since the early 2000s, you tend to start thinking about combining your love for the radio with other talents. In a 20-minute talk at Hackaday Supercon 2022, [Mooneer Salem] tells the story of one such passion project that combined software and radio to miniaturize a digital ham radio modulator.

[Mooneer] works as a software developer and contributes to a project called FreeDV (free digital voice), a digital voice mode for HF radio. FreeDV first compresses the digital audio stream, then converts it into a modulation scheme sent out over a radio. The appeal is that this can be understandable down to very low signal-to-noise ratios and includes metadata and all the other niceties that digital signals bring.

Traditionally, this has required a computer to compress the audio and modulate the signal in addition to two sound cards. One card processes the audio in and out of your headset, and another for the audio coming in and out of the radio. [David Rowe] and [Rick Barnich] developed the SM1000, a portable FreeDV adapter based around the STM32F4 microcontroller. However, flash space was running low, and the cost was more than they wanted. Continue reading “Supercon 2022: Mooneer Salem Goes Ham With An ESP32”

Giving Stable Diffusion Some Depth

You’ve likely heard quite a bit of buzz over the last few months about Stable Diffusion. The new version (v2) has come out, and in addition to the standard image-to-image and text-to-image modes, it also has a depth-image-to-image that can be incredibly useful. [Andrew] has a write-up that guides you on using this mode.

The basic idea is that you can take both an image and depth into the model, which allows you to control what gets put where. Stable Diffusion is a bit confusing, but we already have some great resources to wrap your head around it. In terms of input, you can use a depth map from a camera with lidar (many recent phones include this) or have another model (like MiDaS) estimate it from a 2D picture. This becomes powerful when you can preserve a specific composition, such as an iconic scene from a well-known movie. You can keep the characters’ poses on the screen but transform the style of the scene into whatever you wish (as seen above).

We have already covered a technique to generate textures right in blender, but this new depth information has already been implemented to provide better accuracy of the textures.

[Justin Alvey] used it to create architectural photos from dollhouse furniture. Using the MiDaS model, he estimated the depth and threw away the RGB aspects by setting the denoising strength to maximum. The simplified dollhouse furniture was easily recognizable to the model, which helped produce great results.

However, the only downside is that the perspective produces a rather dollhouse feel. Changing the focal length and moving farther away helps. Overall, it’s a clever use of what the new AI model can do. It’s a fast-moving space, so this will likely be out of date in a few months.