Usually, when you want a servo motor, you simply buy one already made. But if you need something unusual, you can turn any DC motor into a custom servo you can control just like [Dejan] did. You can watch a video of the process below.
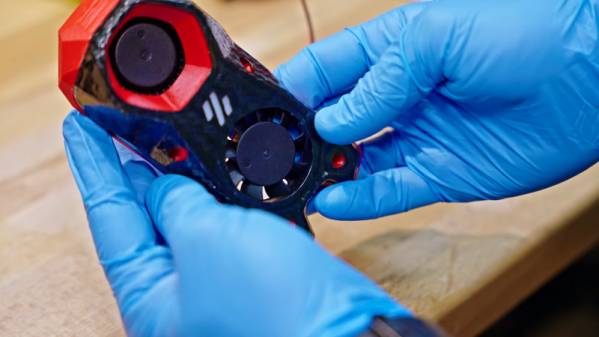
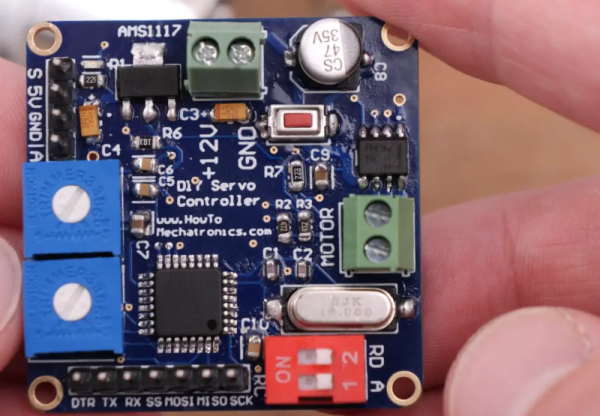
The custom servo can tune the endpoints, the center point, and the sensitivity. It also can be set to handle continuous rotation. A 12-bit encoder tells the microcontroller where the motor is and the output drivers can handle over 3 A of motor current. The microprocessor is a tried-and-true ATmega328. [Dejan] wanted to make the board as small as possible, and we think 40 mm square isn’t bad at all. There is also a 3D printed gearbox and housing. Overall, a very well-done project.
The motor control uses a PID algorithm. Potentiometers set the end range and sensitivity. A push button allows resetting the center position. DIP switches control the mode. The video shows a computer and an RC controller setting the position of the motors.
We have, of course, seen many variations on this idea. We’ve also seen servos rebuilt for better performance.