LiDAR Matrix Sensor Sees In 3D

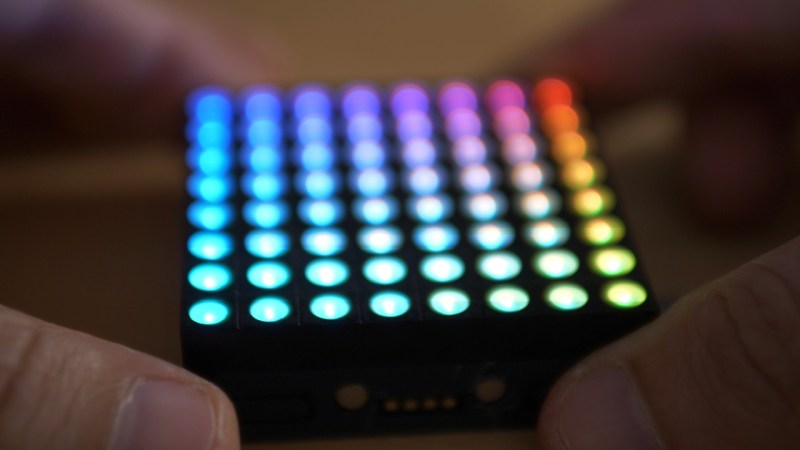
[Mellow_Labs] picked up a few LiDAR matrix sensors and found them very exciting. While a normal time-of-flight sensor can accurately determine a range,  the matrix sensor is like an array of 64 sensors that can build a 2D map of distances from 2 cm to 3.5 m. [Mellow] wanted to add the sensor to his robot to help it see what was in front of it. You can see how it worked out in the video below.

The robot in question is Zippy, a 3D printed tank-like robot with an ESP32. By default, the robot requires control inputs, but using the sensor will enable autonomous operation. For good or ill, the sensor mounted to Zippy was seeing the floor with about half of the rows. That means about 50% of the data went to waste. However, we think having a robot be able to see the floor in front of it might be a good thing.

[Mellow] used an LLM to write most of the code, so there were a number of iterations required to get things working. This required decimating even more of the data from the sensor. Still, pretty impressive.

Want to learn more about ToF sensors? Or if you want to focus on the practical, there’s code you can borrow.

Continue reading “LiDAR Matrix Sensor Sees In 3D”

LED Matrix Clock Proudly Shows Its Inner Wiring

Some projects take great care to tuck away wire hookups, but not [Roberto Alsina]’s Reloj V2 clock. This desktop clock makes a point of exposing all components and wiring as part of its aesthetic. There are no hidden elements, everything that makes it work is open to view. Well, almost.

The exception is the four MAX7219 LED matrices whose faces are hidden behind a featureless red panel, and for good reason. As soon as the clock powers up, the LEDs shine through the thin red plastic in a clean glow that complements the rest of the clock nicely.

[Roberto]’s first version was a unit that worked similarly, but sealed everything away in a wedge-shaped enclosure that was just a little too sterile, featureless, and ugly for his liking. Hence this new version that takes the opposite approach. Clocks have long showcased their inner workings, and electronic clocks — like this circuit-sculpture design — are no exception.

The only components, besides the Raspberry Pi Zero W and the LED matrices, are the 3D-printed enclosure with a few hex screws and double-sided tape. Design files and code (including the FreeCAD project file) are available should you want to put your own spin on [Roberto]’s design.

Back To Basics: Hacking On Key Matrixes

A lot of making goes on in this community these days, but sometimes you’ve just gotta do some old fashioned hacking. You might have grabbed an old Speak and Spell that you want to repurpose as an interface for a horrifyingly rude chatbot, or you’ve got a calculator that is going to become the passcode keypad for launching your DIY missiles. You want to work with the original hardware, but you need to figure out how to interface all the buttons yourself.

Thankfully, this is usually an easy job. The vast majority of buttons and keypads and keyboards are all implemented pretty much the same way. Once you know the basics of how to work with them, hooking them up is easy. It’s time to learn about key matrixes!

Continue reading “Back To Basics: Hacking On Key Matrixes”

Modded Lightbox Makes For Attractive LED Matrix Display

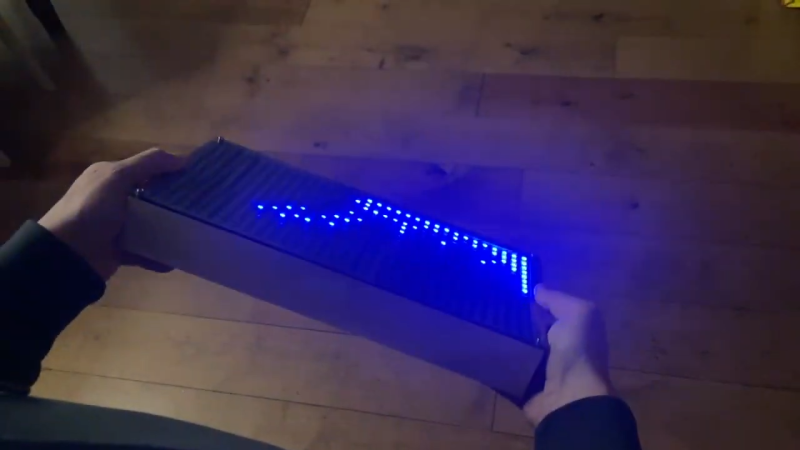
If you’ve been to a wedding or a downtown coffee shop in the last 10 years, you’ve probably seen those little lightboxes that are so popular these days. They consist of letters placed on a plastic frame in front of a dim white light, and they became twee about five minutes after your hipster friend first got one. However, they can also make a neat basis for an LED display, as [Folkert van Heusden] demonstrates. 

The build is straightforward enough, using daisy chains of 32×8 LED matrix modules, two each for the three rows of the lightbox. This provides for a 24 character textual display, or a total display resolution of 64 x 24 pixels. An ESP8266 is used to command the matrixes, which are run by MAX7219 display controllers. Thanks to the microcontroller’s onboard wireless hardware, the display can be addressed in a number of ways, such as using the LedFX DDP protocol or [Folkert’s] Pixel Yeeter python library. Files are on GitHub for the curious.

Quite a few of these exist out in the wild — [Folkert] has built a variety of modded lightboxes over the years with varying internals. The benefit of the lightbox is that it effectively acts as a handy housing for LED matrixes and supporting electronics, while also providing a neat diffuser effect. The lightboxes are also readily wall mountable and generally look more like an intentional piece of signage than most things we might homebrew in the lab.

We’ve featured similar-looking builds before, like this public transit display that was hacked for custom use. If you’re building your own public information boards or other nifty LED displays, don’t hesitate to notify the tipsline!

Tidy LED Matrix Displays GIFs On Demand

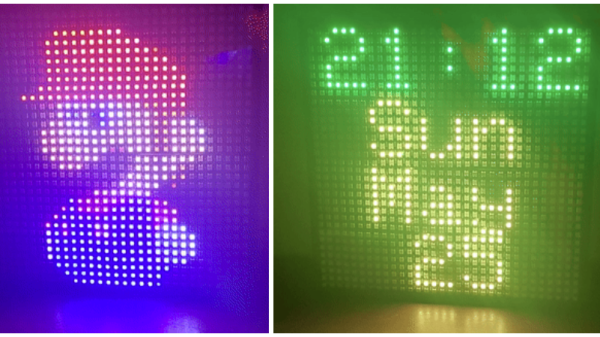
When it comes to LED matrixes, building one is just the first step. Then you have to decide what to display on it. [panjanek] came up with a relatively flexible answer to this question, building an RGB LED matrix that can display the GIFs of your choice.
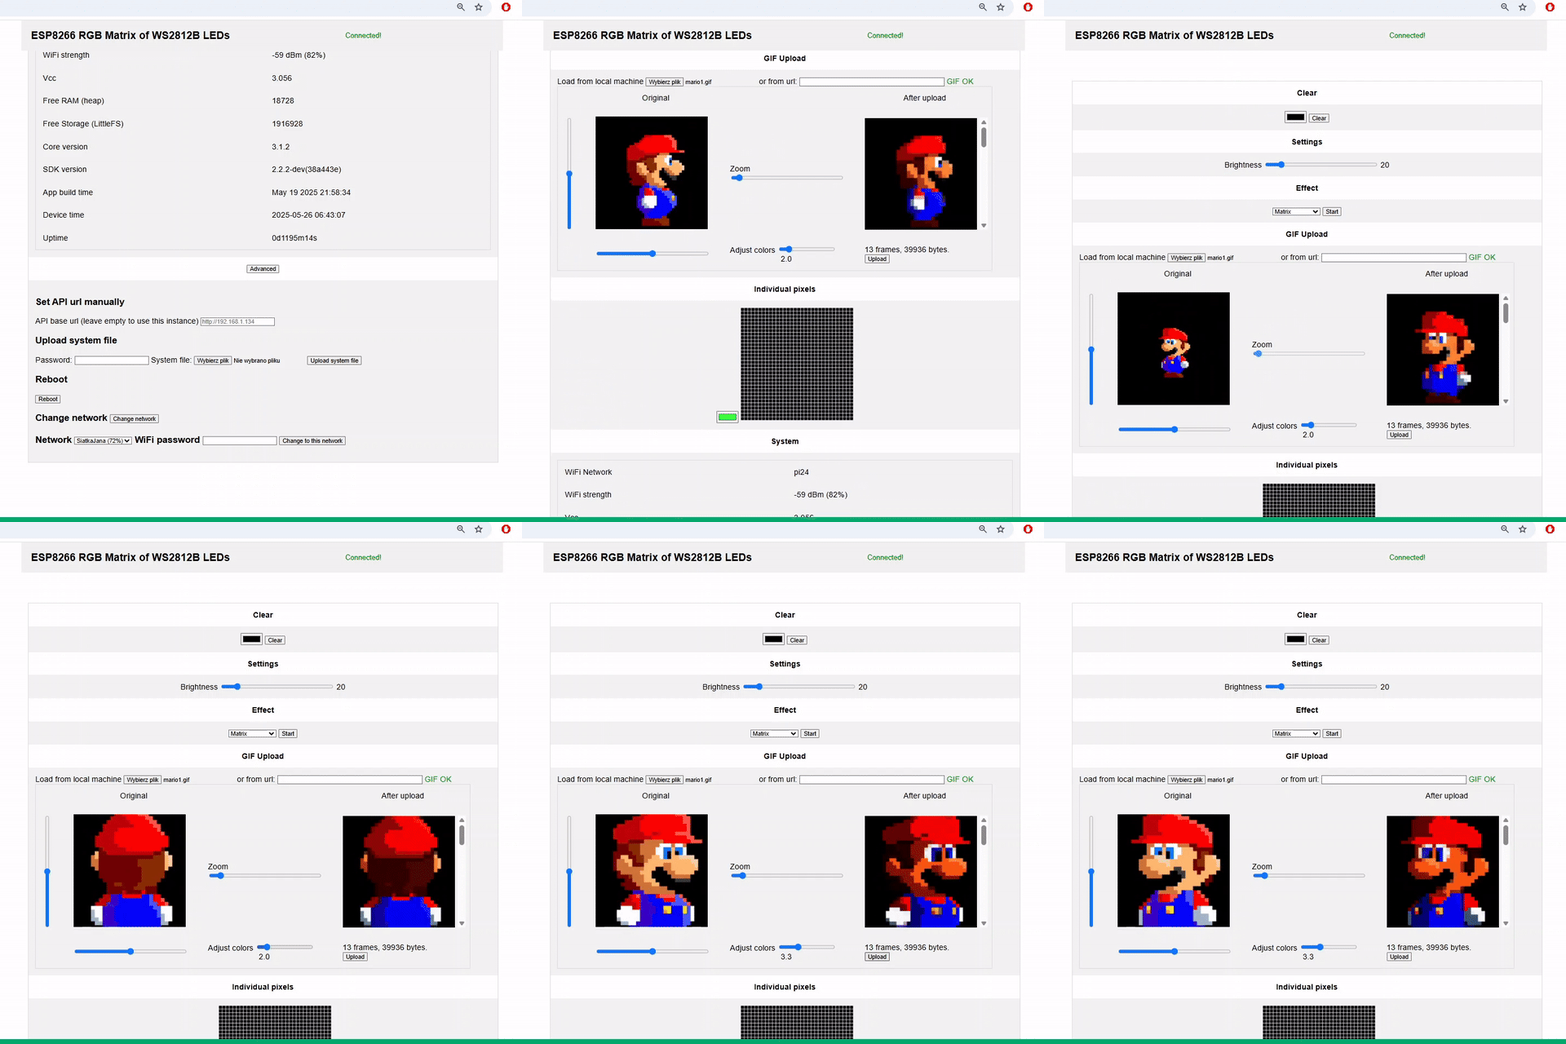
The web interface accepts GIFs for display.

[panjanek] grabbed WS2812B addressable LEDs for this project, assembling them into a 32 x 32 matrix that fits perfectly inside an off-the-shelf Ikea picture frame. The matrix is hooked up to an ESP8266 microcontroller, which acts as the brains of the operation. The WiFi-enabled microcontroller hosts its own web interface, with which the project can be controlled. Upon opening the page, it’s possible to upload a GIF file that will be displayed as an animation on the matrix itself. It’s also possible to stream UDP packets of bitmap data to the device to send real-time animations over a network.

It’s a neat build, and one that answers any questions of what you might display on your LED matrix when you’re finished assembling it. Code is on Github if you fancy implementing the GIF features in your own work. We’ve featured some unexpected LED matrix builds of late, like this innovative device for the M.2 slot. Meanwhile, if you’re cooking up your own creative LED builds, don’t hesitate to let us know on the tipsline!
LED Matrix Built For M.2 Interface

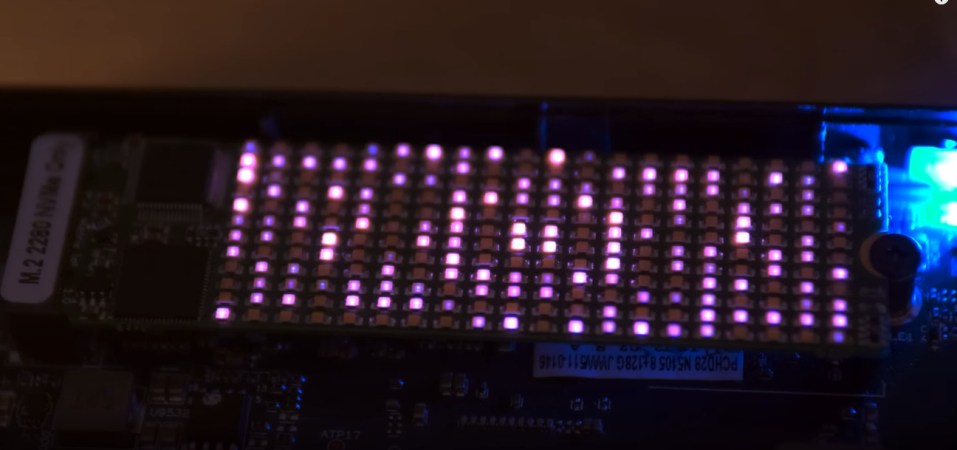
The M.2 slot is usually used for solid-state storage devices. However, [bitluni] had another fun idea for how to use the interface. He built an M.2 compatible LED matrix that adds a little light to your motherboard.

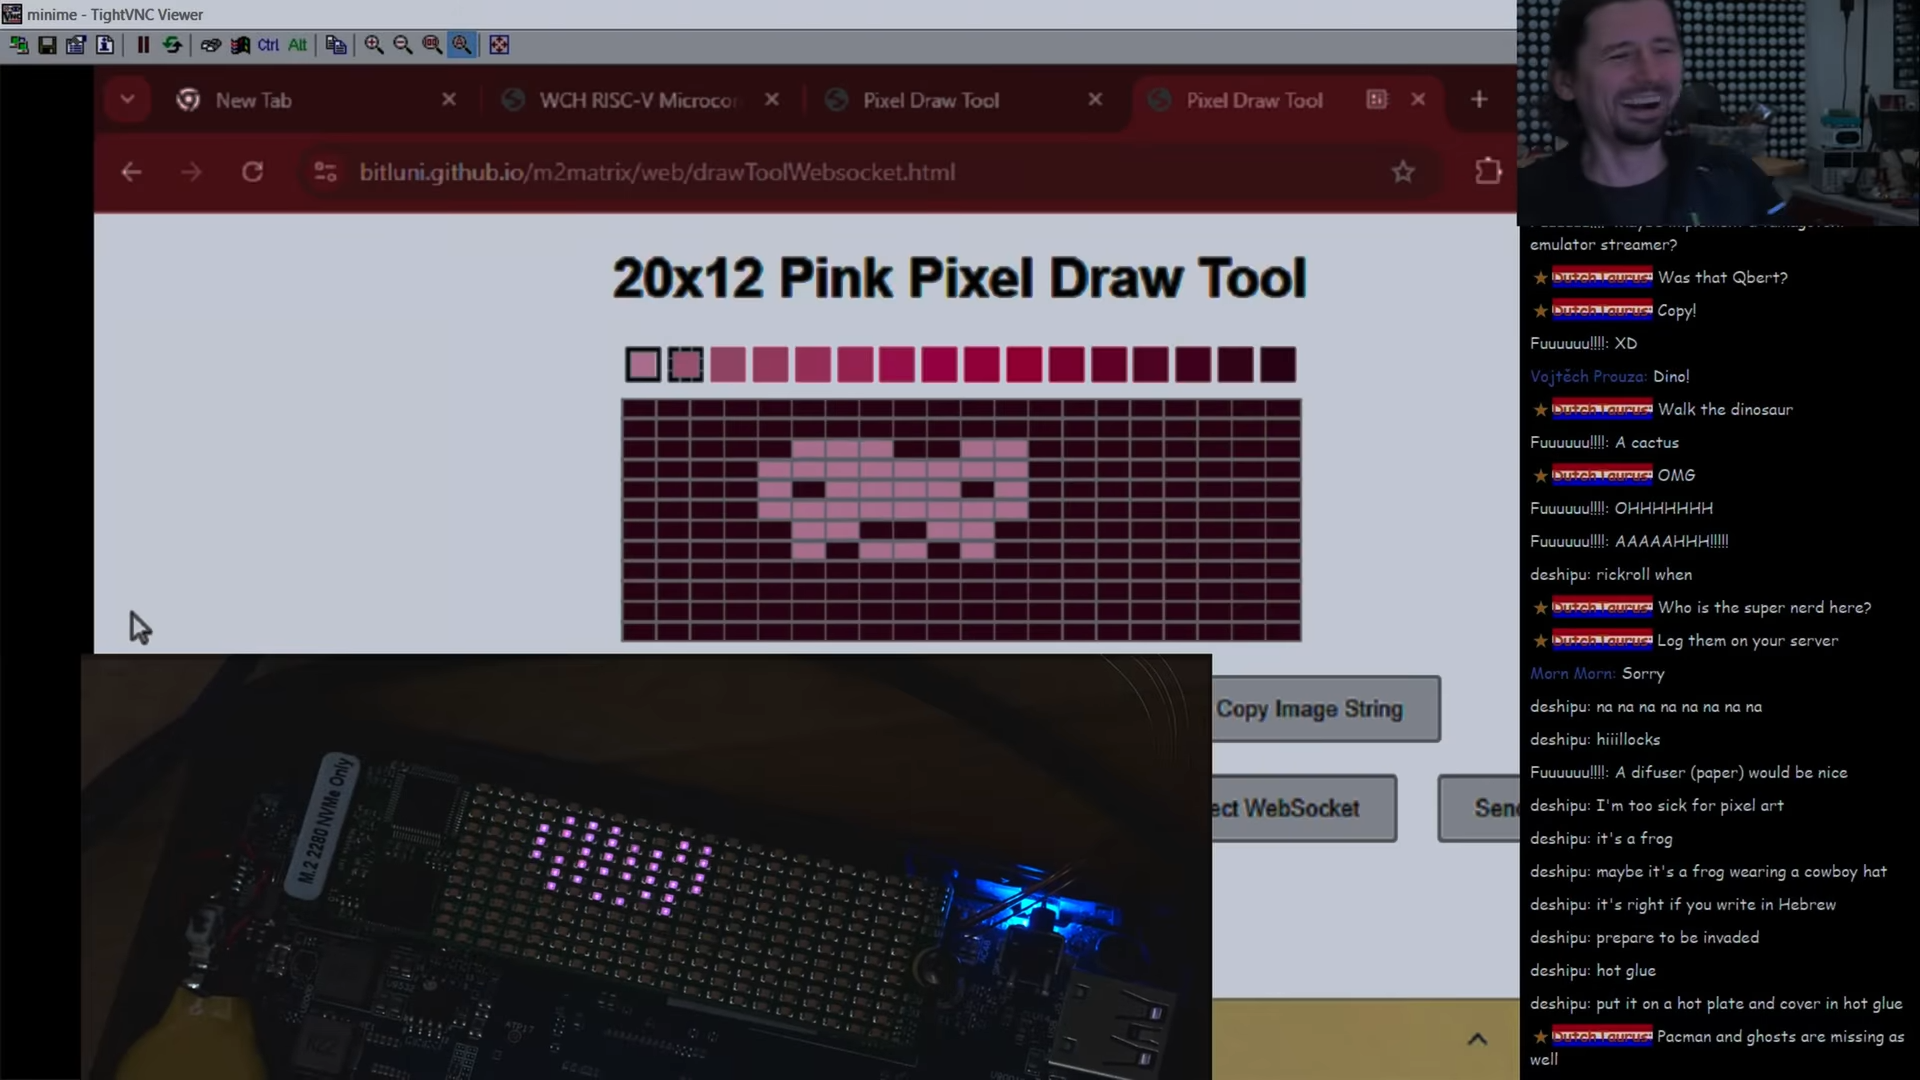
[bitluni] built a web tool for sending images to the matrix.
[bitluni] noted that the M.2 interface is remarkably flexible, able to offer everything from SATA connections to USB, PCI Express, and more. For this project, he elected to rely on PCI Express communication, using a WCH CH382 chip to translate from that interface to regular old serial communication.

He then hooked up the serial interface to a CH32V208 microcontroller, which was tasked with driving a 12×20 monochrome LED matrix. Even better, he was even able to set the microcontroller up to make it programmable upon first plugging it into a machine, thanks to its bootloader supporting serial programming out of the box. Some teething issues required rework and modification, but soon enough, [bitluni] had the LEDs blinking with the best of them. He then built a web-based drawing tool that could send artwork over serial direct to the matrix.

While most of us are using our M.2 slots for more traditional devices, it’s neat to see this build leverage them for another use. We could imagine displays like this becoming a neat little add-on to a blingy computer build for those with a slot or two to spare. Meanwhile, if you want to learn more about M.2, we’ve dived into the topic before.

Continue reading “LED Matrix Built For M.2 Interface”

Interactive LED Matrix Is A Great Way To Learn About Motion Controls

It’s simple enough to wire up an LED matrix and have it display some pre-programmed routines. What can be more fun is when the LEDs are actually interactive in some regard. [Giulio Pons] achieved this with his interactive LED box, which lets you play with the pixels via motion controls.

The build runs of a Wemos D1 mini, which is a devboard based around the ESP8266 microcontroller. [Giulio] hooked this up to a matrix of WS2812B addressable LEDs in two 32×8 panels, creating a total display of 512 RGB LEDs. The LEDs are driven with the aid of an Adafruit graphics library that lets the whole display be addressed via XY coordinates. For interactivity, [Giulio] added a MPU6050 3-axis gyroscope and accelerometer to the build. Meanwhile, power is via 18650 lithium-ion cells, with the classic old 7805 regulator stepping down their output to a safe voltage. Thanks to the motion sensing abilities of the MPU6050, [Giulio] was able to code animations where the LEDs emulate glowing balls rolling around on a plane.

It’s a simple build, but one that taught [Giulio] all kinds of useful skills—from working with microcontrollers to doing the maths for motion controls. There’s a lot you can do with LED matrixes if you put your mind to it, and if you just start experimenting, you’re almost certain to learn something. Video after the break.

Continue reading “Interactive LED Matrix Is A Great Way To Learn About Motion Controls”