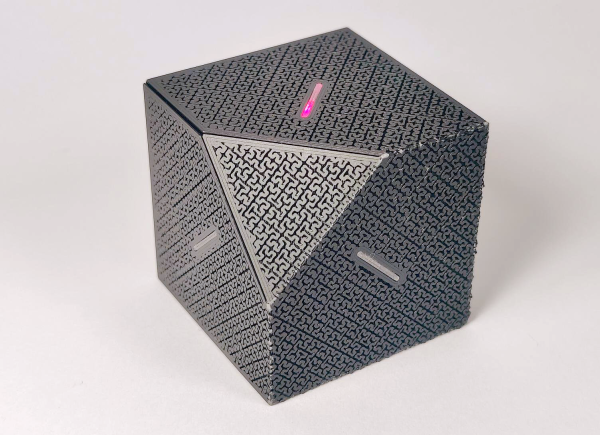
A desktop Borg cube. Just kidding, it's a buttonless, cube-shaped timer with a really neat 3D-printed enclosure.

FlipBuddy Is Borg, You Will Be Assimilated

When you think about it, time is all we’ve really got. Where to go from there is ultimately up to you. Maybe you use an app to track every task, or just go with the onboard timer. But that can be a lot of steps to begin with, and then the phone screen goes dark again. For some people, the whole out of sight, out of mind thing will kick in. At worst, you get distracted, start doing something else, and then feel guilty and frustrated when the timer starts going off.

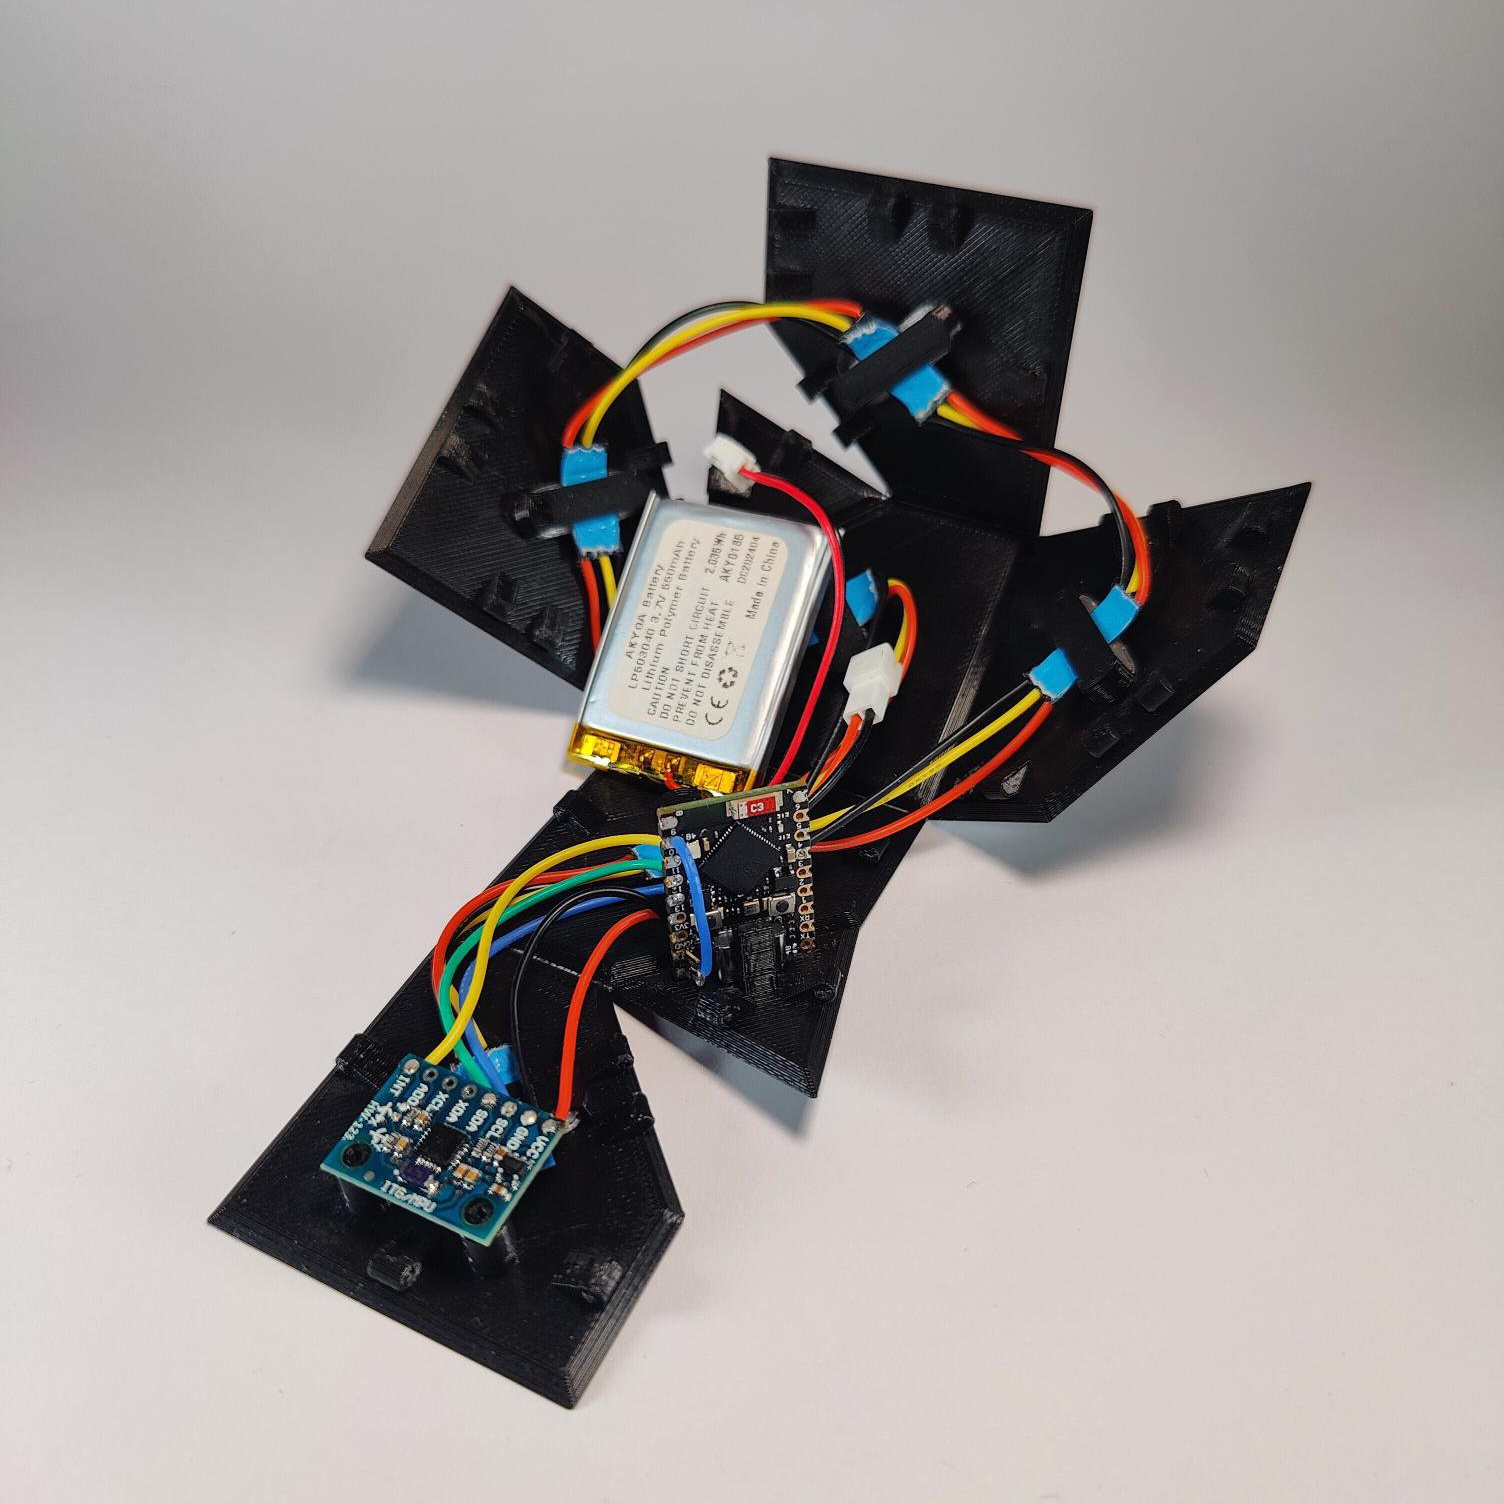
The guts of FlipBuddy inside the unfurled enclosure.But there’s hope for us visual simpletons, and the purveyor of that hope is [Edris] of Ponderly Robotics. You see, [Edris] created an extremely easy-to-use timer that looks like something you’d find on Captain Picard’s desk as a token of defeating the Borg. But the affably-named FlipBuddy is far more useful than that description implies.

[Edris] uses the open-source FlipBuddy every day, and swears by its simplicity. The point is accessibility, and respect for privacy. That said, there’s a companion app to provide insight.

Basically, you assign a task to each cube face. Choose one, and place the cube with that side facing up. FlipBuddy wakes up, connects to WiFi, and then pushes your session to the cloud, bypassing the need for your phone.

Time to switch tasks? Just put the new side face up. When you’re done for the day, use the stop face, which we’re hoping means to set it on the knocked-off corner.

You don’t need much to make FlipBuddy come to life. [Edris] used an ESP32 (an S3 SuperMini or similar will work), an MPU6050, six WS2812B LEDs, and a 3.7 V Li-Po cell. The beautiful, 3D printed origami mesh enclosure prints as a single, flat piece, and you get to fold it up around the internals and make your new buddy come to life.

Part of the point of FlipBuddy is that it can become as intuitive as punching a chess clock. So if it’s buttons you’re after, check out this simple Pomodoro timer.

Illustrated Kristina with an IBM Model M keyboard floating between her hands.

Keebin’ With Kristina: The One With John Lennon’s Typewriter

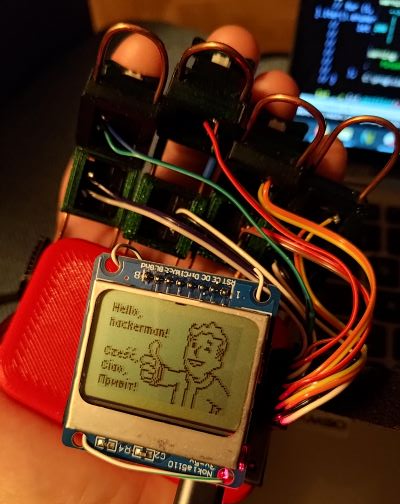
The Clawtype, a one-handed number with a handy strap and a good-sized display.
Image by [akavel] via GitHub
Reader [akavel] was kind enough to notify me about Clawtype, which is a custom wearable chorded keyboard/mouse combo based on the Chordite by [John W. McKown].

First of all, I love the brass rails — they give it that lovely circuit sculpture vibe. This bad boy was written in Rust and currently runs on a SparkFun ProMicro RP2040 board. For the mouse portion of the program, there’s an MPU6050 gyro/accelerometer.

[akavel]’s intent was to pair it with XR glasses, which sounds like a great combination to me. While typing is still a bit slow, [akavel] is improving at a noticeable pace and does some vim coding during hobby time.

In the future, [akavel] plans to try a BLE version, maybe even running off a single AA Ni-MH cell, and probably using an nRF52840. As for the 3D-printed shape, that was designed and printed by [akavel]’s dear friend [Cunfusu], who has made the files available over at Printables. Be sure to check it out in the brief demo video after the break.

Continue reading “Keebin’ With Kristina: The One With John Lennon’s Typewriter”

Interactive LED Matrix Is A Great Way To Learn About Motion Controls

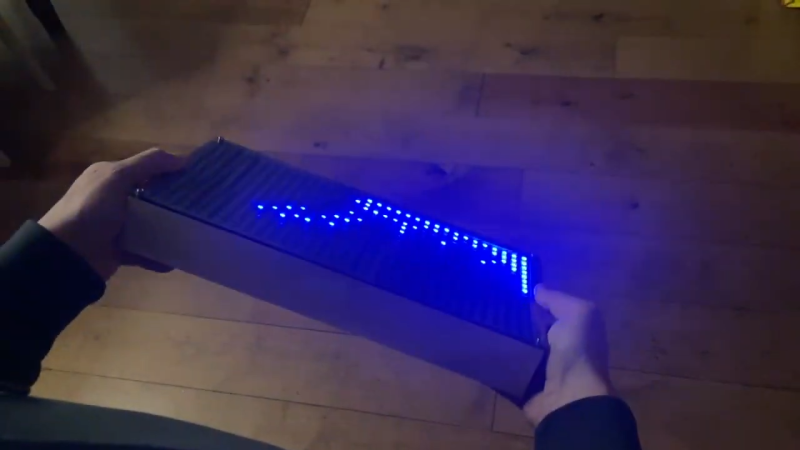
It’s simple enough to wire up an LED matrix and have it display some pre-programmed routines. What can be more fun is when the LEDs are actually interactive in some regard. [Giulio Pons] achieved this with his interactive LED box, which lets you play with the pixels via motion controls.

The build runs of a Wemos D1 mini, which is a devboard based around the ESP8266 microcontroller. [Giulio] hooked this up to a matrix of WS2812B addressable LEDs in two 32×8 panels, creating a total display of 512 RGB LEDs. The LEDs are driven with the aid of an Adafruit graphics library that lets the whole display be addressed via XY coordinates. For interactivity, [Giulio] added a MPU6050 3-axis gyroscope and accelerometer to the build. Meanwhile, power is via 18650 lithium-ion cells, with the classic old 7805 regulator stepping down their output to a safe voltage. Thanks to the motion sensing abilities of the MPU6050, [Giulio] was able to code animations where the LEDs emulate glowing balls rolling around on a plane.

It’s a simple build, but one that taught [Giulio] all kinds of useful skills—from working with microcontrollers to doing the maths for motion controls. There’s a lot you can do with LED matrixes if you put your mind to it, and if you just start experimenting, you’re almost certain to learn something. Video after the break.

Continue reading “Interactive LED Matrix Is A Great Way To Learn About Motion Controls”

Make Your Own Remy The Rat This Halloween

[Christina Ernst] executed a fantastic idea just in time for Halloween: her very own Remy the rat (from the 2007 film Ratatouille). Just like in the film Remy perches on her head and appears to guide her movements by pulling on hair as though operating a marionette. It’s a great effect, and we love the hard headband used to anchor everything, which also offers a handy way to route the necessary wires.

Behind Remy are hidden two sub-micro servos, one for each arm. [Christina] simply ties locks of her hair to Remy’s hands, and lets the servos do the rest. Part of what makes the effect work so well is that Remy is eye-catching, and the relatively small movements of Remy’s hands are magnified and made more visible in the process of moving the locks of hair.

Originally Remy’s movements were random, but [Christina] added an MPU6050 accelerometer board to measure vertical movements of her own arm. She uses that sensor data to make Remy’s motions reflect her own. The MPU6050 is economical and easy to work with, readily available on breakout boards from countless overseas sellers, and we’ve seen it show up in all kinds of projects such as this tiny DIY drone and self-balancing cube.

Want to make your own Remy, or put your own spin on the idea? The 3D models and code are all on GitHub and if you want to see more of it in action, [Christina] posts videos of her work on TikTok and Instagram.

[via CBC]

3D Navigator For Blender

If you work with high-end CAD workstations, you may have encountered a SpaceMouse or similar devices. Sort of a mouse with an extra dimension, they aren’t cheap. So [meisterodin1981] decided to build a do-it-yourself version for use with Blender. You can check it out in the video below.

The device uses an MPU6050 accelerometer and a spring. It also has some buttons for special features. The device uses a Teensy 2, although any controller that can provide an HID device could probably do the job. Of course, a nice 3D printed case is part of the design. A printed pair of plates holds a 3D printer bed spring to provide the device’s Z-axis movement. The wires to the encoder are routed through the center of the spring, so neatness counts.

We’ve seen other 3D mice like the Orbion. Your other option is to pick up the old-fashioned serial port versions and convert them. Until you can do your designs in virtual reality, these mice are just the ticket.

Continue reading “3D Navigator For Blender”

Tiny Motion Detection Alarm Does The Trick

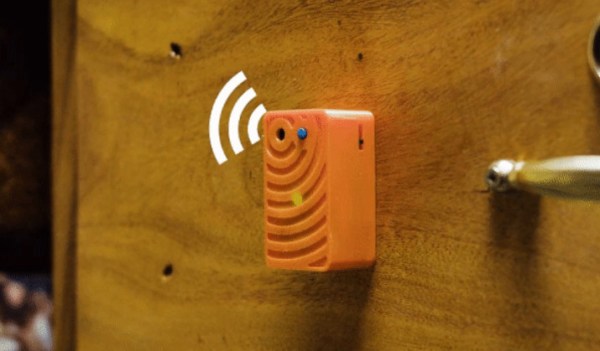
If you have mischievous children or forgetful elderly in your life, you might want to build a couple of these tiny motion detection alarms to help keep them out of harm’s way. Maybe you want to keep yourself out of the cookie jar. We say good for you.

But you could always put one of these alarms on a window, a drawer, or anything else you don’t want opened or moved. The MPU6050 3-axis IMU makes sure that any way the chosen item gets jostled, that alarm is going off.

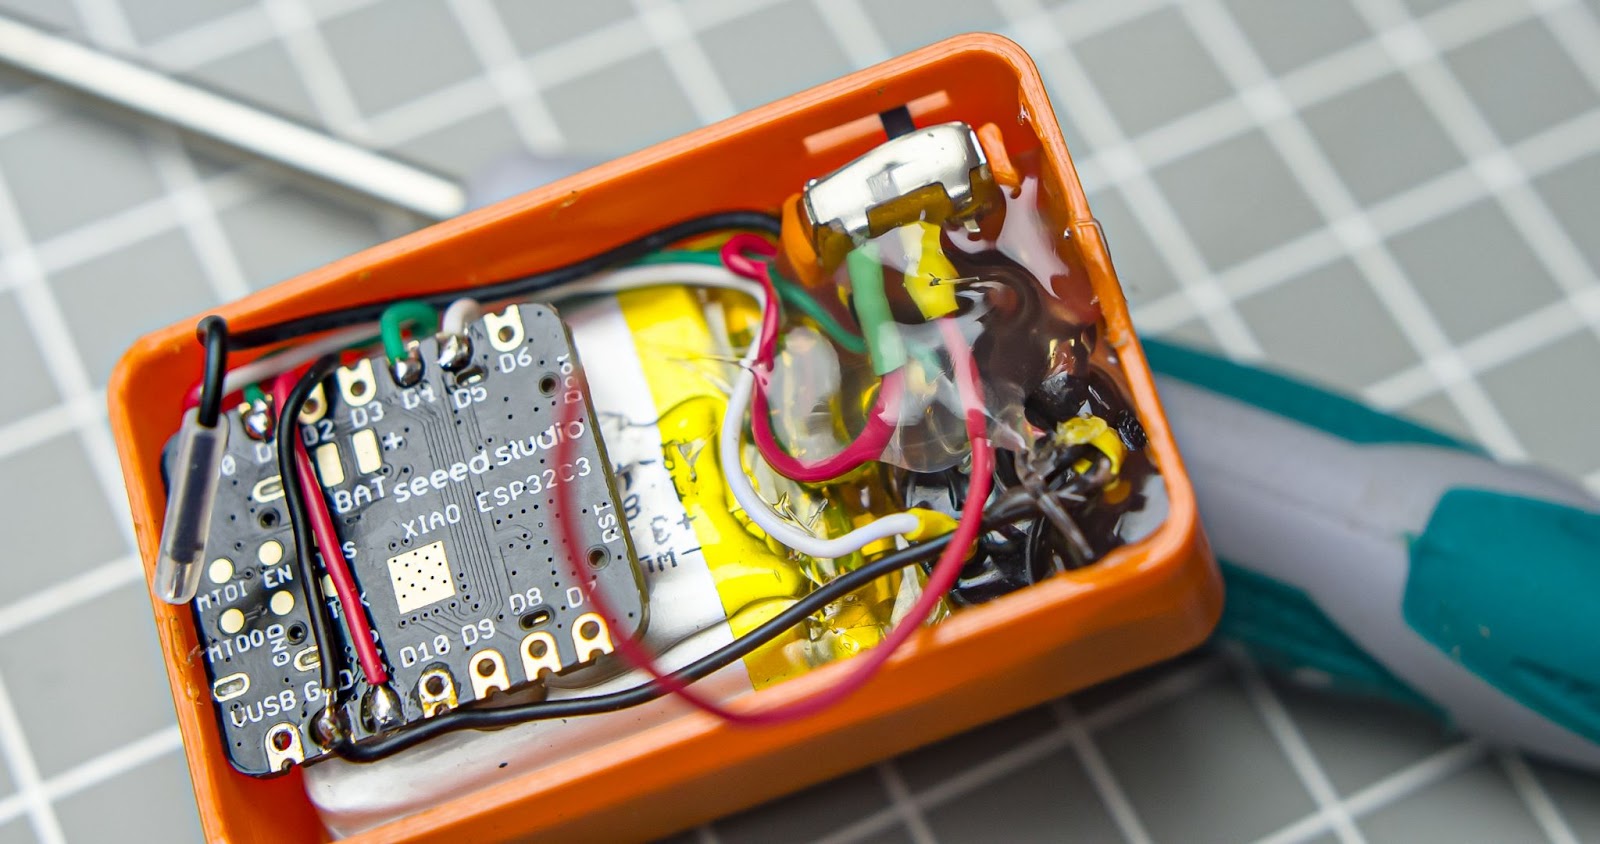
As you may have guessed, there isn’t much more to this build — the brain is a Seeed Xiao ESP32-C3, and there’s a buzzer, a battery, a switch, and a push button to program it.

The cool thing about using an ESP32-C3 is that [gokux] can use these for other things, like performing a task when motion is detected. If you do want to build yourself a couple of these, here are step-by-step instructions.

If you’d rather detect motion in the vicinity, here’s a PIR-based solution.

Gyro-Controlled Labyrinth Game Outputs To VGA

This gesture-controlled labyrinth game using two Raspberry Pi Pico units does a great job of demonstrating how it can sometimes take a lot of work to make something look simple.

To play, one tilts an MPU6050 inertial measurement unit (IMU) attached to one Pico to guide a square through a 2D maze, with the player working through multiple levels of difficulty. A second Pico takes care of displaying the game state on a VGA monitor, and together they work wirelessly to deliver a coherent experience with the right “feel”. This includes low latency, simulating friction appropriately, and more.

Taking a stream of raw sensor readings and turning them into control instructions over UDP in a way that feels intuitive while at the same time generating a VGA display signal has a lot of moving parts, software-wise. The project write-up has a considerable amount of detail on the architecture of the system, and the source code is available on GitHub for those who want a closer look.

We’ve seen gesture controls interfaced to physical marble mazes before, but two Raspberry Pi Picos doing it wirelessly with a VGA monitor for feedback is pretty neat. Watch it in action in the video, embedded just under the page break.

Continue reading “Gyro-Controlled Labyrinth Game Outputs To VGA”