Many movies and songs use a lot of of bass to make it feel more real to the viewer or listener. Because of this, subwoofers are common in high-quality audio setups, often costing a substantial part of the budget. [Daniel Fajkis] takes the subwoofer to it’s logical extreme by building a rotary subwoofer on a $200 budget.
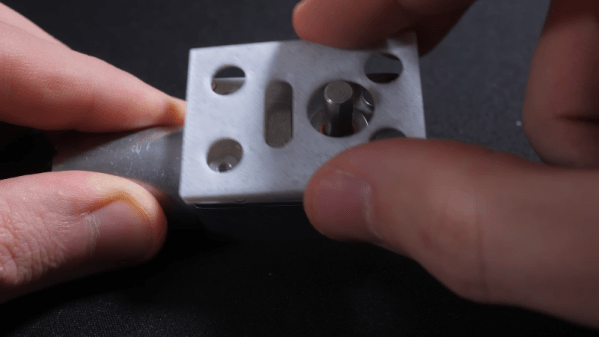
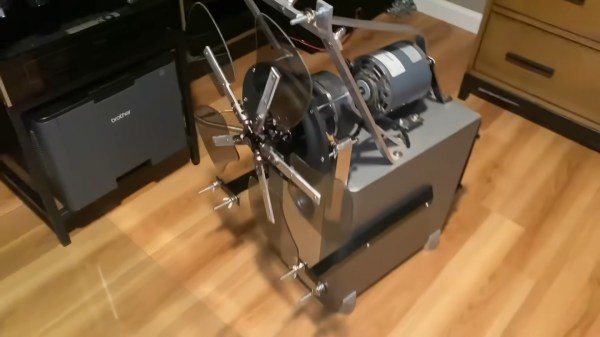
The principle of a rotary subwoofer is that a normal subwoofer physically moves the air, and so does a fan. If you could make a fan oscillate the air instead of only pushing it, you could turn it into such a subwoofer, which is exactly what [Daniel] did. [Daniel] mounts a large electric motor on the case of an ex-subwoofer to spin the fan. Then, he uses the rotor linkage of a model helicopter and a modified subwoofer speaker to pitch the fan blades, spinning around to create a truly impressive gust of air oscillating at as low as 1 Hz.
The video, after the break, is well made with some good humor, including the legendary quote: “It’s gonna tear apart my household, there’s no way we’re surviving this one.”
Continue reading “Tear Apart Your House For $200 With This Rotary Subwoofer”