Important safety tip: When you’re sending commands to the second-most-distant space probe ever launched, make really, really sure that what you send isn’t going to cause any problems.
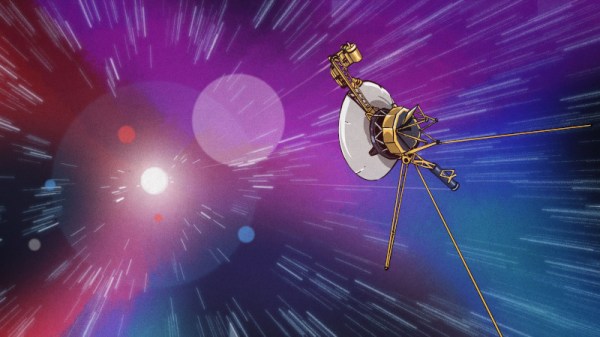
According to NASA, that’s just what happened to Voyager 2 last week, when uplinked commands unexpectedly shifted the 46-year-old spacecraft’s orientation by just a couple of degrees. Of course, at a distance of nearly 20 billion kilometers, even fractions of a degree can make a huge difference, especially since the spacecraft’s high-gain antenna (HGA) is set up for very narrow beamwidths; 2.3° on the S-band channel, and a razor-thin 0.5° on the X-band side. That means that communications between the spacecraft and the Canberra Deep Space Communication Complex — the only station capable of talking to Voyager 2 now that it has dipped so far below the plane of the ecliptic — are on pause until the spacecraft is reoriented.
Luckily, NASA considered this as a possibility and built safety routines into Voyager‘s program that will hopefully get it back on track. The program uses the onboard star tracker to get a fix on the bright star Canopus, and from there figures out which way the spacecraft needs to move to get pointed back at Earth. The contingency program runs automatically several times a year, just in case something like this happens.
That’s the good news; the bad news is that the program won’t run again until October 15. While that’s really not that far away, mission controllers will no doubt find it an agonizingly long time to be incommunicado. And while NASA is outwardly confident that communications will be restored, there’s no way to be sure until we actually get to October and see what happens. Fingers crossed.