Generally speaking, the Hackaday Supercon badge will always have a place for SAO (rebranded as “Supercon add-ons”), and that makes sense. We did originate them, after all. This year, though, we’ve gone all in on SAO, and, in particular, we’ve asked to see more SAOs with communication capabilities. The standard has always had an I2C bus, but few people use them. I decided I wanted to set an example and cook up a badge for Supercon. Was it hard? Yes and no. I’ll share with you a little about the board’s genesis and the issues I found. At the end, I’ll make you a special offer, if you are going to Supercon.
The Idea
I’ve been a ham radio operator for a very long time. In fact, July was my 47th anniversary in the radio hobby. Well, that’s not true. It was my 47th year with a license. I had been listening to shortwave long before then. So, I wanted to do something with Morse code. You don’t have to know Morse code to get a license these days, but a lot of hams enjoy it.
I set out to do a simple board that would play some Morse code messages. But that’s just another blinking light LED with a buzzer on it, too. So, naturally, I decided it would also provide Morse code output for the I2C host. That is, the SAO could be used to convert ASCII to Morse code. Sounds simple, right? Sure.
Getting Started
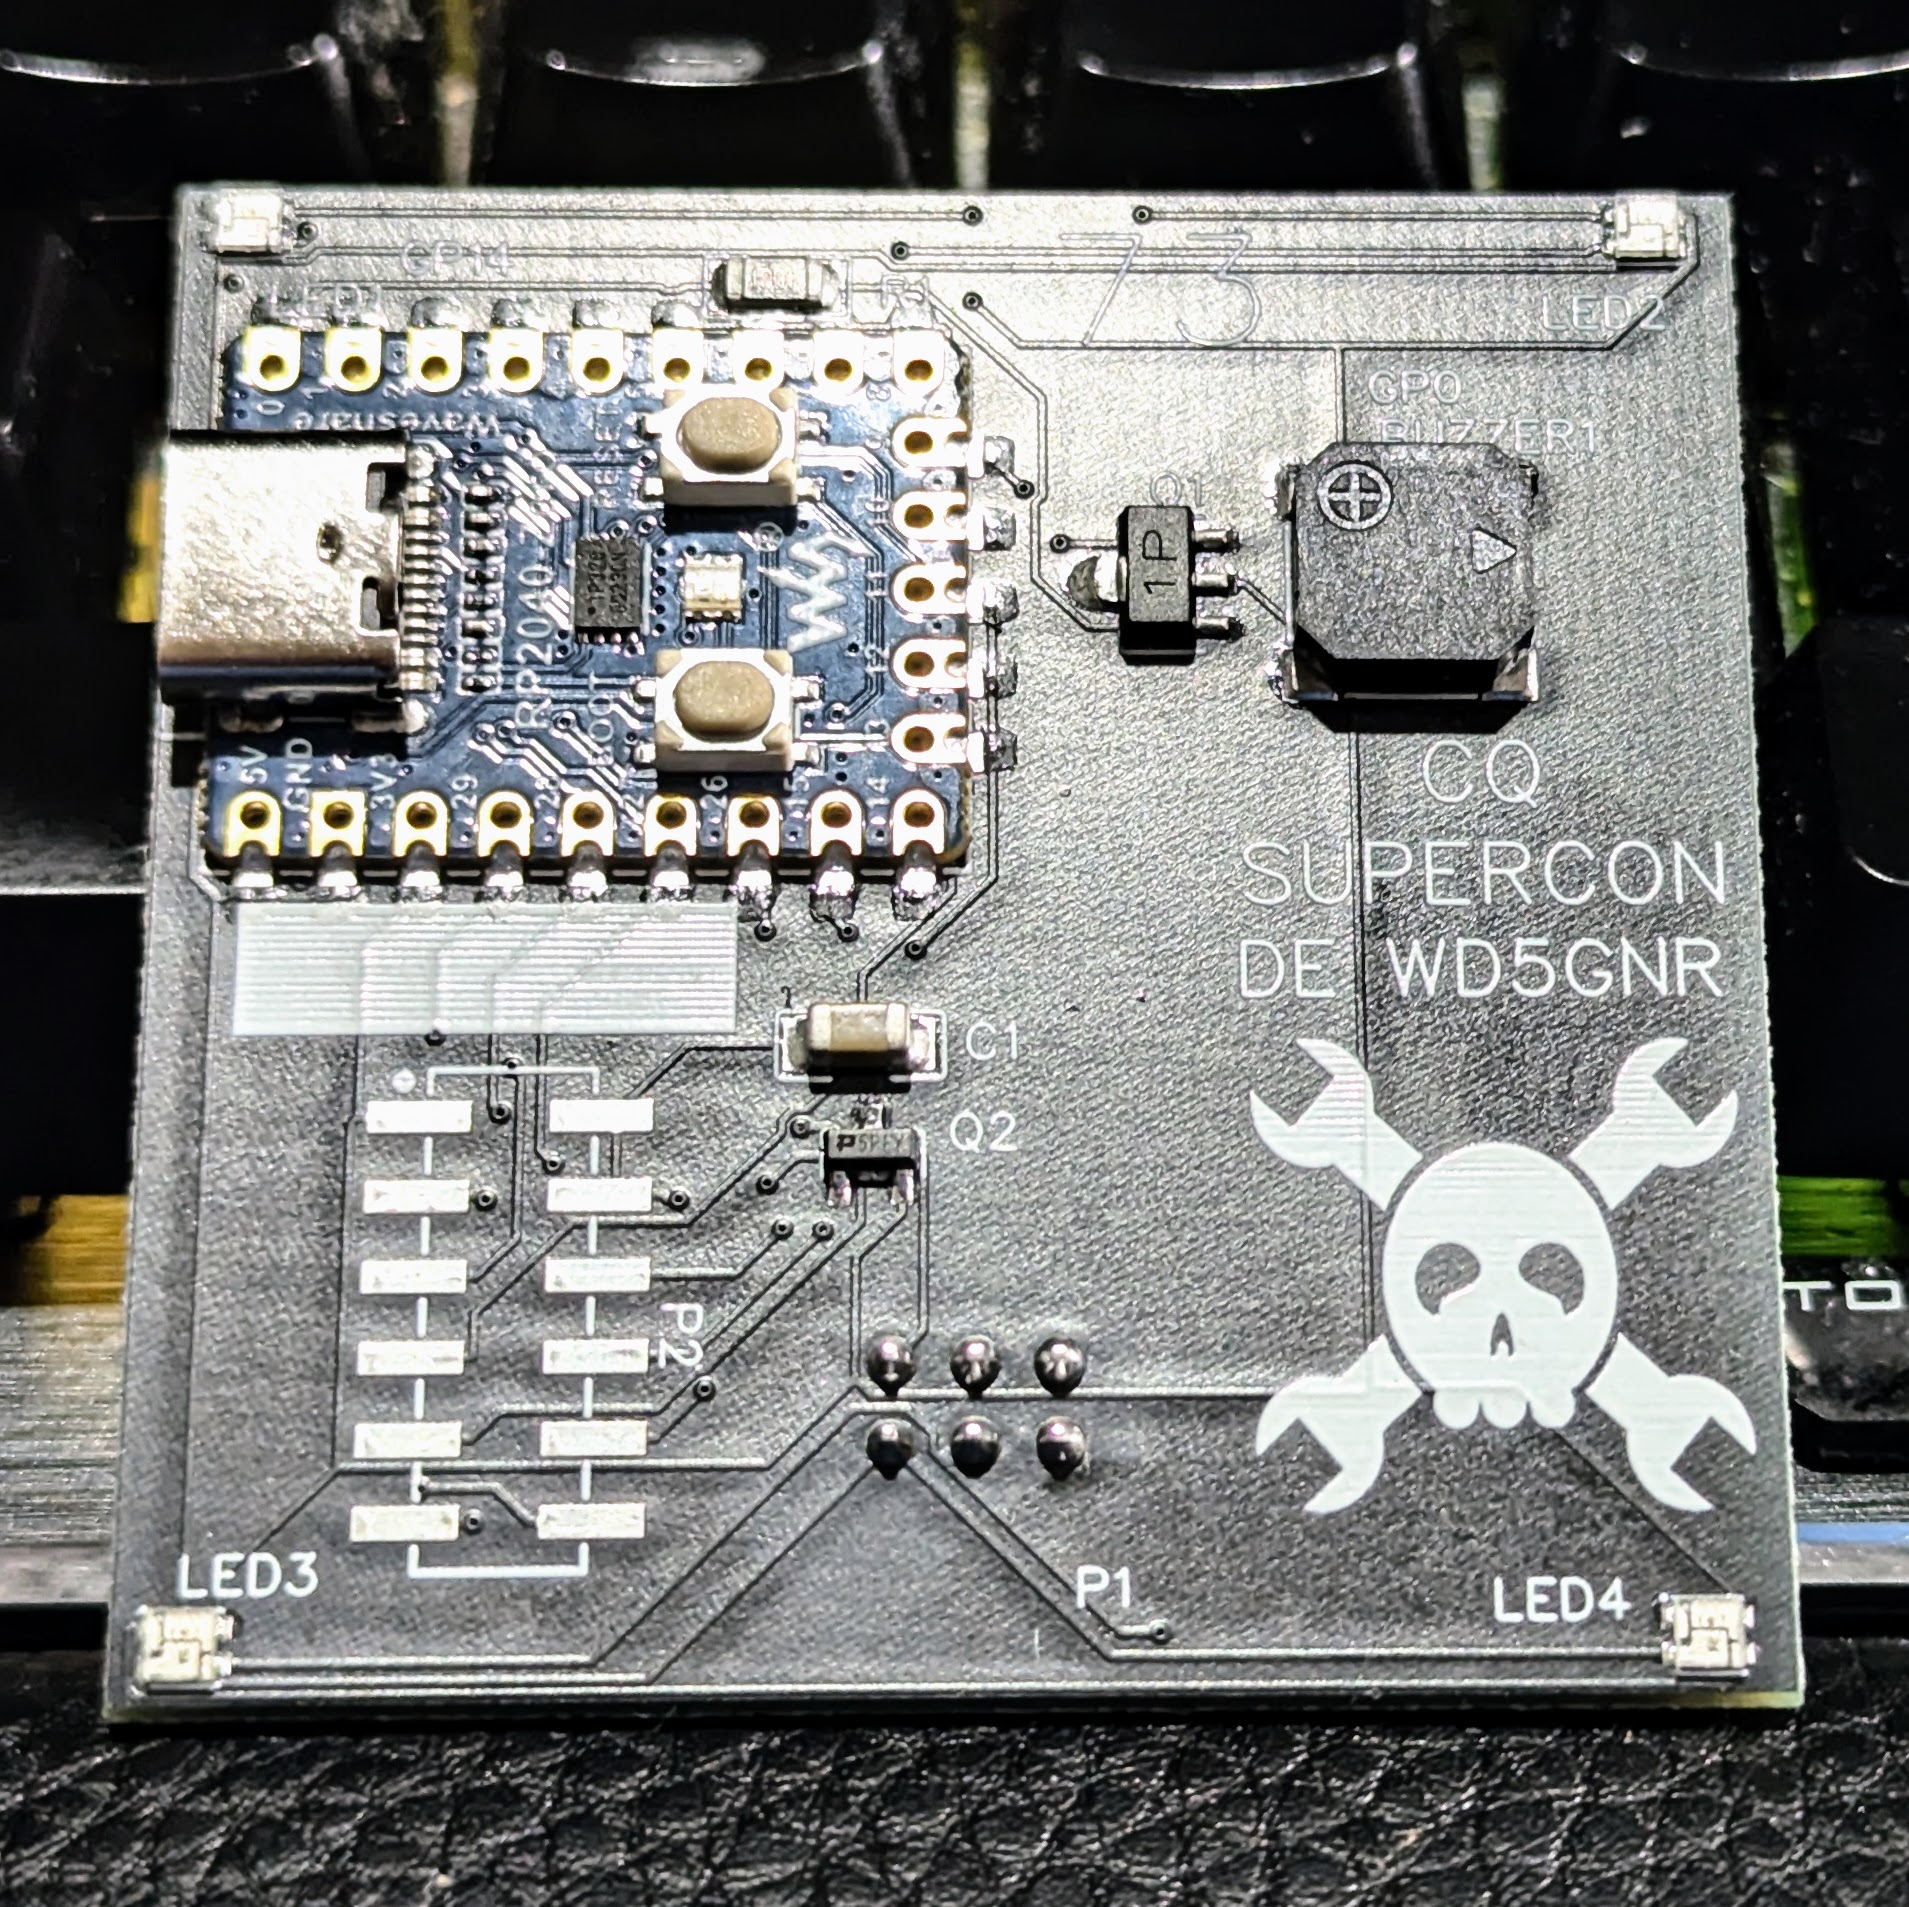
I wanted to use a Raspberry Pi Pico but didn’t want to violate the SAO size requirements. Luckily, there’s an RP2040-Zero module that is quite tiny and looks more or less like a normal Pico. The two big differences are plusses: they have a reset button, and instead of a normal LED, they have a WS2812b-style LED.