It’s an accepted part of retro gaming lore, that 8-bit consoles perform best when used with an original CRT TV. One of the reason for this is usually cited as being because the frame buffer and scaler circuit necessary for driving an LCD panel induces a delay not present on the original, and in particular this makes playing games which relied on a light gun impossible to play. It’s a subject [Nicole Branagan] takes a look at, and asks whether there are any ways to use a classic light gun with a modern TV.
Along the way we’re treated to an in-depth look at the tech behind light gun games, how the gun contained a photodiode which on the NES was triggered by the brief showing of a frame with a white square where the target would sit, and on the Sega consoles by a white screen with an on-board timer counting the screen position at which the gun was aimed.
The conclusion is that the delay means you won’t be playing Duck Hunt or Hogan’s Alley on your 4K TV, but interestingly, all is not lost. There are modified versions of the games that take account of the delay, or an interesting lightgun emulator using a WiiMote. We’d be happy at playing either way, just as long as we can take pot-shots at the annoying Duck Hunt dog.
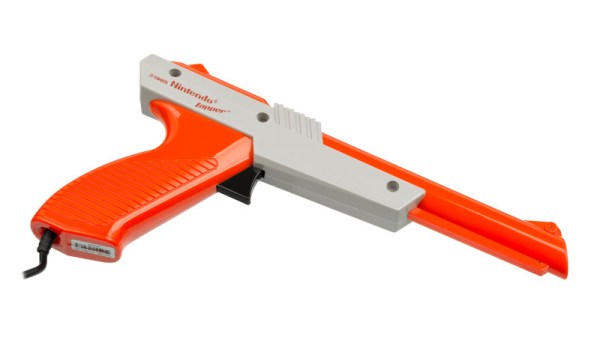
Light gun image: Evan-Amos, Public domain.