We all love a good bit of bounce now and then, with everything from trampolines to bouncy castles and bouncy balls forming the staple of a wholesome childhood for many. That said, most of our bouncy experiences in day to day life concern bouncy objects that meet immovable or rigid objects, including said child having a blast in a bouncy castle. Where the physics get arguably more interesting and less intuitive is when you combine two objects that are both bouncy, with [Steve Mould] recently taking a look at the tuning of said bounciness to even kill the bounce completely.
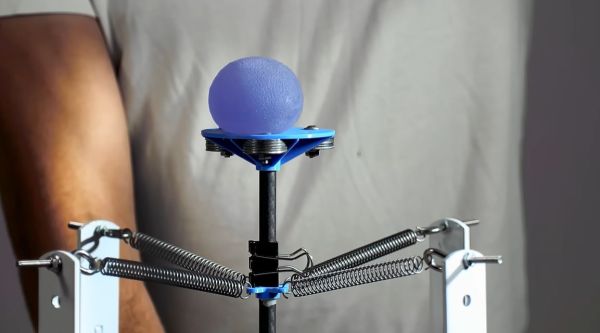
Understanding how to achieve this tuning means understanding how the kinetic energy is stored in each flexible material, and how to dissipate it in a way that doesn’t result in the aforementioned bounciness. In the simple physical demonstration setup the addition or removal of weights to the lower sprung platform tunes the response to the bouncy ball that is dropped on top of it.
After going through the science behind bounciness and springiness using the practical application of this science in the context of golf balls and clubs, [Steve] introduces the simulation tool that he created. This allows you to tweak the parameters of such a double spring system, which may bring back some high school physics lessons for some.
In a system like that of a golf club and the ball, having undesirable oscillations (bouncing) reduces the final kinetic energy transferred to the ball. Although ‘bouncy’ is perhaps not the first thought that comes to mind when handling a golf ball or a club, ultimately they are just as bouncy as a bouncy ball or an electric switch, just on their own scales, with their own opportunities for optimization and analysis.
Continue reading “How To Remove Bounce When Bouncy Objects Encounter Bounciness”