Suspension bridges are far and away the target of choice in America’s action blockbusters. In just the past three years, the Golden Gate Bridge has been destroyed by a Kaiju, Godzilla, a Skynet-initiated nuclear blast, and a tsunami. Americans don’t build real bridges anymore, or maintain the ones that we have, but we sure love to blow them up in movies.
There is logic here: A disaster scene involving a famous bridge serves both to root the film in the real world and to demonstrate the enormity and the immediacy of the threat. The unmaking of these huge structures shocks us because many bridges have gained an aura of permanence in our collective consciousness. Although we know when the Brooklyn Bridge was built and who built it, we feel like it has always been there and always will be. The destruction of our familiar human topography is even more disturbing than the deaths of the CGI victims, and I’m not just saying that as a misanthrope who loves bridges.
However, in all of the planning, storyboarding, rendering, and compositing of these special effects shots, nobody pauses to consider how suspension bridges actually behave. I can accept messianic alien orphan superheroes and skyscraper-sized battle robots, but I will not stand for inaccurate portrayals of structural mechanics. It’s fine to bend the laws of physics if the plot warrants it, but most suspension bridge mistakes are so needless and stupid that their only function seems to be irritating engineers.
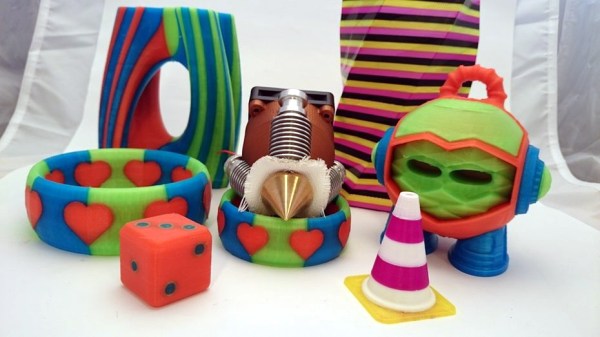
 It is possible to print in color
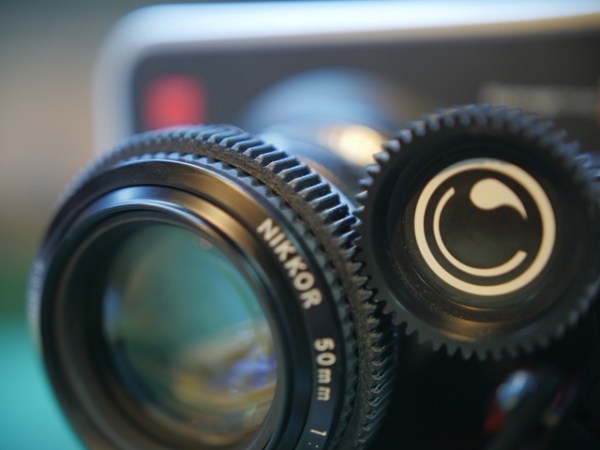
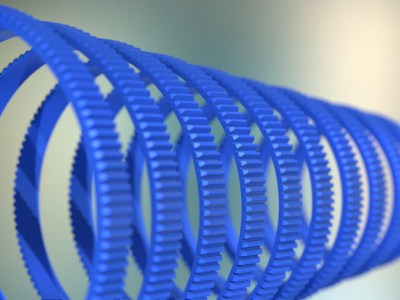 Unwilling to permanently modify his DSLR camera lens and dissatisfied with after-market lens gearing solutions, [Jaymis Loveday] learned enough OpenSCAD to generate gears from 50mm to 100mm in diameter in 0.5mm increments for a snug friction fit. Teamed up with commercially available focus pulling equipment, these lens gears should really help [Jaymis] get professional results from consumer lenses.