[Saulius] couldn’t find a cost-effective wireless scale that did what he wanted, so he reverse engineered the communication protocol for an off the shelf model to get weight data himself.
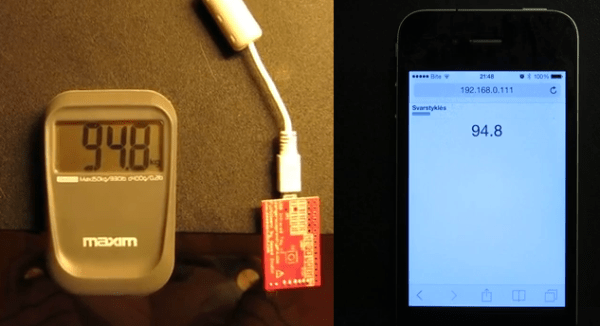
[Saulius] bought a cheap Maxim 29-66SH scale that uses infra-red to communicate to a detachable digital readout. Using the USB IR toy, [Saulius] intercepted the messages that were broadcast. After a little reverse engineering and with the help of some Python scripts, he soon discovered the protocol his scale was using to encode weight messages.
[Saulius] went on to write a little web app using JavaScript, SocketIO and Tornado, a light weight Python web server. By connecting to the tiny web server that’s interfaced with a Python script listening for the scales messages received from the USB IR toy, [Saulius] was able to see his weight displayed on his smart phone through a web browser.
Since all the communication is through IR, there is no need to do any invasion of the scale as the receiver can be placed anywhere in line of sight from the transmitter on the scale itself.
Check out the demo video for the whole thing in action. If patching into the scale isn’t hard enough, you should just build one from scratch.