If you are using live plants in your aquarium you must remember to fertilize them at regular intervals. Being a bit forgetful, [Deven] automated the process by building this auto-doser.
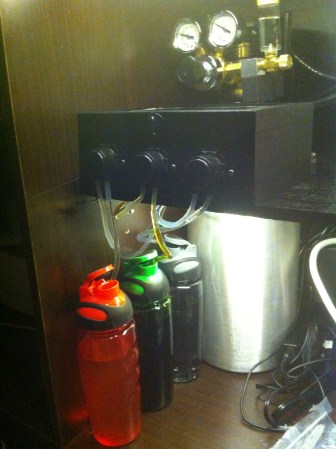
There are three different chemicals which are dispensed by the system. They are stored in the drink bottles seen above. Each has a plastic tube which runs up to the dosing motors mounted on the black box. [Deven] sourced the motors from eBay. They are designed for this type of application.
Inside the black box is the Arduino that handles timing and switches the motors. The control circuitry is protected using one MOSFET for each. To keep the fish safe the outflow is directed right into the aquarium pump so that the concentrated chemicals are quickly dispersed through the entire tank.
Now that he’s made it this far he might as well add the ability to feed the fish and control the lighting.
Continue reading “Automated Aquarium Fertilizer Doser” →