Open Source Pick-and-place

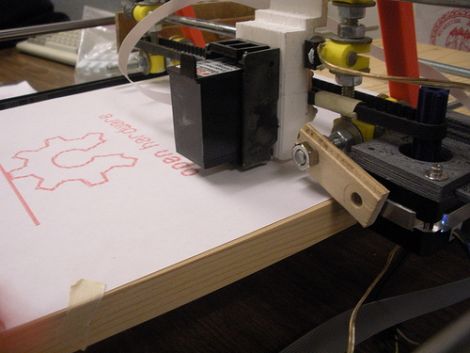
This is a vacuum tweezers head for an open source pick-and-place. Those are the machines that professional printed circuit board manufacturers use to populate a circuit board with components before heading to the reflow oven. [Drmn4ea] built it with at-home rapid manufacturing in mind. The black orb on the left is a webcam for optical placement. The needle in the middle is an interchangeable vacuum-tool head. The motor on the right allows for different attachments to be swapped in automatically to suit a variety of parts.

This interfaces with a 3-axis CNC machine and should be easily compatible with a RepRap, Makerbot, or similar device. We wonder how he plans to handle reels of components, but this is a well-executed first step in the journey to a complete solution.

Want to see a professional pick-and-place at work? Check out one of SparkFun’s machines busy build a board after the break.

Continue reading “Open Source Pick-and-place”

Laser Cutter Doubles As A 3D Printer

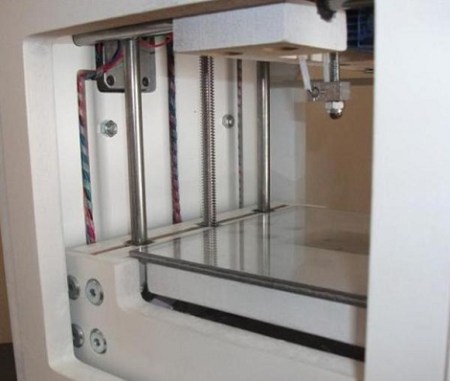
[Bart] figured out how to use his laser cutter as a 3D printer. We’ve checked in on his open source laser cutter in the past and we’re happy to see he’s now done with the build. But rather than stop there he took it a step further. For less than $200 he built an extruder head and added RepRap circuitry. You can see in the image above the laser tube is in the background and the extruder head with a line of black filament is mounted on the gantry. [Bart] has other plans for extensibility as well, including a knife cutter, a pen plotter, and a Dremel mount.

Building A Laser Cutter From A Weak Laser

We covet laser cutters and this diy model with a 1 Watt IR diode may be well within our price range. Most commercially available laser cutters, and some homemade ones, work in the 20-100 Watt ranges, using a CO2 laser. They have more than enough power to cut right through a lot of materials so how can a 1W diode compare? It seems that the weaker laser is still quite powerful right at its focal length, so moving that point along the Z axis will let you burn away a larger depth of material. The test rig seen above uses optical drive components for the three axes and managed to cut a rectangular piece out of the black plastic from a CD case.

This isn’t [Peter’s] first try with CNC lasers. He’s the one that’s be working on an open source selective laser sintering platform.

[Thanks Osgeld and Vesanies]

All Metal Hot End For Makerbot

Imagine if you will for a moment, you’re printing along on your Makerbot clone and all of a sudden your PTFE hot end melts, what are you going to do now? One solution is to mill your own all metal end from a bolt with some careful drilling. Or you could follow [Peter Jansen] who has made his own all metal hot end using the existing extruder. All that’s required is some aluminum sheet and cutting down the nozzle and hat (and fans to help, but technicalities), and you’re in business with no more melted PTFE hot end.

CNC Build Ditches Rods For Hardboard

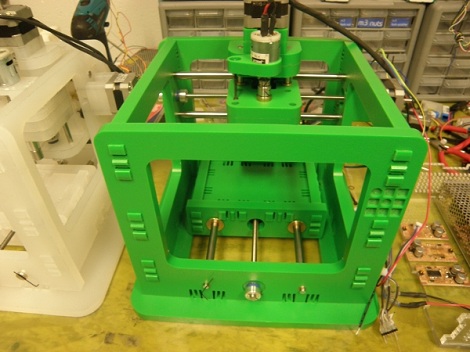
This is a redesigned x-axis for [Peter Jansen’s] selective laser sintering rig. We looked in on his SLS project last month and since then he’s been refining the design. The new component uses a rack and pinion system, relying on some Kapton tape to reduce friction for a nice smooth slide. One stepper motor powers the laser-cut gear box with four gears interfacing the sled to the frame for stable and accurate motion. Now he’s just got to work out the math/physics that go into finding the optimal gear ratios as this prototype is just a rough guess. If you’ve got the skills to work it out please lend [Peter] a hand as we’re quite excited with where this is going.

3D Printing With Chemicals

From the horse’s mouth,

“In this lithography experiment light creates free radicals from phenylbis(2,4,6-trimethylbenzoyl)phosphine oxide which induce polymerization of 1,6-hexanediol diacrylate.”

Or for those without a Chemical Engineering degree, light from a (high resolution) projector interacts with a special liquid, producing a hard polymer on the surface. A platform within the liquid is lowered, taking the layer of polymer with it. Shine the projector again to produce another layer: lather, rinse, repeat. Long story short, an atypical 3D printer using light on a very small scale.

You get the chemicals and lab equipment, we’ll get the laptop and projector, and for goodness sake [Jimmie] stop bumping the table.

[Thanks Tomas]

Bay Area Maker Faire 2010 In Pictures

Just when you think it couldn’t possibly get any bigger and crazier, they manage to outdo themselves again. The Bay Area Maker Faire wrapped up Sunday evening, but we have so many story leads that we’ll probably be busy until next year’s event. In the meantime, here’s just a tiny, random sampling of the countless delights that greeted visitors this past weekend.

Continue reading “Bay Area Maker Faire 2010 In Pictures”