
We talk a lot about patent disputes in today’s high-tech world. Whether it’s Wi-Fi, 3D printing, or progress bars, patent disputes can quickly become big money—for lawyers and litigants alike.
Where we see less of this, typically, is the world of sports. And yet, a recent football innovation has seen plenty of conflict in this very area. This is the controversial story of vanishing spray.
Patently Absurd

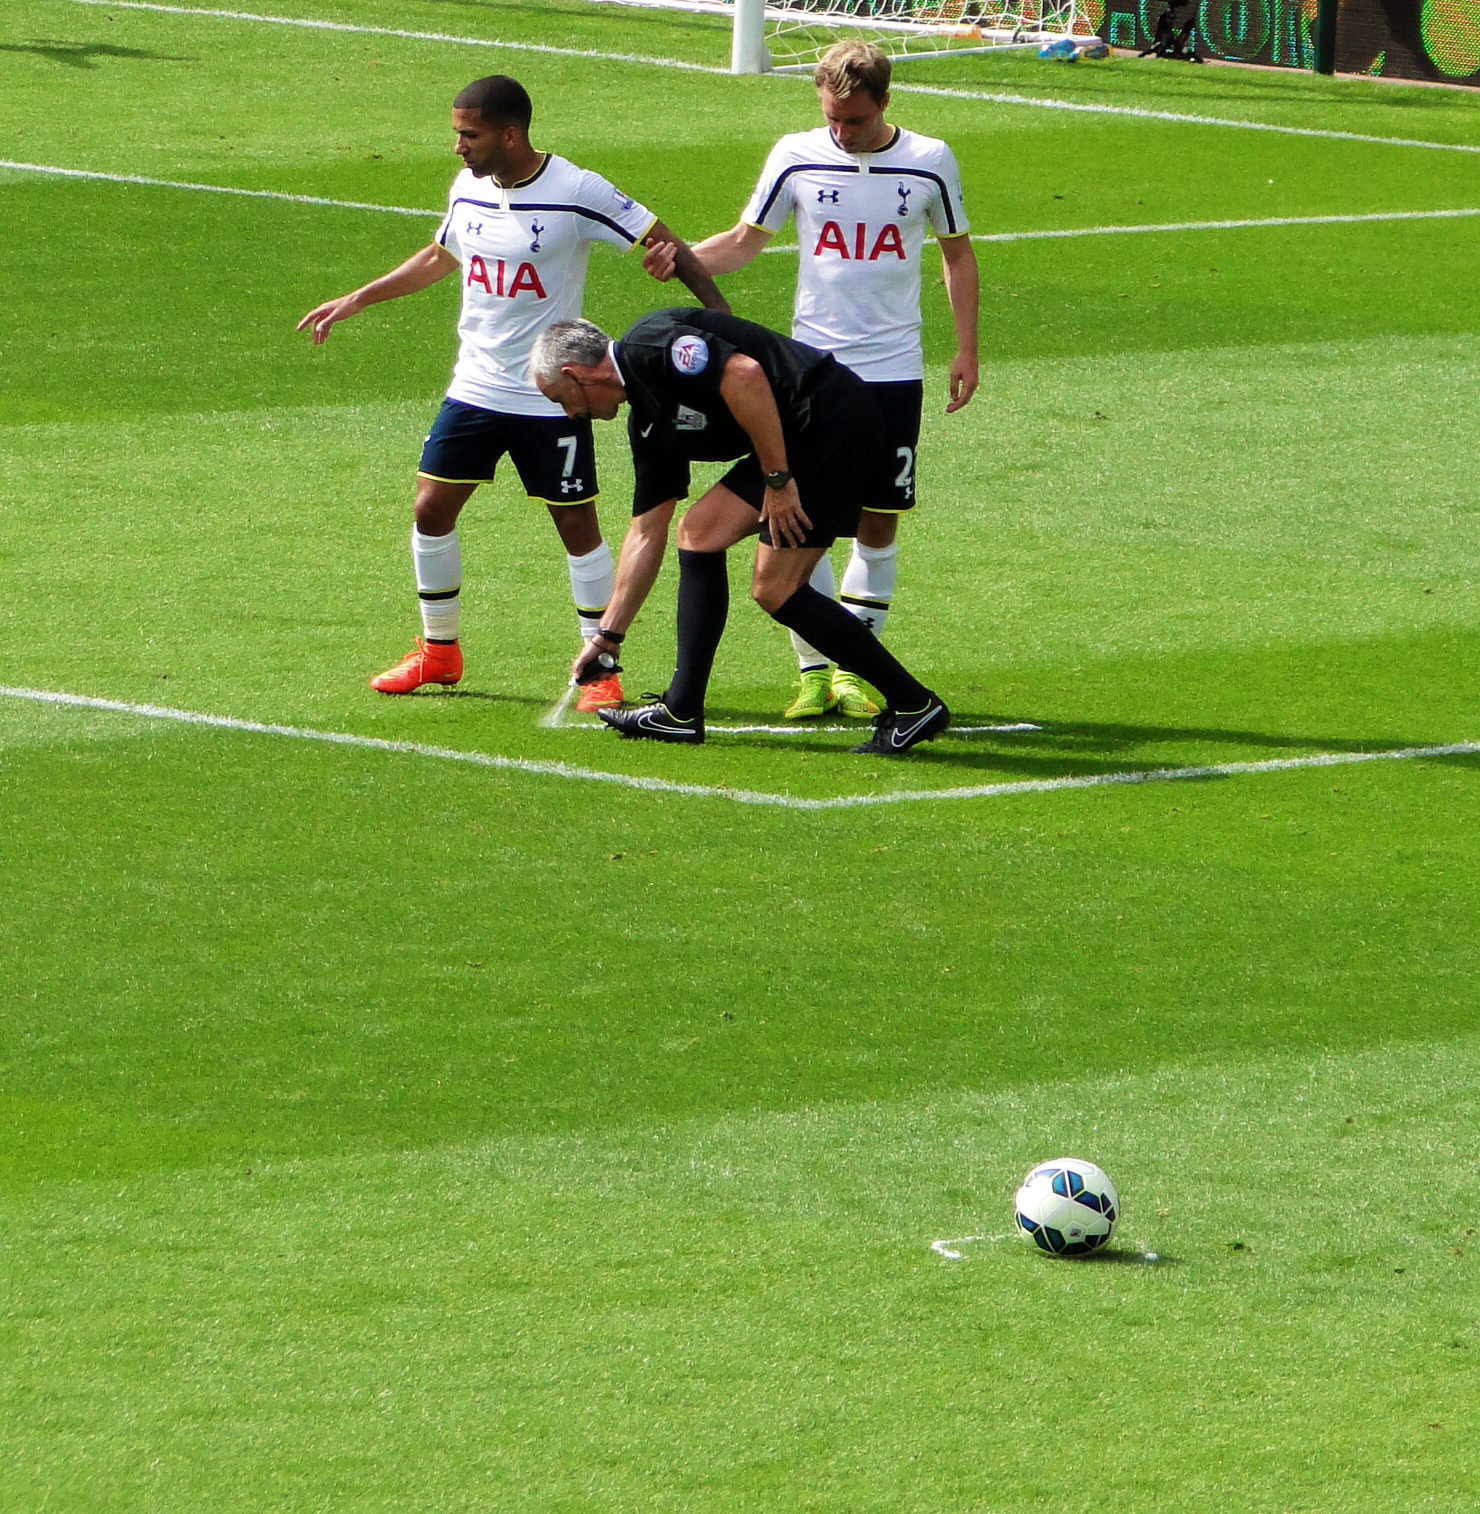
You might have played football (soccer) as a child, and if that’s the case, you probably don’t remember vanishing spray as a key part of the sport. Indeed, it’s a relatively modern innovation, which came into play in international matches from 2013. The spray allowed referees to mark a line with a sort of disappearing foam, which could then be used to enforce the 10-yard distance between opposing players and the ball during a free kick.
The product is a fairly simple aerosol—the cans contain water, butane, a surfactant, vegetable oil, and some other minor constituents. When the aerosol nozzle is pressed, the liquified butane expands into a gas, creating a foam with the water and surfactant content. This creates an obvious white line that then disappears in just a few minutes.
The spray was created by Brazilian inventor Heine Allemagne in 2000, and was originally given the name Spuni. He filed a patent in 2000, which was then granted in 2002. It was being used in professional games by 2001, and quickly adopted in the mainstream Brazilian professional competition.
The future looked bright for Allemagne and his invention, with the Brazilian meeting with FIFA in 2012 to explore its use at the highest level of international football. In 2013, FIFA adopted the use of the vanishing spray for the Club World Cup. It appeared again in the 2014 World Cup, and many competitions since. By this time, it had been renamed “9.15 Fair Play,” referring to the metric equivalent of the 10-yard (9.15 meter) distance for free kicks.
The controversy came later. Allemagne would go on to publicly claim that the global sporting body had refused to pay him the agreed price for his patent. He would go on to tell the press he’d knocked back an initial offer of $500,000, with FIFA later agreeing to pay $40 million for the invention. Only, the organization never actually paid up, and started encouraging the manufacture of copycat products from other manufacturers. In 2017, the matter went to court, with a Brazilian ruling acknowledging Allemagne’s patent. It also ordered FIFA to stop using the spray, or else face the risk of fines. However, as is often the way, FIFA repeatedly attempted to appeal the decision, raising questions about the validity of Allemagne’s patent.
The case has languished in the legal system for years since. In 2020, one court found against Allemagne, stating he hadn’t proven that FIFA had infringed his products or that he had suffered any real damages. By 2022, that had been overturned on appeal to a higher court, which found that FIFA had to pay material damages for their use of vanishing spray, and for the loss of profits suffered by Allemagne. The latest development occurred earlier this year, with the Superior Court of Justice ruling that FIFA must compensate Allemagne for his invention. In May, CNN reported that he expected to receive $40 million as a result of the case, with all five ministers on the Superior Court ruling in his favor.
Ultimately, vanishing spray is yet another case of authorities implementing ever-greater control over the world of football. It’s also another sad case of an inventor having to fight to receive their due compensation for an innovative idea. What seems like an open-and-shut case nevertheless took years to untangle in the courts. It’s a shame, because what should be a simple and tidy addition to the world of football has become a mess of litigation that cost time, money, and a great deal of strife. It was ever thus.
Featured Image: Вячеслав Евдокимов, CC BY-SA 3.0


