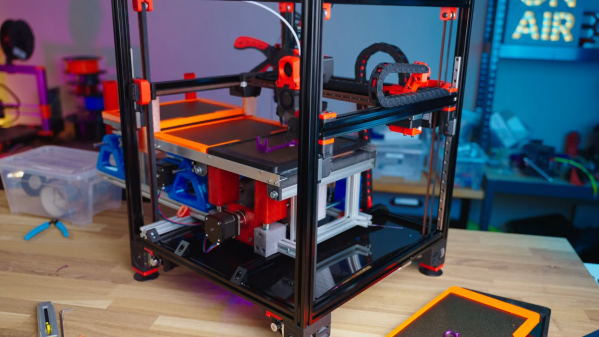
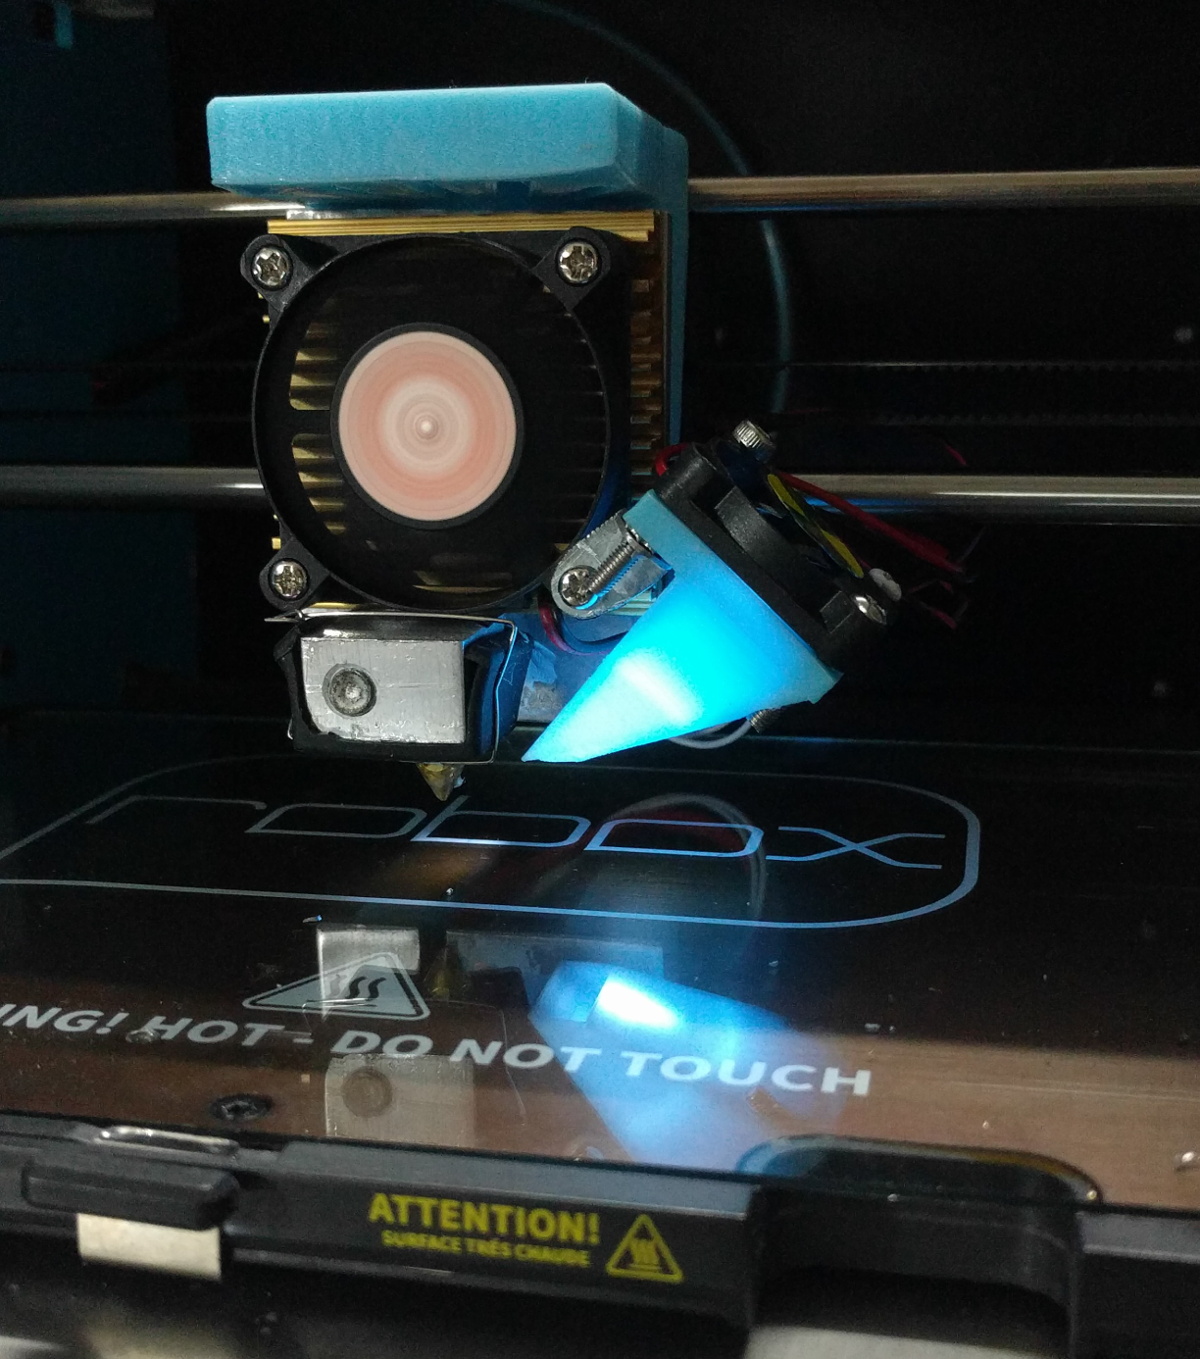
Rocket engines are great for producing thrust from fire and fury, but they’re also difficult to make. They require high-strength materials that can withstand the high temperatures involved. [Integza], however, has tried for a long time to 3D print himself a working rocket engine. His latest attempt involves printing an aerospike design out of metal.

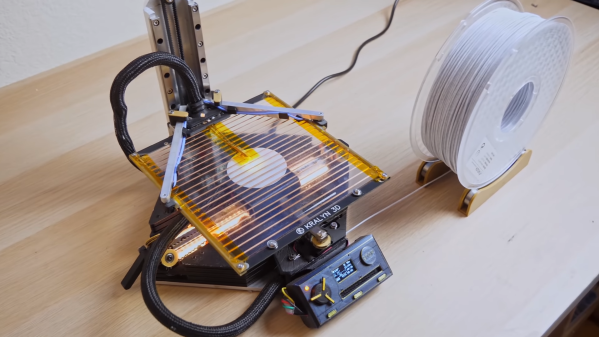
The project relies on special metal-impregnated 3D printer filaments. The part can be printed with a regular 3D printer and then fired to leave just the metal behind. The filament can be harsh, so [Integza] uses a ruby nozzle to handle the metal-impregnated material. Processing the material requires a medium-temperature “debinding” stage in a kiln which removes the plastic, before a high-temperature sintering process that bonds the remaining metal particles into a hopefully-contiguous whole. The process worked well for bronze, though was a little trickier for steel.
Armed with a steel aerospike rocket nozzle, [Integza] attempts using the parts with his 3D printed rocket fuel we’ve seen before. The configuration does generate some thrust, and lasts longer than most of [Integza]’s previous efforts, though still succumbs to the intense heat of the rocket exhaust.
Overall, though, it’s a great example of what it takes to print steel parts at home. You’ll need a quality 3D printer, ruby nozzles and a controllable kiln, but it can be done. If you manage to print something awesome, be sure to drop us a line. Video after the break.
Continue reading “3D Printing Steel Parts At Home Via Special Filaments”

 Besides making a bed-of-nails test jig, he also designed a relay multiplexing board to that selects one of the 23 different voltages for measurement. We like his selection of mechanically latching relays in this application — not only does it save power, but it doesn’t subject the test board to any magnetic fields (except when switching state).