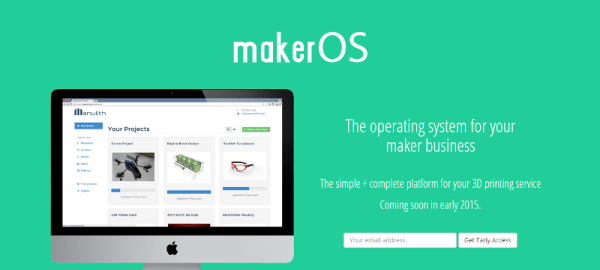
If you’re a maker business, making the things is usually your chief concern, whether you’re 3D printing widgets or milling them. But if you don’t put enough time and energy into things like client interaction and payments, you may find that you don’t have customers. [Mike Moceri] was tired of bloated systems like Salesforce that cost entirely too much for what they are. He created makerOS to help maker businesses be more effective without wasting time, starting with his own—a Detroit-based 3D printing, design, and prototyping firm called Manulith.
When a business registers with makerOS, they get a custom subdomain. makerOS is white-label software that provides a dashboard for the business owner and opens the lines of communication between maker and client. The client sees their own dashboard, and here they can can fill out a short form to describe what they want and upload photos and files from common cloud services. The dashboard provides a simple way to quote products and services, take payments, and facilitate discussion between manufacturer and client through a sort of wall/bulletin board which supports @ mentions and push notifications.
It’s free to register a subdomain with makerOS and install it on your existing site. The minimal costs associated are transaction based and flexible as your company grows.

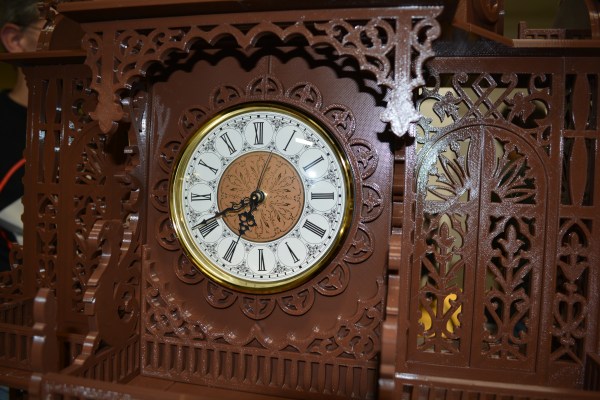
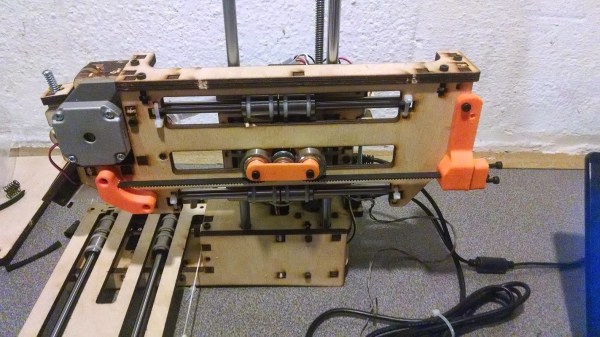
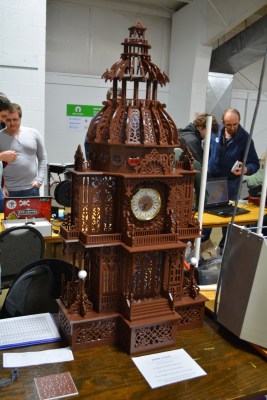 As you might imagine, a great deal of work went into this build, beginning with the scanning. [Jason] starting scanning last October and finished in January. Printing started January 9th, and he told me the final pieces were printed early this morning. We know you want all the details, so here goes: this build took just over six rolls of PLA at 20% infill. It’s 48″ tall and about 24″ wide. It was printed on what [Jason] referred to as his “very modified” Replicator 2. He glued the pieces together with Testor’s, and that took about 30 hours. All through the project, he kept meticulous notes in a spreadsheet of print times and filament used.