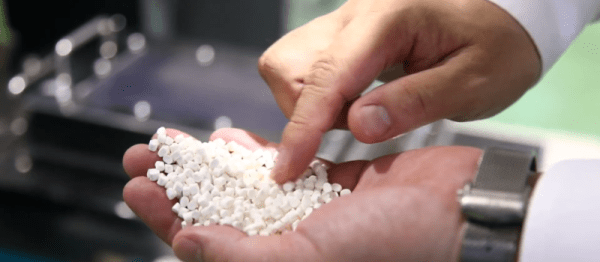
The United Nations Industrial Development Organization recently pointed out a possible replacement for petrochemical-based polymers: rice resin. A Japanese company makes the material from inedible rice and also makes a biodegradable polymer known as Neoryza, which seems to contain some amount of rice as well. The rice resin contains 10 to 70% rice waste. You can see a video with English subtitles about the material below.
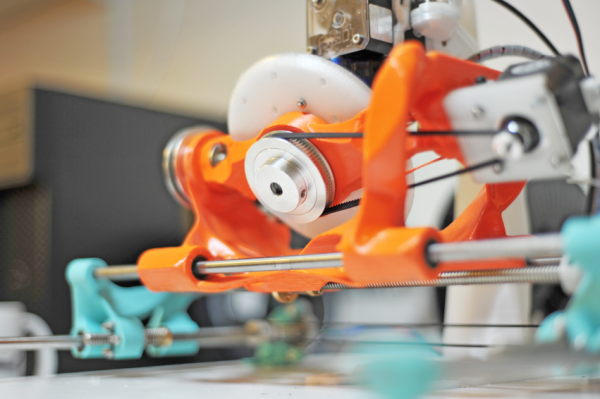
According to the video, there is plenty of waste rice. The resulting resin isn’t as toxic as petrochemical-based plastics and doesn’t consume food crops like other plant-based polymers. The video shows the rice resin being extruded like a normal polymer, so it should work like any other thermoplastic.
The video says the properties are similar to petrochemical-based plastics and no special equipment is required to handle it. They also claim that production is easier because, unlike other bioplastics, they don’t generate ethanol as the first part of the process. Waste rice should be cheap to obtain since it is essentially trash today. We aren’t sure what polymers are used in the 90 to 30% of the plastic that isn’t rice, but presumably, that is being brought in as a raw material.
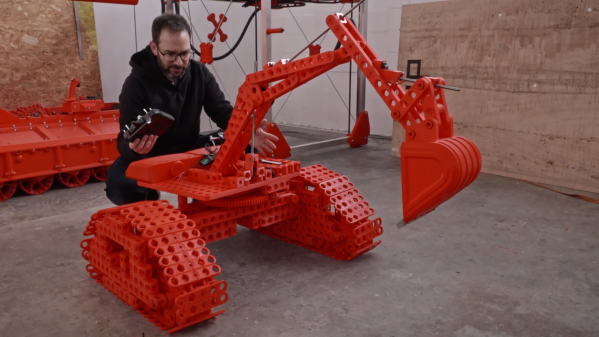
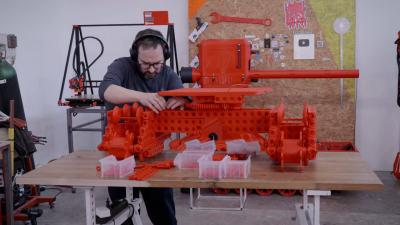
We’ll be interested to see if anyone tries to make 3D printing filament from the stuff. We know that it is being used to replace polyethylene in furniture. We couldn’t help but think about using waste coffee grounds in 3D printing. If you want to compare this to PLA, we’ve talked quite a bit about the corny polymer.
Continue reading “3D Printing With Rice Might Be Nice” →