Kids love Minecraft, and a clever educator can leverage that love to teach some very practical skills. The summer class offered by the Children’s Museum in Bozeman Montana would have blown my mind if such a thing existed when we were younger. (Rather than begging one of the dads in my Boy Scout Troop to pirate Visual Studio for me, which was delivered in the form of an alarmingly tall stack of CDs.) The kids in Bozeman get to learn hardware, software, their integration, and all while playing Minecraft.
Minecraft is an immersive universe that has proven to suck in creative minds. It’s the bait that pulls the kids into the summer class but Serialcraft delivers on making the learning just as addictive. This is accomplished by providing students with physical objects that are tied to the Minecraft world in meaningful ways we just haven’t seen before (at least not all at one time). On the surface this adds physical LEDs, toggle switches, potentiometers, and joysticks to the game. But the physical controls invite understanding of the mechanisms themselves, and they’re intertwined in exciting ways, through command blocks and other in-game components that feel intuitive to the students. From their understanding of the game’s mechanics they understand the physical objects and immediately want to experiment with them in the same way they would new blocks in the game.
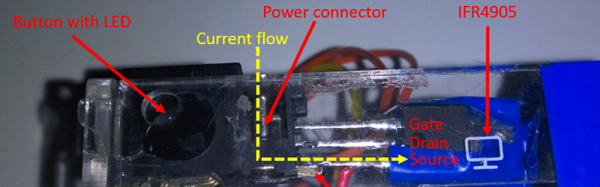
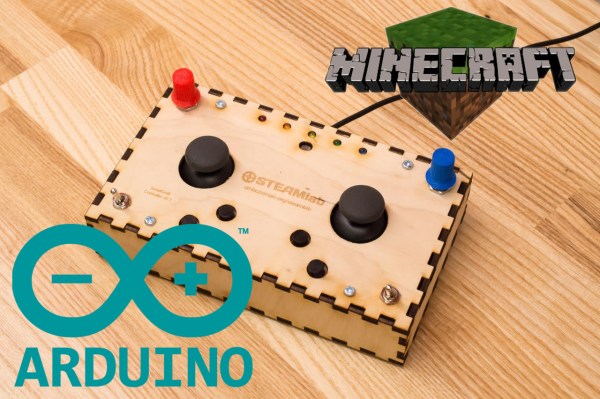
The thing that makes this magic possible is a Minecraft mod written by [John Allwine], who gave us a demonstration of the integration at Maker Faire Bay Area 2016. The mod allows the user to access the inputs and output of the Arduino, in this case a Pololu A-Star 32U4, from within Minecraft. For the class this is all packaged nicely in the form of a laser cut controller. It has some LEDs, two joysticks, buttons, potentiometers, and a photosensor.
As you can see in the video below the break, it’s really cool. The kids have a great time with it too. For example, [John] showed them how they can attach their unique controller to a piston in the world. Since this piston can be controlled by them alone, they quickly figured out how to make secret safe rooms for their items.
Another troublesome discovery, was that the photo transistor on the controller set the light level in the game world by altering the time of day. Kids would occasionally get up and change the world from day to night, by turning the lights in the room on or off. A feature that has a certain appeal for any Minecraft player, is rigging one of the LEDs on the controller to change brightness depending on proximity to a creeper.
There’s a lot more to the library, which is available on GitHub. The kids (and adults) have a great time learning to link the real world with the world’s most accessible fantasy world creation kit. Great work [John]!
Continue reading “Minecraft Trojan Horse Teaches Kids To Love Electronics And Code” →