Do you lucid dream? Do you want to? [Dinesh Seemakurty] has just started something called Project Lucidity, which is the first(?) open source, developer friendly, fully featured, lucid dreaming sleep mask. And he’s looking for hackers to help!
We’ve covered lots of projects on lucid dreaming before, like making your own homemade lucid dreaming goggles, or modifying a commercial EEG headset for lucid dreaming. We also can’t forget the LucidScribe project either, the one that seeks to communicate from within dream state!
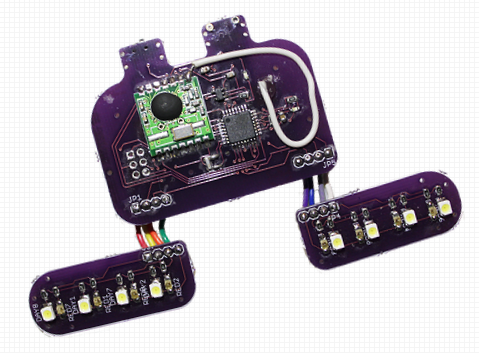
Anyway, what’s different about Project Lucidity? Well, first of all, it’s open source. Second of all, it’s based on an ATMEGA328P, meaning it’s fully compatible with the Arduino IDE. It looks like a great start, and [Dinesh] is planning on taking everything open source very soon — but before then he wants you to try it out!
If this sounds like a project you want to get behind and help develop, check out his site and sign up. Or ask away in the comments section!