Getting every detail perfectly right is often the goal in automotive restorations, and some people will go to amazing lengths to make sure the car looks and acts just like it did when it rolled off the dealer’s lot all those decades ago. That ethos can be pushed a little too far, though, especially with practical matters like knowing how much gas is left in the tank. Get that wrong and you’ll be walking.
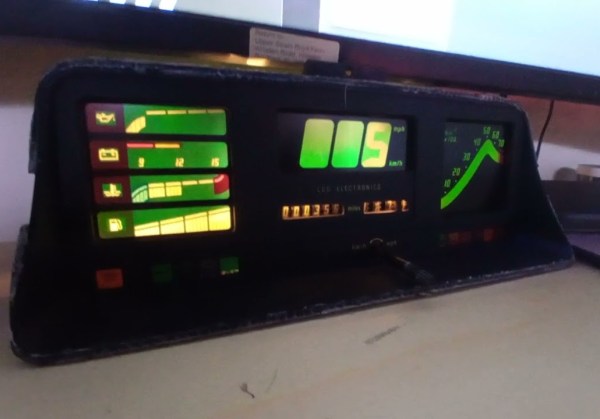
Unwilling to risk that cruel fate with his restoration of 1978 Volkswagen Bus, [Pegork] came up with a replacement fuel gauge that looks identical to the original meter, but actually works. The gas gauges on ’60s and ’70s VWs were notoriously finicky, and when they bothered to work at all they were often wildly inaccurate. The problem was usually not with the sender unit in the tank, but the gauge in the dash, which used a bimetallic strip heated by a small coil of wire to deflect a needle. [Pegor]’s “SmoothBus” modification replaces the mechanical movement with a micro servo to move the needle. The variable voltage coming back from the fuel sender is scaled through a voltage divider and read by an analog input on an ATtiny85, which does a little algorithmic smoothing to make sure the needle doesn’t jump around too much. A really nice addition is an LED low fuel indicator, a feature that would have saved us many walks to the gas station back in our VW days. Except for the extra light, the restored gauge looks completely stock, and it works far better than the original.
Hats off to [Pregor] for this fantastic restomod. As we’ve noted before, classic VWs are perhaps the most hackable of cars, and we applaud any effort to keep these quirky cars going.