We’ve seen projects test the lifespan of an EEPROM before, but these projects have only tested discrete EEPROM chips. [John] at tronixstuff had a different idea and set out to test the internal EEPROM of an ATmega328.
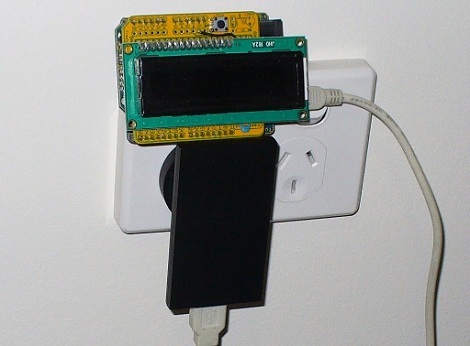
[John]’s build is just an Arduino and LCD shield that writes the number 170 to memory on one pass, and the number 85 on the next pass. Because these numbers are 10101010 and 01010101 in binary, each bit is flipped flipped once each run. We think this might be better than writing 0xFF for every run – hackaday readers are welcomed to comment on this implementation. The Arduino was plugged into a wall wart and sat, “behind a couch for a couple of months.” The EEPROM saw it’s first write error after 47 days and 1,230,163 cycles. This is an order of magnitude better than the spec on the atmel datasheet, but similar to the results of similar experiments.
We covered a similar project, the Flash Destroyer, last year, but that tested an external EEPROM, and not the internal memory of a microcontroller.
Check out the hugely abridged video of the EEPROM Killer after the break.


