Do you want to make your own springs? Yeah, that’s what we thought. Well, blow the dust off of that spare Arduino and keep reading. A few months ago, we let you know that renowned circuit sculptor [Jiří Praus] was working on a precision wire-bending machine to help him hone his craft. Now it’s real, it’s spectacular, and it’s completely open source.
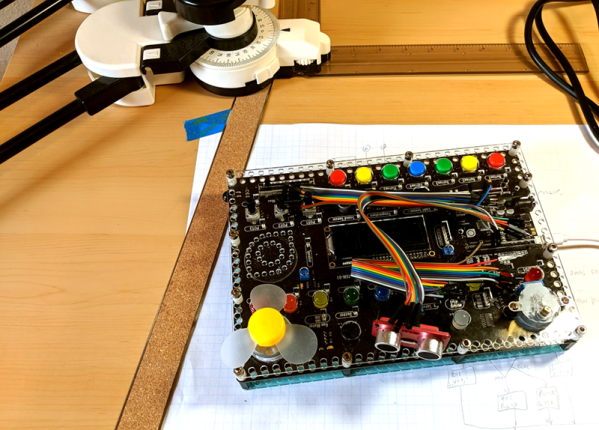
Along with that ‘duino you’ll need a CNC shield and a couple of NEMA 17 steppers — one to feed the wire and one to help bend it. Before being bent or coiled into springs, the wire must be super straight, so the wire coming off the spool holder runs through two sets of rollers before being fed into the bender.
[Jiří]’s main goal for this build was precision, which we can totally get behind. If you’re going to build a machine to do something for you, ideally, it should also do a better job than you alone. It’s his secondary goal that makes this build so extraordinary. [Jiří] wanted it to be easy to build with commonly-available hardware and a 3D printer. Every part is designed to be printed without supports. Bounce past the break to watch the build video.
You can also make your own springs on a lathe, or print them with hacked g-code.
Continue reading “Arduino Wire Bender Probably Won’t Kill All Humans”