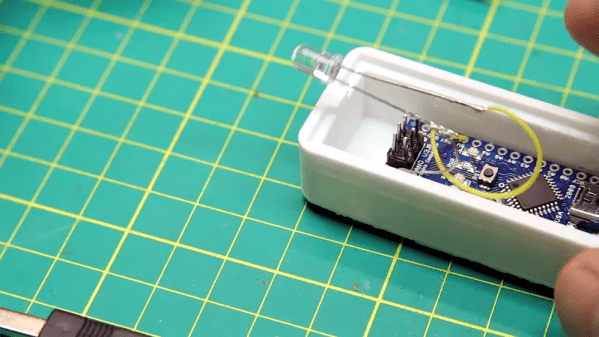
Need a quick way to tell your temperature before work tomorrow? Student maker [The Marpe] recently fashioned a sleek home-use thermal camera that even looks like a point and shoot. It works as an Android hardware add-on by integrating the readings from a MLX90640 far-infrared (FIR) thermal sensor with a STM32F042F6Px microcontroller. All this connects to an Android application via USB (MicroUSB or Type C).
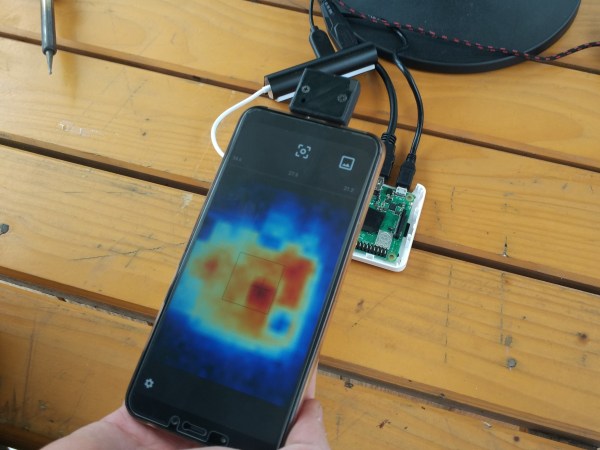
On the app, users are able to view, take photos, and display the resulting thermal images from the open thermal camera. The code for the open Android application is also available on his GitHub.

The FIR sensors contain a small array of IR pixels, integrated to measure the ambient temperature of the internal chip, and supply sensor to measure the VDD. Each pixel on the sensor array responds to the IR energy focused on it to produce an electronic signal, which is processed by the camera processor to create a map of the apparent temperature of the object. The outputs of the sensors and VDD are stored in an internal RAM and are accessible through 3.3V I2C. They’re not only low-cost and fairly high resolution, but also available by order on Digi-Key.
The microcontroller is based on the STM32 platform, with 32-bit performance, low-power operation (at 2V to 3.6V and 48 MHz) and is fairly low-cost. The custom-designed PCBs are fitted inside a 3D-printed casing with M2.5 inserts to ease assembly. [The Marpe] used an Esra soldering iron to create a heat insert tool for easier assembly and more consistent results with the heat inserts, which made for a nicer overall finish.


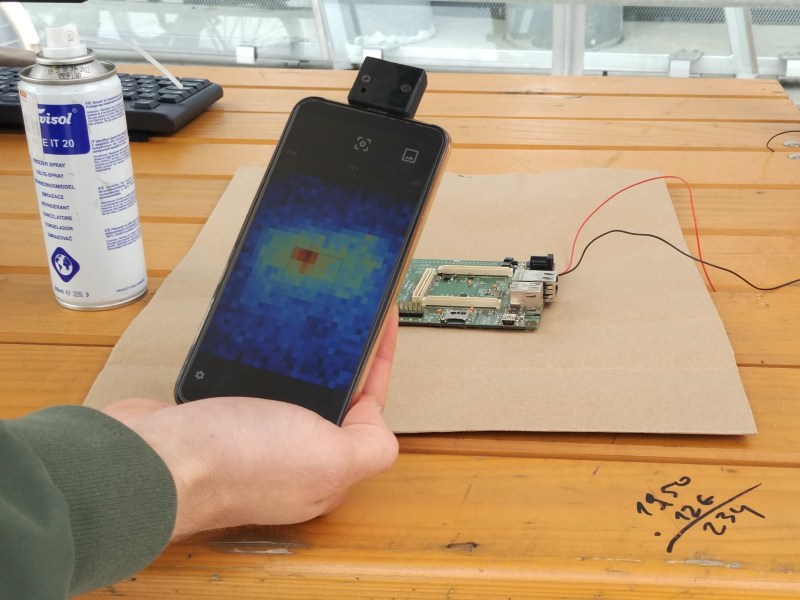
The project has since been presented at the Ljublana Mini Maker Faire in Slovenia and the Trieste Mini Maker Faire in Italy. Here, the open thermal camera is being tested out on a faulty PCB with a shorted component, showing the location of the short on the Android application’s thermal camera display.
Other uses for the camera could be home insulation inspection, water leakage detection, wildlife observation, or even figuring out if your soldering iron is hot enough to use. We’ll say it’s a pretty useful DIY project!