
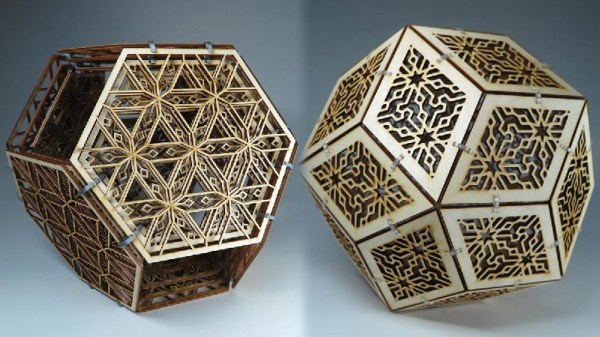
Lasercutters are amazingly versatile tools that can help you build all manner of complicated structures if you can break them down into a series of planar parts. [David] had spotted artworks at the Smithsonian which caught his eye, using planar shapes with interesting repeating patterns. Wanting to make similar works himself, he set out to create software to help make it possible.
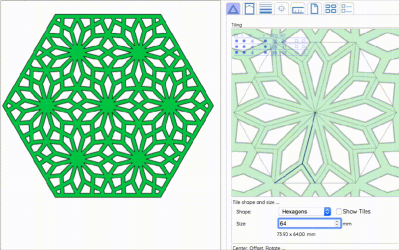
The result of [David]’s work is the Polygonia Design Suite. It’s a tool that aims to make creating geometric patterns for lasercutting easy and simple. The web interface designer has a wide variety of options for drawing shapes and patterns, and the frame size can also be controlled. [David] demonstrates these features with all manner of creations. The project’s Instagram page features basic rectangular panels with inset cubic and triangular motifs, all the way up to an ornate octahedron built from many panels held together with 3D printed clips.
It’s all whipped up in Javascript, handrolled CSS and HTML. Cloud storage and authentication is all handled via Amazon Web Services, which makes handling such features easy. [David] made a special effort to create a separate test site so code experiments won’t effect the live site – crucial for any commercial endeavor.
If you’re in the mood to create some geometric lasercut artworks, check out the tool online. The first 3 exports are free, with a variety of subscription models available for heavy users. We fully expect to see an explosion in fancy lasercut homewares at the weekend markets in years to come.
If your thirst for lasercut art isn’t yet satiated, check out this colorful edgelit acrylic technique.
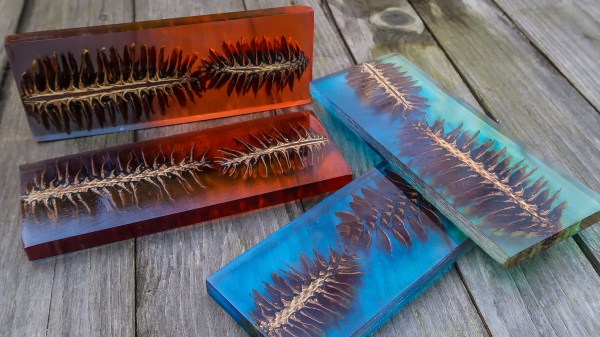
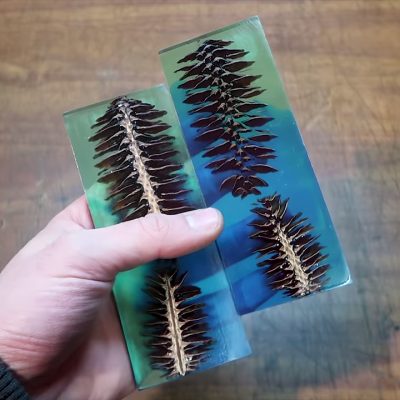 Briefly, the process is to first bake the pine cones to remove any moisture. Then they get coated in a heat-activated resin for stabilizing, which is a process that infuses and pre-seals the pine cones for better casting results. The prepped pine cones go into molds, clear resin is mixed with coloring and poured in. The resin cures inside a pressure chamber, which helps ensure that it gets into every nook and cranny while also causing any small air bubbles introduced during mixing and pouring to shrink so small that they can’t really be seen. After that is cutting, then sanding and polishing. It’s an excellent overview of the entire process.







