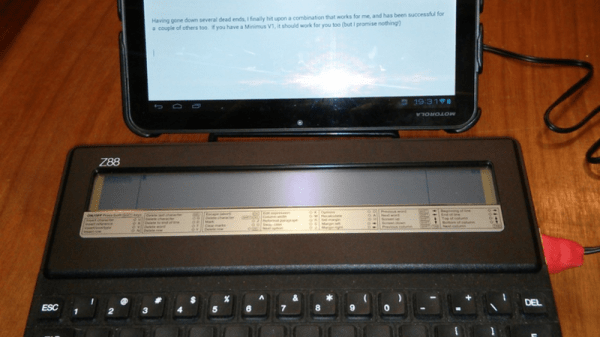
What did [Clive Sinclair] do next? After his line of home computers including the iconic ZX Spectrum hit the buffers and was sold to Amstrad, that is. No longer in the home computer business, he released a portable computer for the business market. The Cambridge Z88 had a Z80 at its heart, a decent keyboard, a text-only LCD display, and ran for an impressively long time on a set of AA alkaline cells. It made a handy portable word-processor, or a serial terminal thanks to its rare-for-the-time RS232 port. And it’s that port that [Spencer Owen] made use of his Z88 in a modern setting, using it as a USB keyboard.
 It’s a few years old, so he used a Minimus AVR microcontroller board to provide a serial-to-USB HID keyboard interface, and to keep things tidy he’s made a poor man’s enclosure for it using Sugru. It’s not quite an amazing hardware hack, but we’re featuring it simply for its use of a Z88. Retro computers used as keyboards are a common theme, but a Z88 is a particularly eclectic choice.
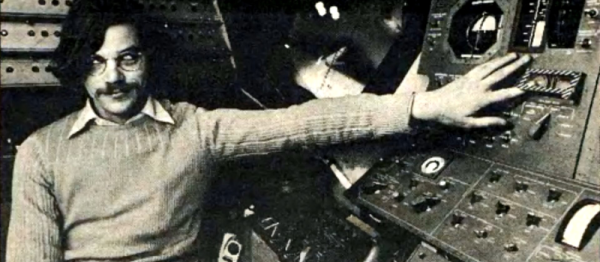
If you’re not British you may only know the name [Sinclair] through Brits on the Internet waxing lyrical about their ZX Spectrum computers, but in fact the man behind them is a serial electronics entrepreneur whose career has continued since the 1960s and has touched fields as diverse as portable television and bicycles aside from the computers he is best known for. Often his products took technology to the limit of practicality, but they were and continue to be the ones to watch. If [Clive Sinclair] is working in a field his products may not always hit the right note when released, but you can guarantee that you’ll be buying the same thing from the big boys within a few years. The Z88 is a classic Sinclair product, a little before its time in 1988 and pushing the technology a little too far, but delivering a truly portable and capable computer with a meaningful battery life a couple of decades before you’d find the same attributes from all but a few other niche manufacturers.
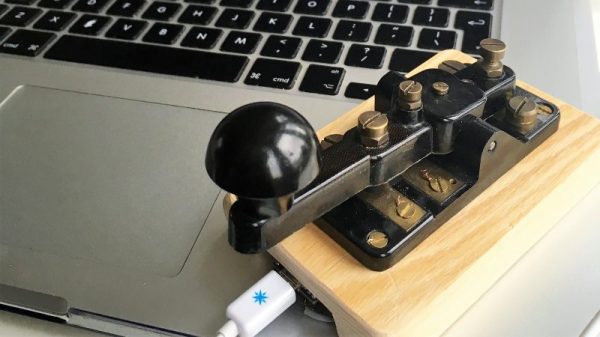
Not had enough USB HID devices? How about a Morse key? And if [Spencer] rings a bell, he’s the originator of the RC2014 retrocomputer we reviewed last year.