Retro is new again, and everywhere you look you’ll find films, documentaries, and TV shows cashing in on the nostalgia of their target audience. There is one inaccuracy you’ll find with this these shows: Apple computers are everywhere. This isn’t a historical truth – Commodore was everywhere, the C64 was the computer the nerds actually used, and to this day, the Commodore 64 is still the best-selling computer in history.
Commodore is gone, replaced with a superfund site, but the people who made the best computers in history are still around. At the 2016 Hackaday SuperConference, Bil Herd gave a talk on the second act of Commodore’s three-act tragedy. Bil is a frequent contributor around these parts, and as always he illuminates the 1980s far better than Halt and Catch Fire ever could.
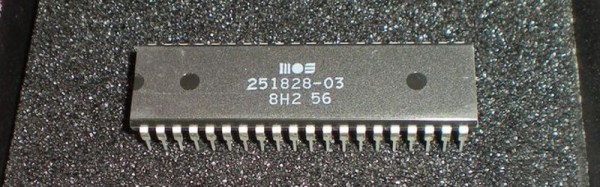
If you were a computer enthusiast in the late 1980s or early 1990s, the chances are that one of your objects of desire would have been a Commodore Amiga. These machines based on the 68000 line of processors and a series of specialized co-processors offered the best compromise between performance and affordability at the time, with multitasking, a GUI, and graphics capabilities that were streets ahead of their competition.
The Amiga story is littered with tales of what might have been, as dismal marketing and lacklustre product refreshes caused it to lurch from owner to owner and eventually fade away from the mainstream in the mid 1990s. But it’s been one of those products that never really died, as a band of enthusiasts have kept a small market for its software and hardware alive.
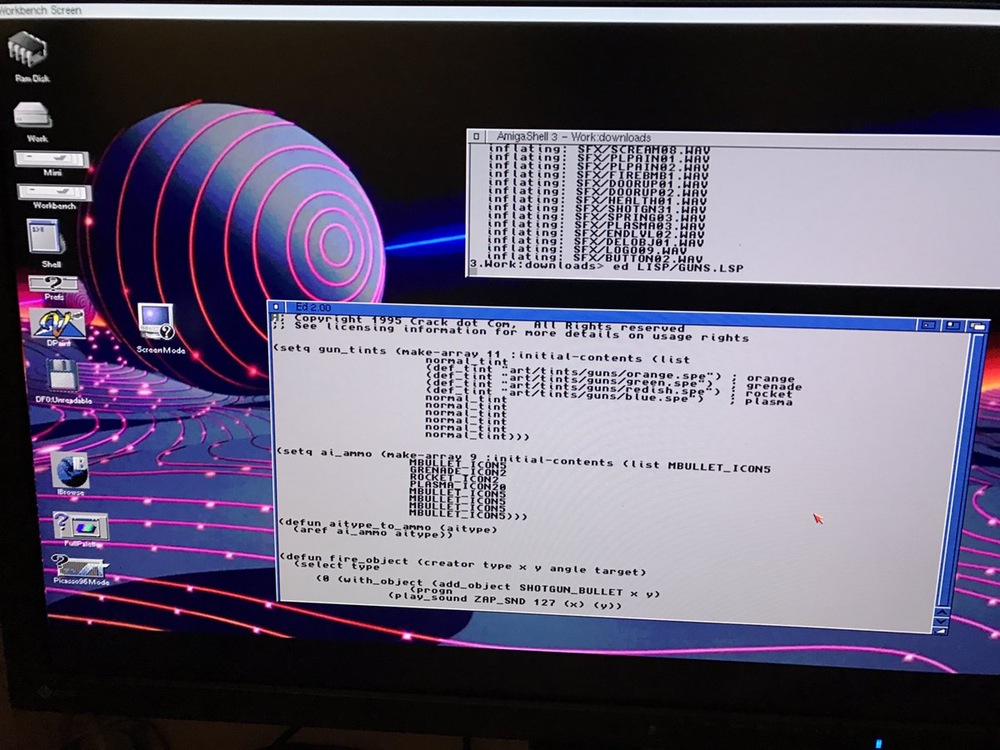
Workbench as you may not have seen it before.
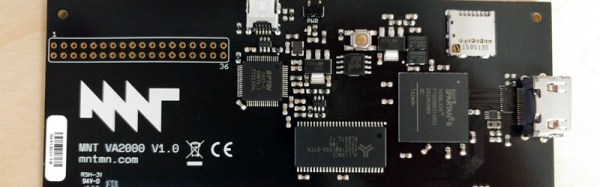
Earlier this year we showed you a prototype of an unusual graphics card, a modern GPU implemented on an FPGA board that brought up-to-date HDMI monitor support to the Zorro expansion slots found in the big-box Amigas. It’s thus very interesting today to find that the board made it to market, and that you can buy one for your Amiga if you have a spare 189 Euros (now sold out but taking pre-orders for another production run). Producing any niche electronic product is a significant challenge, so it is always positive to see one that makes it.
As well as HDMI output the board features a micro SD card slot that is mountable as an Amiga volume, and an expansion header that is toured as “Hacker friendly”. Best of all though, the whole board is open-source with all resources on a GitHub repository, so as well as reading our coverage of the prototype you can immerse yourself in its internals if that is your thing.
It’s always good to see a new piece of hardware for an old computer see the light of day, though it’s fair to say this development won’t revive the Amiga platform in the way that the Raspberry Pi has for RiscOS. Still, the mere fact of an open-source Zorro FPGA implementation being released should mean that other cards become possible, so we await developments with interest.
I work a lot with high voltages and others frequently replicate my projects, so I often get asked “What voltage is needed?”. That means I need to be able to measure high voltages. Here’s how I do it using a Fluke high voltage probe as well as my own homemade probe. And what if you don’t have a probe? I have a solution for that too.
How Long Is Your Spark?
The simplest way to measure high voltage is by spark length. If your circuit has a spark gap then when a spark occurs, that’s a short-circuit, dumping all your built up charge. When your spark gap is at the maximum distance at which you get a spark then just before the spark happens is when you have your maximum voltage. During the spark the voltage rapidly goes to zero and depending on your circuit it may start building up again. The voltage before the spark occurred is related to the spark length, which is also the spark gap width.
The oscilloscope photo below shows this changing voltage. This method is good for a rough estimate. I’ll talk about doing more precise measurements when I talk about high voltage probes further down.
The first computer I personally owned had 256 bytes of memory. Bytes. The processor in my mouse and keyboard both have more memory than that. Lots more. Granted, 256 bytes was a bit extreme, but even the embedded systems I was building as part of my job back then generally had a small fraction of the 64K bytes of memory they could address.
Some people are probably glad they don’t have to worry about things like that anymore. Me, I kind of miss it. It was often like a puzzle trying to squeeze ten more bytes out of an EPROM to get a bug fix or a new feature put in. I though with the 1K challenge underway, I might share some of the tricks we used in those days to work around the small memory problems.
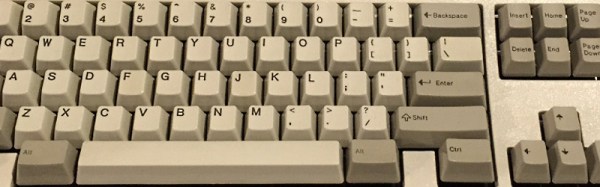
There is one aspect of desktop computing in which there has been surprisingly little progress over the years. The keyboard you type on today will not be significantly different to the one in front of your predecessor from the 1970s. It may weigh less, its controller may be less power-hungry, and its interface will be different, but the typing experience is substantially identical. Or at least, in theory it will be identical. In fact it might be worse than the older peripheral, because its switches are likely to be more cheaply made.
The famous buckled spring in operation. Shaddim [CC BY-SA 3.0], via Wikimedia Commons.Thus among keyboard aficionados the prized possessions are not necessarily the latest and greatest, but can often be the input devices of yesteryear. And one of the more famous of these old keyboards is the IBM Model M, a 1984 introduction from the computer behemoth that remains in production to this day. Its famous buckled-spring switches have a very positive action and a unique sound that once heard can never be forgotten. Continue reading “Do You Miss The Sound Of Your Model M?”→
The late 1950s and early 1960s were a tumultuous time in world history. The Cold War between the East and the West was in full-swing, driving the new fields of nuclear weapons and space exploration and giving the period its dual monikers of “Atomic Age” and “Space Age.”
Changes in these fields often went hand in glove, with developments in one requiring responses in the other. In 1958, the US conducted nuclear tests in the Pacific that effectively destroyed the ionosphere over the test site and shut down high-frequency communications to places like Hawaii and New Zealand. The strategic implications of this were clear, and the US began looking for ways for the military to reduce its reliance on HF communications and ionospheric skip by using space-based assets to communicate at much higher frequencies.
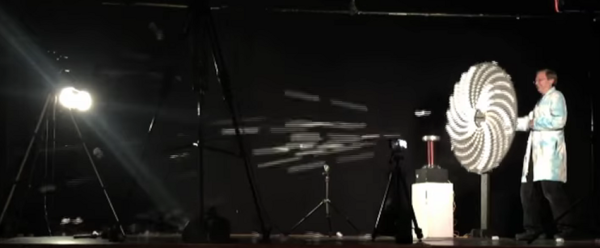
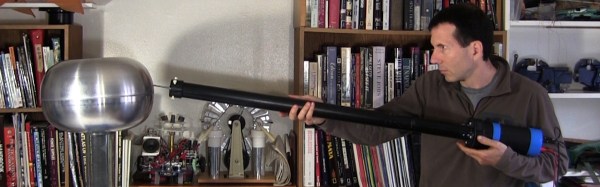
What do you get when you combine a Tesla coil, 315 film canisters and a fortune wheel? The answer is of course a film canister Gatling gun. [ScienceBob] has taken the simple film canister cannon hack to a whole new level. The idea is simple, the film canister has a lid that fits tight and allows pressure to build up, so if you fill it with alcohol vapor and ignite it with a spark gap, you get a small explosion that sends the can flying away.
[ScienceBob] uses 21 rows of fifteen canisters each around the wheel. There is a spark gap for each canister, and all the spark gaps in the same row are in series. You need a lot of volts to turn on fifteen spark gaps, and that is why the Tesla coil is part of the game. When the outer end of the wire in one row passes near the Tesla coil, a spark jumps and fires all the spark gaps, igniting the alcohol vapor and fifteen cans are expelled from the wheel. The wheel rotates until all rows are fired.

![The famous buckled springs in operation. Shaddim [CC BY-SA 3.0], via Wikimedia Commons.](https://hackaday.com/wp-content/uploads/2016/11/bucklingspring-animation-300ms.gif)