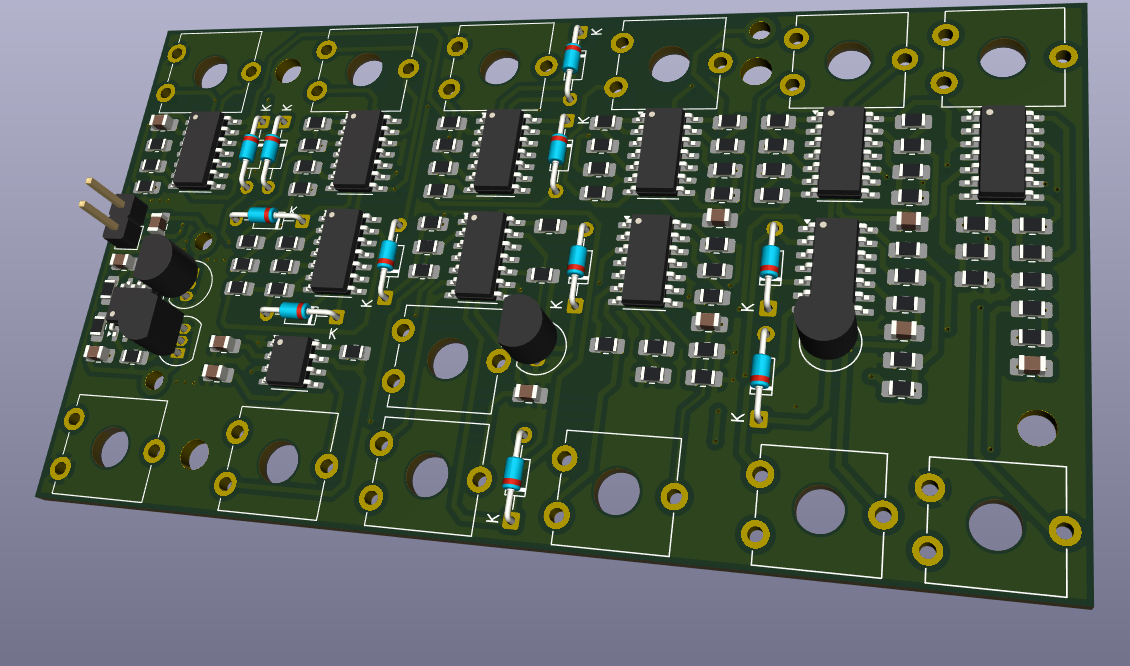
Kitchen timer project in a angled green 3d printed case with a 7 segment display and knob.

Printing A Brutalist Kitchen Timer

A kitchen timer is one of those projects that’s well defined enough to have a clear goal, but allows plenty of room for experimentation with functionality and aesthetics. [Hggh]’s exploration of the idea is a clean, Brutalist kitchen timer.

The case for [Hggh]’s kitchen timer is 3D printed with openings for a TM1637 four digit, seven segment display and for a KY-040 rotary encoder with knob attached. The internals are driven by an ATmega328P powered from a 18650 cell with a DW01-P battery protection chip and a TP4056 chip for charging. On the back of the case is a power switch and USB-C connector for power. It looks like the 3D printed case was sanded down to give it a smooth matte surface finish.

All the project files, including the STLs, OpenSCAD code, and KiCAD design, are available on GitHub. This Brutalist kitchen timer project is a nice addition to some of the kitchen timers we’ve featured in the past, including a minimalist LED matrix timer and a Nixie timer with keypad.

Stripped Clock Wheel Gets A New Set Of Teeth, The Hard Way

If there’s one thing we’ve learned from [Chris] at Clickspring, it’s that a clockmaker will stop at nothing to make a clock not only work perfectly, but look good doing it. That includes measures as extreme as this complete re-toothing of a wheel from a clock. Is re-toothing even a word?

The obsessive horologist in this case is [Tommy Jobson], who came across a clock that suffered a catastrophic injury: a sudden release of energy from the fusee, the cone-shaped pulley that adjusts for the uneven torque created by the clock’s mainspring. The mishap briefly turned the movement into a lathe that cut the tops off all the teeth on the main wheel.

Rather than fabricate a completely new wheel, [Tommy] chose to rework the damaged one. After building a special arbor to hold the wheel, he turned it down on the lathe, leaving just the crossings and a narrow rim. A replacement blank was fabricated from brass and soldered to the toothless wheel, turned to size, and given a new set of teeth using one of the oddest lathe setups we’ve ever seen. Once polished and primped, the repair is only barely visible.

Honestly, the repaired wheel looks brand new to us, and the process of getting it to that state was fascinating to watch. If the video below whets your appetite for clockmaking, have we got a treat for you.

Continue reading “Stripped Clock Wheel Gets A New Set Of Teeth, The Hard Way”

A 1960s Copal flip clock

Classic 1960s Flip Clock Gets NTP Makeover

Many of the clocks we feature here on Hackaday are entirely built from scratch, or perhaps reuse an unusual display type. But sometimes, an old clock is just perfect as it is, and only needs a bit of an upgrade to help it fit into the modern world. One such example is the lovely 1960s Copal flip clock (in German, Google Translate link) that [Wolfgang Jung] has been working with — he managed to bring it squarely into the 21st century without changing its appearance one bit.

Like most flip clocks from the 60s and 70s, the Copal clock uses a small synchronous AC motor to advance the digits. Because this motor runs in step with the mains frequency, it also acts as the clock’s timing reference. However the original motor had died, and a direct replacement was impossible to find. So [Wolfgang] decided to replace it with a modern stepper motor. He designed a small PCB that fit the original housing, on which he placed a Trinamic TMC2225 stepper motor driver, a Wemos D1 Mini and a small 5 V power supply.

A flip clock mechanism with a PCB attached to itThanks to its WiFi connection, the D1 can find out the correct time by contacting a Network Time Protocol (NTP) server. Displaying that time would be tricky with the original hardware though, because there is no indication of which numbers are displayed at any time. [Wolfgang] cleverly solved this problem by placing an IR proximity sensor near the lowest digit, allowing the D1 to count the number of digits that have flipped over and thereby deduce the current state of the display.

There’s plenty of fun to be had with classic flip clocks like this, and with a bit of hacking any old split-flap display should be usable for your own clock project. If none are available at your local thrift store or yard sales, you can always roll your own.

Low-Power Challenge: Making An Analog Clock Into A Calendar With A 50-Year Life

You have to be pretty ambitious to modify a clock to run for 50 years on a single battery. You also should probably be pretty young if you think you’re going to verify your power estimates, at least in person. According to [Josh EJ], this modified quartz analog clock, which ticks off the date rather than the time, is one of those “The March of Time” projects that’s intended to terrify incentivize you by showing how much of the year is left.

Making a regular clock movement slow down so that what normally takes an hour takes a month without making any mechanical changes requires some clever hacks. [Josh] decided to use an Arduino to send digital pulses to the quartz movement to advance the minute hand, rather than let it run free. Two pulses a day would be perfect for making a 30-day month fit into a 60-minute hour, but that only works for four months out of the year. [Josh]’s solution was to mark the first 28 even-numbered minutes, cram 29, 30, and 31 into the last four minutes of the hour, and sort the details out in code.

As for the low-power mods, there’s some cool wizardry involved with that, like flashing the Arduino Pro Mini with a new bootloader that reduces the clock speed to 1 MHz. This allows the microcontroller and RTC module to run from the clock movement’s 1.5 V AA battery. [Josh] estimates a current draw of about 6 μA per day, which works out to about 50 years from a single cell. That’s to be taken with a huge grain of salt, of course, but we expect the battery will last a long, long time.

[Josh] built this clock as part of the Low-Power Challenge contest, which wrapped up this week. We’re looking forward to the results of the contest — good luck to all the entrants!

A metal watch is held in a man's fingers. The watchface has a laser etched chess board with miniature chess pieces made of brass enacting a match. The time is told on an etched chess clock to the right hand side of the timepiece and a small window on the rightmost "clock" shows the date.

A Little Chess With Your Timepiece

Some things remain classics, even after centuries, and chess and watches have certainly stood the test of time. [W&M Levsha] decided to combine them both in this “Chess Club” watch containing a miniature chess game frozen in time.

[W&M Levsha] used an off-the-shelf wristwatch for the mechanism and case, but rearranged the parts and built a custom watchface that’s much nicer than the original. The new watchface was cut and etched on a fiber laser after disassembly of the original watch.

The real magic happens when [W&M Levsha] turns those teeny little chess pieces on the lathe. The knight was a two piece affair with the horse head being laser cut out of brass sheet and then soldered onto a turned base. As you can see from the video embedded below, all of the chess pieces inside the watch could fit on the maker’s fingernail! It’s probably a good thing that this tiny set isn’t playable since trying to play on a board that size would be an exercise in patience.

We’ve seen machined chess sets here before at a larger scale, but if you’re more into 3D printing, how about teaching your printer to play?

Continue reading “A Little Chess With Your Timepiece”

Broken Pocket Watch Becomes Pocket Sundial

Pocket watches are all well and good, but they have some caveats. They either need regular rewinding, or they need batteries. Sundials on the other hand need only the light from our One True Sun. [JGJMatt] has just the project to convert your broken or disused pocket watches to the solar way of telling the time.

The key is to replace the clockwork internals and face of the pocket watch with a sundial instead. The first step is to create a face for the watch marked out for sundial use. [JGJMatt] explains how to do this with a variety of CNC, painting, or etching methods. He also explains how to use simple tools to generate a sundial design that’s ideally suited to your geographical location. This includes methods for aligning the sundial to True North or True South with an offset compared to Magnetic North or Magnetic South. This allows the sundial to be as accurate as possible. [JGJMatt] describes the general techniques while also building a sundial of his very own. The resulting piece is a handsome bit of brass with a lovely gnomon standing tall to cast a shadow on the dial.

It’s not a quick way to tell the time, by any means. However, the next time your friends ask you what time it is, and you whip out a compass to line up your sundial, they’re sure to be impressed. We’ve seen some creative sundial designs before, too, and if you’ve been creating your own fancy timepieces, don’t hesitate to let us know on the tipsline!

The Nixie Clock From Outer Space

Nixie clocks are nothing new. But [CuriousMarc] has one with a unique pedigree: the Apollo Program. While restoring the Apollo’s Central Timing Equipment box, [Marc] decided to throw together a nixie-based clock. The avionics unit in question sent timing pulses and a mission elapsed time signal to the rest of the spacecraft. Oddly enough, while it had an internal oscillator, it was only used during failures. It normally synched to the guidance computer’s onboard clock.

There is a detailed explanation of the unit, along with some of the ancillary equipment and panels. Much of what the output from the unit is driving counters to display timers, although some of the clocks drive other pieces of equipment, like the telemetry commutator, which time stamps each telemetry frame.

Continue reading “The Nixie Clock From Outer Space”