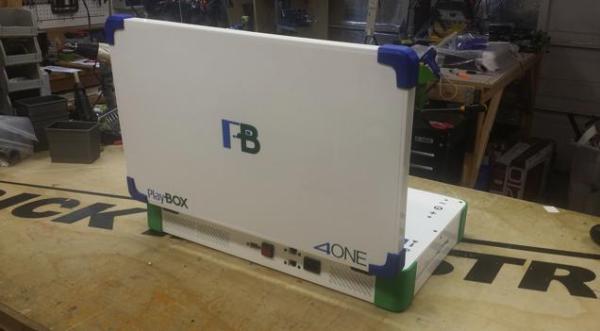
[Eddie Zarick] is a pretty eccentric case modder. So when a customer asked him for an Xbox One / Playstation 4 combo unit, he got excited. He calls it the PlayBOX 4ONE. Cute.
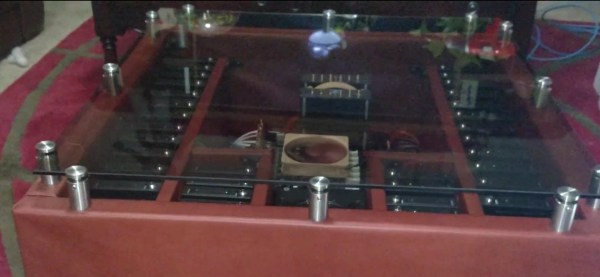
He has managed to cram the guts of both the PS4 and Xbox One into a 22″ laptop-like shape — it is pretty chunky though. The power supply is internal, but obviously you can only turn on one system at a time. Surprisingly he was even able to keep the cooling systems intact! Both consoles still have full use of WiFi and have dedicated LAN ports available on the back of the system. Unfortunately, the Xbox USB ports weren’t so lucky — looks like you’re stuck with wireless Microsoft accessories only.
To see how he did it, check out the following video.
Continue reading “Enter The PlayBox, Where Microsoft And Sony Get Along”