If you’ve never seen an IBM AS/400 machine, don’t feel bad. Most people haven’t. Introduced in 1988 as a mid-range server line, it used a unique object-based operating system and was geared specifically towards business and enterprise customers. Unless you’re a particularly big fan of COBOL you probably won’t have much use for one today, but that doesn’t mean they aren’t worth playing around with if the opportunity presents itself.
So when a local IT company went belly up and was selling their old hardware, including a late 90’s era IBM AS/400e Series, [Rik te Winkel] jumped at the chance to take this unique piece of computing history home. He knew it was something of a risk, as maintenance and repair tasks for these machines were intended to be done by IBM certified technicians rather than the DIYer, leaving little in the way of documentation or even replacement parts. But in the end it worked out, and best of all, he documented the successful process of dragging this 90’s behemoth into the blinding light of the twenty-first century for all the world to see.
 After getting the machine home and sitting through its thirty minute boot process, [Rik] was relieved to see the code
 01 B N pop on the server’s display. This meant the system passed all the internal checks and was ready to go, he just had to figure out how to talk to the thing. Built to be a pure server, the machine didn’t offer any video output so he’d have to log into it over the network.
[Rik] noted that there was no new DHCP entry in his router for the server, but of course that was hardly surprising as the machine would have certainly had a static IP when it was in use. So he shut the server down, plugged it directly into his laptop’s Ethernet port, and watched the output of Wireshark as it went through its arduous boot sequence. Eventually he started to pick up packets coming from the IP address 10.10.10.9, and he had his target.
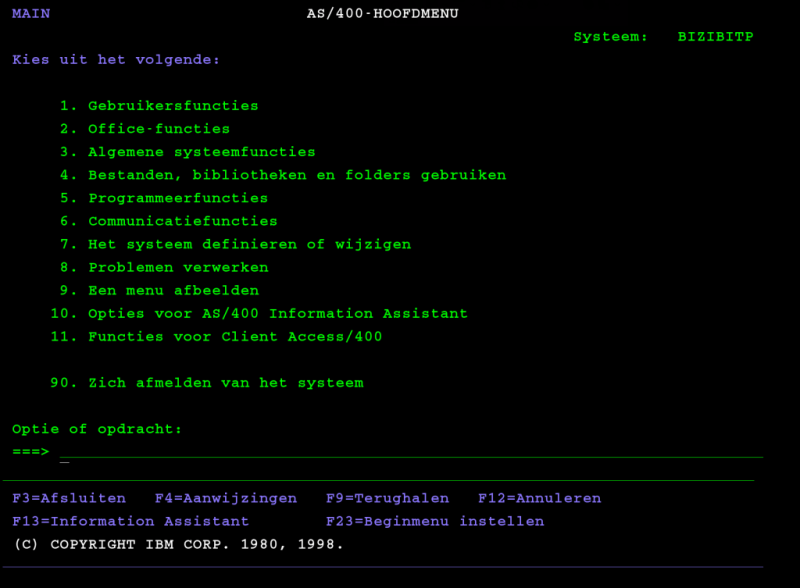
There are a few clients out there that allow you to remotely log into an AS/400, so he downloaded one and pointed it to the server’s IP. He was surprised to see the operating system was apparently in Dutch, but at least he was in. He tried a few common usernames and passwords, helped along by the fact that this OS from a somewhat more innocent era will actually tell you if you have the username right or wrong, and eventually managed to hack the Gibson with the classic admin/admin combo.
So he was in, but now what? [Rik] decided that he couldn’t truly call this machine bested until he could pull up the Hackaday Retro Edition, so he started work on writing a program to let him pull down the page directly on the AS/400 in IBM’s proprietary Report Program Generator (RPG) programming language. You know, as one does. He didn’t quite feel up to writing a whole HTML parser, but he got as far as generating a HTTP GET request, downloading the page’s source, and opening it up as a local file. That’s good enough for us.
Our very own [Al Williams] documented his adventures poking around an Internet-connected AS/400 machine, which might serve as a helpful primer if you ever find one of these delightfully oddball computers kicking around the local recycling center.