Adding AirPlay To A Shelf System

adding-airplay-to-a-shelf-system

AirPlay is a great system. It allows you to send whatever media is playing from one device to another. Sure, we wish it were a bit more open (Apple is certainly not known for that) but there are several option for creating your own AirPlay receivers. After coming across a project that does just that, [Matt Shirley] decided to turn his shelf system into an AirPlay receiver.

The path to his goal depends on the Raspberry Pi’s ability to receive AirPlay audio using the Shairport package (we just looked in on another player that does this last week). He uses an Edirol UA-5 USB audio interface as an amplifier for his record player. He wasn’t using the USB port for it and knew that it would be simple to connect the RPi USB as a host for the device.

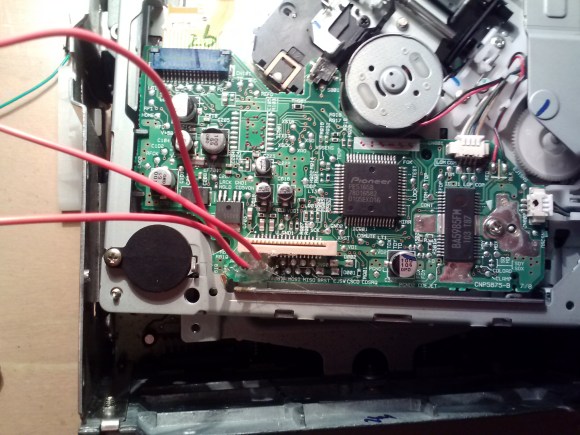
Wanting to keep the look of the system as clean as possible he popped the lid off of the amp. There is just enough room to fit the small RPi board inside. He hacked (literally, look at the pictures) an opening for the USB ports into the side of the metal enclosure. A short patch cable connects from one port to the USB jack on the back of the amplifier. The white cable leaving the side of the case provides power to the Rasperry Pi. The surgery was a success and now he can listen to his tunes with a tap of his finger.

Ice Record Single Needs Six Hours In The Deep Freeze Before You Can Listen

ice-record

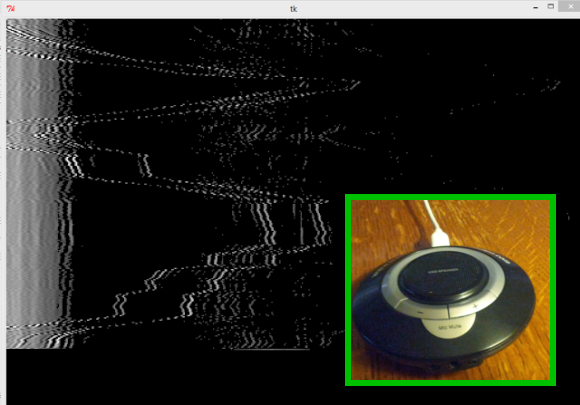
This delightful marketing ploy requires the listener to fabricate their own record out of ice. The band Shout Out Louds wanted to make a splash with their newest single. So they figured out how to make a playable record out of ice. The main problem with this is the grooves start to degrade immediately when the ice begins to melt. So they shipped a mold of the record and a bottle of water to a select few listeners (just ten in all). Hear the result in the video after the break.

Now if you want to make something like this for yourself we can help you out just a bit. The mold is made of silicone and it wasn’t so long ago that we saw a guide for those new to mold making. The raw material isn’t that hard to find either. The project above tried several different approaches and found the best results can be attained with plain old distilled water. No, the one hard part is figuring out how to make your own master. If you’ve got a way of doing this in the home lab, please tells us about it!

Continue reading “Ice Record Single Needs Six Hours In The Deep Freeze Before You Can Listen”

Bluetooth Hack For Serioux Panda Speakers

bluetooth-powered-panda-speakers

[Bogdan] received this set of Serioux Panda speakers as a gift. I turns out that they sound very good and he decided to make them more useful to him by converting them to work as Bluetooth speakers.

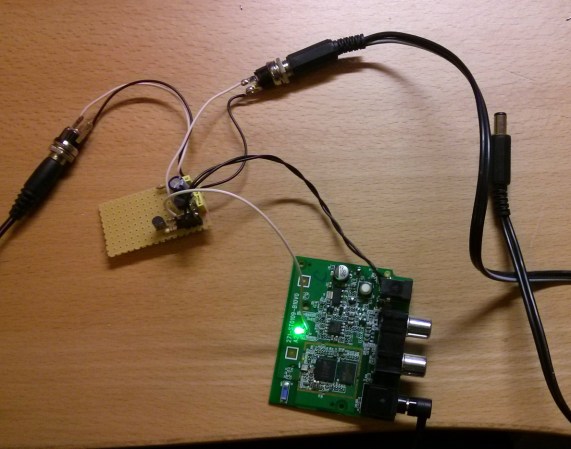
To begin with he bought the cheapest A2DP device he could find. This is the protocol that identifies a Bluetooth audio device. The unit is designed to provide a Bluetooth connection for a set of headphones. He patched into the headphone port on that board, but also wanted to keep the option of using the Panda speakers’ line-in. To do this he added a 1k resistor to each of the audio channels. A connection was made from the 5V rail of the speakers to power the Bluetooth module rather than leaving it with its own battery.

Speaking of batteries, the Panda speakers can run from three AAA cells. This battery compartment was a perfect place to mount the add-on hardware. But the speaker can still be powered from a USB connector. Above [Bogdan] is using a portable USB power supply.

Raspberry Pi Used As A Squeezebox Server

rpi-squeezebox-server

[Jacken] loves his lossless audio and because of that he’s long been a fan of Squeezebox. It makes streaming the high-bitrate files possible. But after Logitech acquired the company he feels they’ve made some choices which has driven the platform into the ground. But there is hope. He figured out how to use a Raspberry Pi as a Squeezebox server so that he can keep on using his client devices and posted details about the RPi’s performance while serving high-quality audio.

First the bad news: the RPi board doesn’t have the horsepower necessary to downsample on the fly. He even tried overclocking but that didn’t really help. The good news is that this issue only affects older Squeezebox clients (he had the issue with V3) and only when playing tracks that are much higher quality than a CD (24-bit at 88.2Khz). He has no problem streaming those files to devices that can play them, and can even stream multiple files at once without any issues.

You can install the Sqeezebox server on your own Raspberry Pi by following this guide.

Portable Audio Rig That Turned Out Great

portable-audio-rig

[Michael] wanted a stereo that he could use outside, be it at the beach, beside the pool, or while tailgating. He decided to build this boom box himself, and didn’t cut any corners when it came to a professional looking finish.

Because of the locale in which he plans to use the stereo he went with a set of marine speakers. They’ll have no problem standing up to water, and since they’re used in boats they should also be able to take a beating during transport. To feed it he uses a Lepai T amp which is seen above.

After cutting each piece of the case out of MDF he started working on the openings to receive the components. This involved quite a number of layout lines and some work with a compass to map out the circular openings. He built a recessed panel on the back to interface the power cord for charging. Inside is an 18 Ah battery. A set of switches lets him turn on the charger and choose between powering the amp from battery or from the power cord.

[via Reddit]

Color LED Matrix VU Meter Shows How To Use FFT With Arduino

If you’ve ever wanted to make your own VU meter but were scared off by the signal process you need to study this tutorial.

Hackaday Alum [Phil Burgess] developed the device using an RGB LED matrix, microphone, and an Arduino. You’ll notice that is doesn’t include an MSGEQ7 chip which we see in most of these types of projects. We have seen a few that use the Fast Fourier Transform to map the audio signal on the display as this one does. But [Phil’s] choice of an assembly language Library for ATmega chips makes this really simple to roll into your own projects.

The one drawback to the hardware choices made here is that there are only eight bits of vertical resolution. It takes a little creative interpretation to make this look good, but the use of color mixing really makes a difference. See for yourself in the demo after the break.

Continue reading “Color LED Matrix VU Meter Shows How To Use FFT With Arduino”

MOD Player For The Stellaris Launchpad

[Ronen K.] wrote in to tell us about the MOD playing Stellaris Launchpad project he recently completed. A MOD is a sound file for the computers of days long gone. But you’ll certainly recognize the sound of the 8-bit goodness that is coming out of this device.

To understand how a MOD file stores samples you might want to glance at the Wikipedia page. There are a ton of these files out there, but this implementation is meant for files with only four channels. For now the only external hardware used is an audio jack which needs a ground connection and a PWM signal on each of the two audio channels. [Ronen] is storing the files in flash memory rather than using an SD card or other external storage. This leaves 213k of space for up to six files that can be selected by the user buttons which cycle forward or backward through the list. See this demonstrated after the break.

The project ports existing code from an STM32 application. Since that is also an ARM microcontroller there’s not a ton of work that needed to be done. But he did have to write all of the PWM functionality for this chip. This PWM tutorial turned out to be very helpful during that process.

Continue reading “MOD Player For The Stellaris Launchpad”