With Arduino library support on an ARM Cortex M4 processor, it’s no surprise that we’re fans of the Teensy 3.1. And lately, [Paul Stoffregen] has been building out the Audio Library for this platform, making it even more appealing to the synth / audio geeks among us. And now, with just the addition of a highfalutin LED and some software, the Teensy can output digital audio over optical fiber.
S/PDIF, and more specifically optical TOSLINK, uses LED light sent down an optical fiber to encode audio data. The advantage of this over any voltage-level signals (like with regular wires) is that the source and destination devices aren’t electrically connected at all, which gets rid of the dreaded ground loop hum and any RF interference.
An S/PDIF audio data stream is a bit complex, but if you’re interested [Micah Scott] has a fantastic dissection of it up on her blog. Of course, you don’t have to know anything about any of that to simply use S/PDIF with the Teensy Audio Library.
We love open source hardware and software because of the collaborations that make ultra-rapid development of niche stuff like this possible. You can follow along with the development of the Teensy’s S/PDIF capabilities on the PJRC forum. Contributor [Frank B] modestly claims that “everything was already on the internet”, but that doesn’t make it any less cool that they got from zero to working library in a few weeks. (And note the clever use of a precomputed lookup table for speed.)
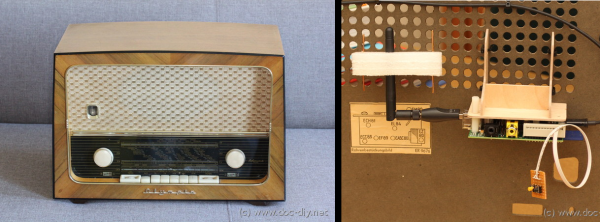
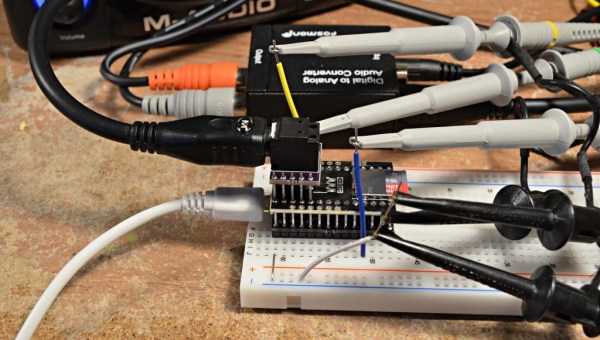
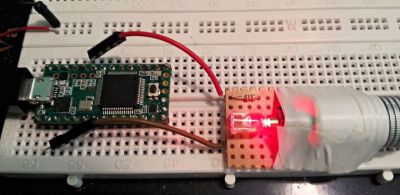 On the hardware side, [Paul] has posted up his adapter board for a cheap, but very professional looking, optical TOSLINK sender. But if you’re feeling ghetto, you can simply use a red LED pointed just right into the optical cable.
The end result? Lossless transmission of CD-quality audio from an Arduino-esque microcontroller, sent on a beam of light, for less than the cost of a latté.