[Matt] literally finds himself in a sticky situation. There’s an oil slick in his sump well. These wells work in conjunction with drain tiles to pump water away from the foundation of a house. Unfortunately the tar that was used to waterproof the outside of his foundation is also washing into the sump and gumming up the works. The system he built will sound an audio alarm and send an email if something goes wrong with the sump pump.
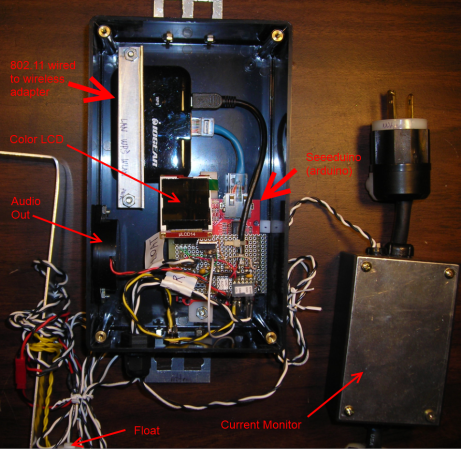
He’s monitoring for two different issues. One technique uses a float valve to sense if the water is too high, signalling that the mechanism controlling the pump has malfunctioned. The other is a current monitor that senses if the sump pump has been running too long (caused by the sump’s water sensor getting stuck in the on position). The one thing he didn’t want to do is control the pump directly as a bug in his code will easily result in a flooded basement. We have the same concerns when considering building a DIY thermostat (an error there could mean frozen water pipes leading to flooding).