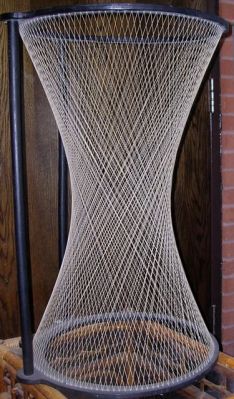
Everyone knows you can’t visibly bend light over short distances in free air. Or can you? [Jack Pearse] has figured out a way to do it though, or at least make it appear that way. He does it by combining a trick of math and a trick of the eye. The secret is the hyperboloid, a geometric construct described by a quadratic equation. [Jack’s] creation is more specifically a hyperboloid in one sheet. This type of structure allows straight lines to create a an overall curved surface. Hyperboloids have been used by architects and in construction for years, often in tall structures like water towers.
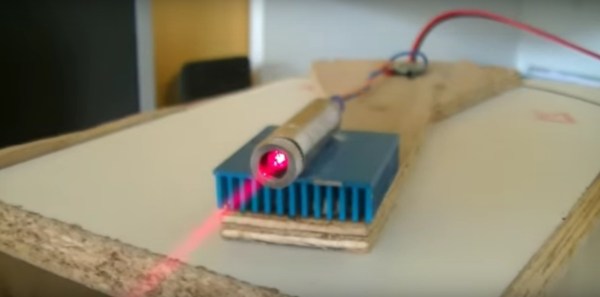
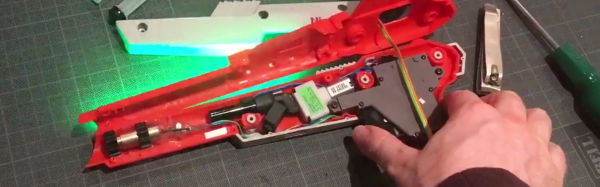
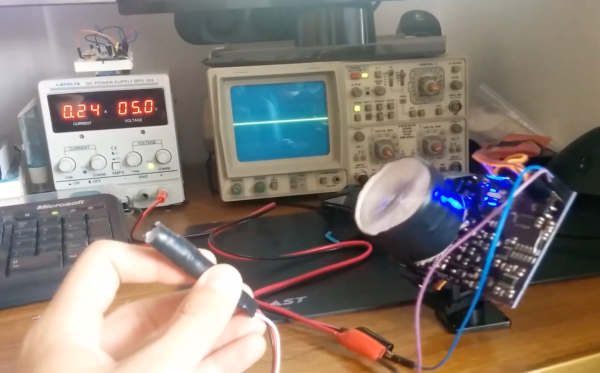
If a bunch of straight steel beams can form a curved shape, lasers should be able to pull off the same effect. By employing persistence of vision, [Jack] was able to create his hyperboloid with only 10 small lasers. The lasers are mounted on the rim of a bicycle wheel and carefully aimed. The wheel is spun up with using an electric bicycle motor. [Jack] kept things safe by building a centrifugal switch. The switch powers up all the lasers in when the tire is spinning. This ensures no one can be hit by a static beam.
Once the wheel is spinning, all you need is a bit of smoke or haze in the room. The spinning lasers combine to form the hyperboloid shape. You can see the project in action in the video after the break.

![The kind of travesty that can occur when [Stefan Kiese] doesn't have access to nice project boxes.](https://hackaday.com/wp-content/uploads/2016/07/img_3466.jpg)