Mirror galvanometers were originally developed in the 17th century to precisely measure very small changes in current. Unlike other instruments of the day, a mirror galvanometer could clearly show minute current variations by translating tiny movements of the mirror into large movements of the light reflected off of the mirror. Before clean electrical amplification became possible, this was the best means of measuring tiny differences in current. True mirror galvanometers are very sensitive instruments, but hobby servos can be used as a low-fidelity alternative, like with this project on Hackaday.io created by [robives].
Using a mirror galvanometer is by far the most common technique for laser projection shows – it’s really the only way to move the laser’s beam quickly enough to create the visual illusion of a solid line in real time. A mirror galvanometer works by using coils to attract magnets attached to the mirror, allowing the angle of the mirror to change when current is applied to the coils. This movement is extremely small, but is amplified by the distance to the projection surface, meaning the laser’s beam can move huge distances in an instance. If you’ve ever seen a laser show, it almost certainly used this technique. But driving galvos requires a beefy DAC, so we can’t blame [robives] for wanting to keep it digital.
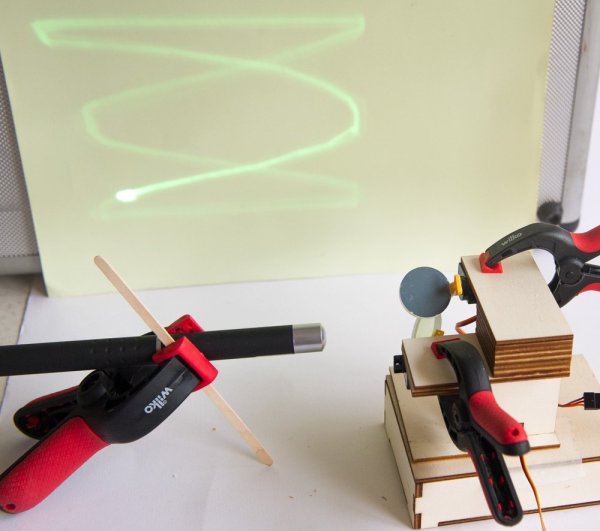
[robives’s] project side-steps the need for galvanometers by using glow-in-the-dark vinyl and a UV laser. The result is a laser beam trail which lasts much longer, which means that solid lines are visible without the need for high-speed galvos. A build like this lets you experiment with laser projections without dealing with sensitive mirror galvos, and instead use components that you probably already have sitting on your workbench.
Continue reading “UV Laser Projector Shines With Glow-in-the-Dark Vinyl”