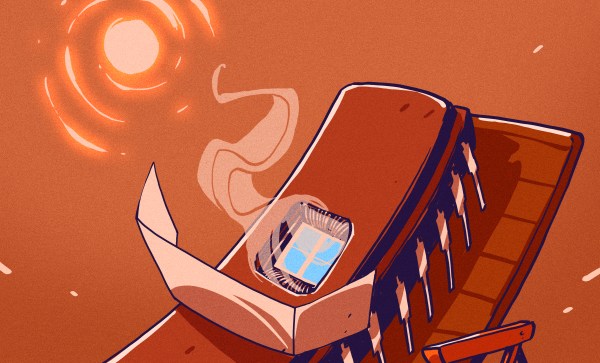
If you think about it, you can’t be sure that what you see for the color red, for example, is what anyone else in the world actually sees. All you can be sure of is that we’ve all been trained to identify whatever we do see as red just like everyone else. Now, think about animal vision. Most people know that dogs don’t see as many colors as we do. On the other hand, the birds and the bees can see into ultraviolet. What would the world look like with extra colors? That’s the question researchers want to answer with this system for duplicating different animals’ views of the world.
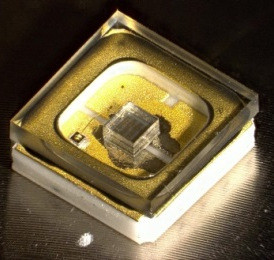
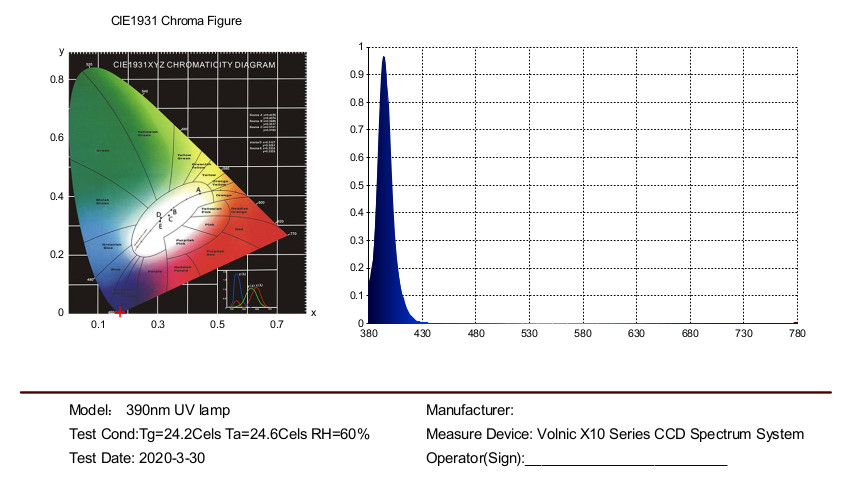
Of course, this would be easy if you were thinking about dogs or cats. They can’t see the difference between red and green, making them effectively colorblind by human standards. Researchers are using modified commercial cameras and sophisticated video processing to produce images that sense blue, green, red, and UV light. Then they modify the image based on knowledge of different animal photoreceptors.
We were somewhat surprised that the system didn’t pick up IR. As we know snakes, for example, can sense IR. You’d think more sophisticated animals would have better color vision, but that seems to be untrue. The mantis shrimp, for example, has 12-16 types of photoreceptors. Even male and female humans have different vision systems that make them see colors differently.
Maybe you need a photospectrometer. You wonder if animals dream in color, too.